


7 - 16
Screen
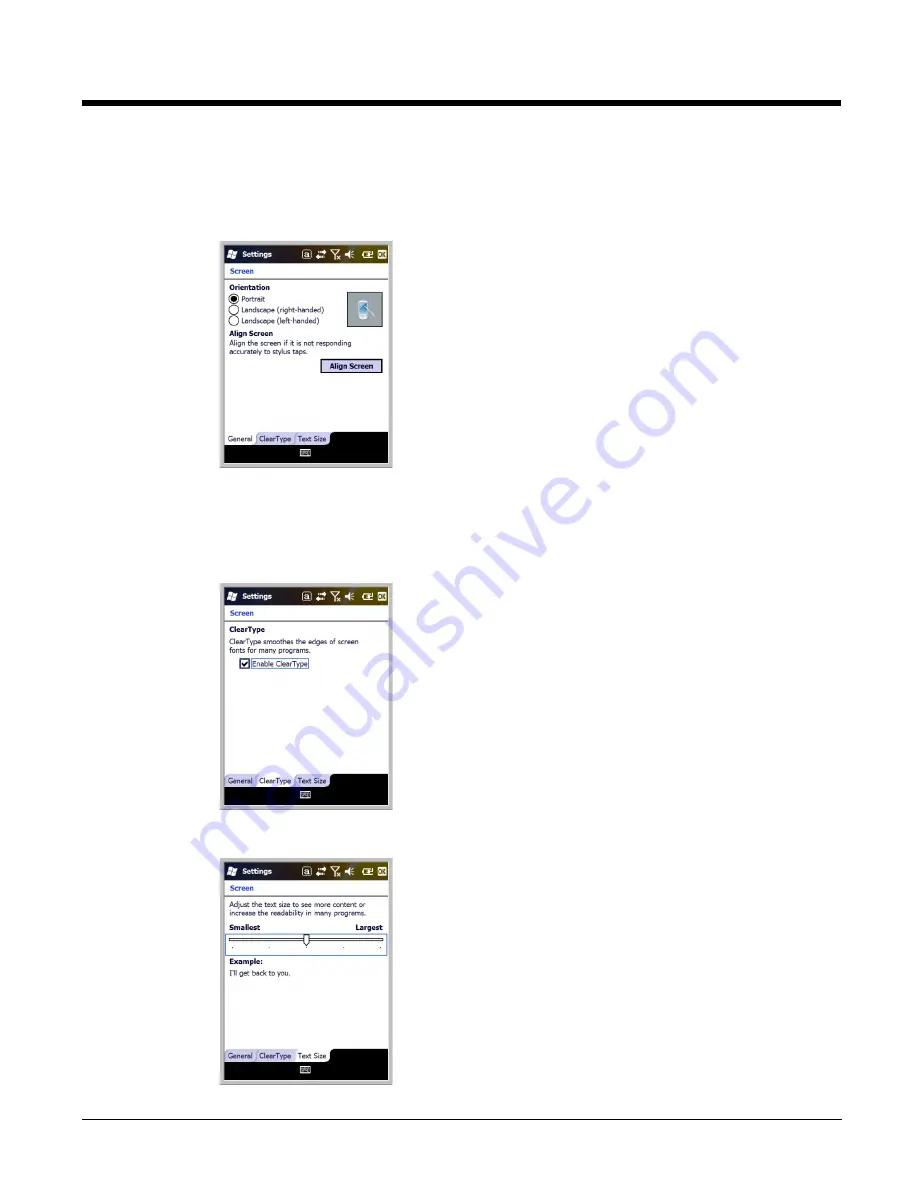
The Screen system setting contains three tabs: General, Clear Type, and Text Size.
General Tab
Orientation
The General Tab enables you to set the dynamic screen
rotation. Three choices of screen orientation are supported:
Portrait, Landscape (right-handed), and Landscape (left-
handed).
Align Screen
The General Tab also allows you to re-align the screen.
You need to re-align the screen if tapping buttons or icons with
the stylus no longer seems to work appropriately.
Tapping
Align Screen
brings up the align screen window
where you are guided to tap a target several times. This re-
calibrates how the touch screen receives input.
• Alignment should always be performed with a stylus
designed for touch panel applications. The small point is
required for accurate calibration.
• Press the stylus firmly into the center of the cross-hair target
once and release. Do not “double-tap” the target.
ClearType Tab
The display supports ClearType font rendering, which is a
Microsoft technology that dramatically increases the readability
of text on LCD displays.
To enable ClearType font rendering, select
Enable ClearType
and tap
OK
.
For more information about ClearType font rendering, visit:
www.microsoft.com/typography/WhatIsClearType.mspx
.
Text Size Tab
The Text Size tab enables you to perform font scaling within
certain views of the;
• Today screen,
• Contacts,
• Calendar,
• Messaging, and
• Tasks.
Font scaling means that you can increase or decrease the
point size of the font on application windows.
To change the font size, move the slider toward
Smallest
or
Largest
. The Example text changes to reflect the font change.
Tap
OK
to save the new font size setting.
Summary of Contents for Dolphin 9700
Page 1: ...Dolphin 9700 Mobile Computers with Windows Mobile 6 5 User s Guide ...
Page 8: ...viii ...
Page 46: ...5 4 ...
Page 72: ...7 18 ...
Page 96: ...9 12 ...
Page 116: ...12 10 ...
Page 129: ...14 5 3 Secure the DIN Rail to a stable flat horizontal surface ...
Page 130: ...14 6 ...
Page 136: ...15 6 ...
Page 141: ......


