3
Tools Required
A Phillips screwdriver is needed, and a PC with an Internet connection may also be required.
Step 1: Checking Firmware
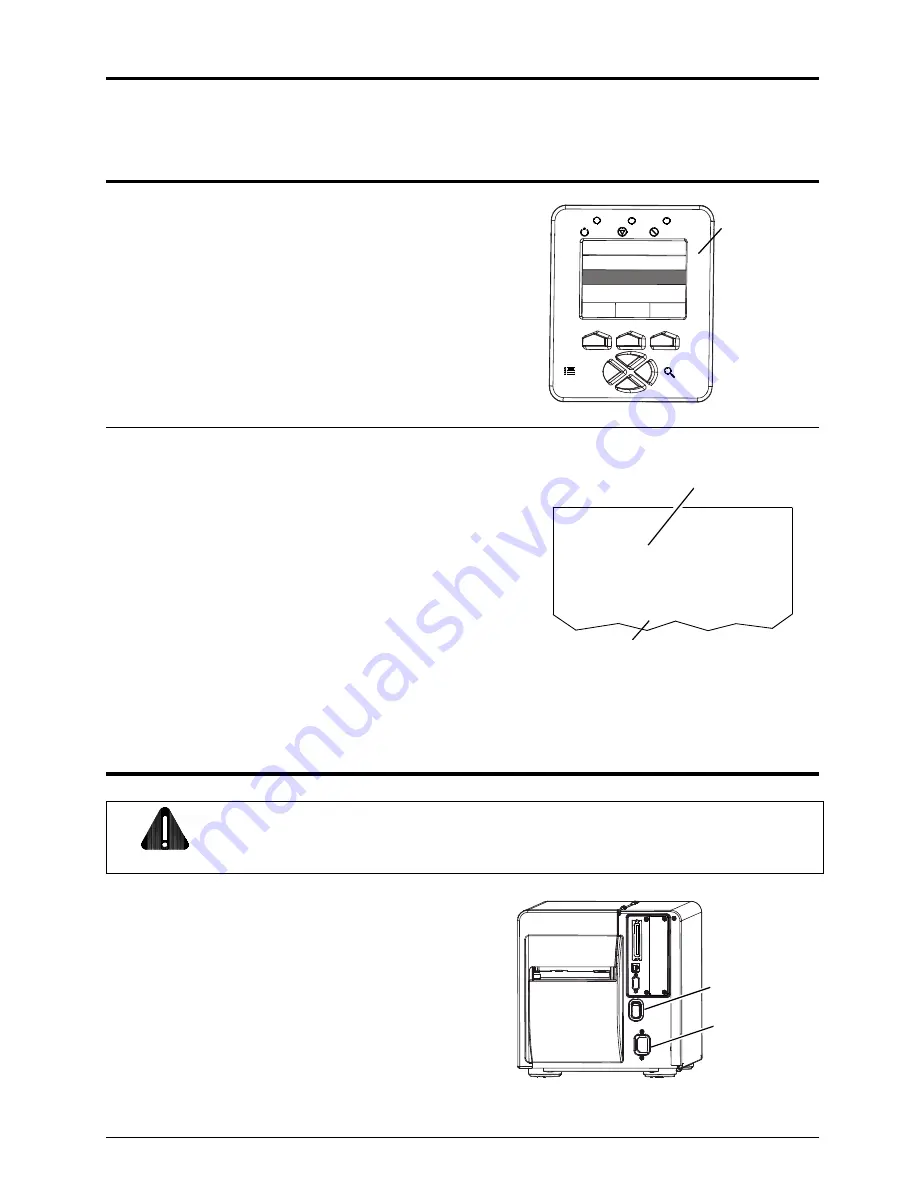
A) Verify the firmware version in the printer:
Press the TEST Button on the Control Panel.
Using the DOWN Button, scroll to PRINT
CONFIGURATION and press TEST.
PAUSE
FEED CANCEL
WED 09:32A 23APR2008
READY
TEST
MENU
READY
STOP
ERROR
Control Panel
B) Examine the Application Version printed on
the Configuration Label and proceed
accordingly:
•
If 14.09 (or greater), go to Step 2; or,
•
If 14.08 (or less), go to ftp.datamax-
oneil.com and download a new version.
Follow the “Updating Firmware”
instructions in the Operator’s Manual and
install the update.
FORMAT ATTRIBUTES:l
XOR
LABEL ROTATION:
DISABLED
IMAGING MODE:
MULTIPLE LABEL
PAUSE MODE:
DISABLED
PEEL MODE:
DISABLED
SECURITY:
DISABLED
UNITS OF MEASURE:
IMPERIAL
INPUT MODE:
DPL
CONFIGURATION
THU 09:09 AM 24APR2008
PRINTER KEY:
4210-MG10-071010-027
APPLICATION VERSION:
83-2625-10H 10.07 07/24/2007
BOOT LOADER:
83-2627-10G 10.05 06/15/2007
UNLOCKED:
CG TIMES
FPGA:
MA05
iPH:
32-56777
Application Version
Configuration Label
Step 2: Preparing the Printer
CAUTION
Always wear a wrist strap and follow ESD prevention measures when
handling circuit card assemblies.
A) Turn OFF the Power Switch and unplug the
power cord from the AC Receptacle.
Power Switch
AC Receptacle
Summary of Contents for datamax-o'neil M-4206
Page 1: ...RFID Ready Option 92 2499 01 Rev C ...
Page 2: ......


