- 4 -
1. Press
Automation
>
Z-Wave Setup
>
Add Device
.
2. At the Z-Wave device, press the
Function Key
(depending on the device being added).
3. Follow the on-screen messages until
“Device added successfully”
is displayed.
4. To rename a device (see below), press the device and press
Edit Name
.
5. To verify activation, on the controller, press
Back
; wait 30 seconds. Press
Refresh
; the new device is displayed.
Changing the Device Name/Icon
As a device is enrolled, many devices learn in as a default icon and name. To change the name and/or icon of the device (from
the Z-Wave Device Management Screen) press the device and press
Device Setup
.
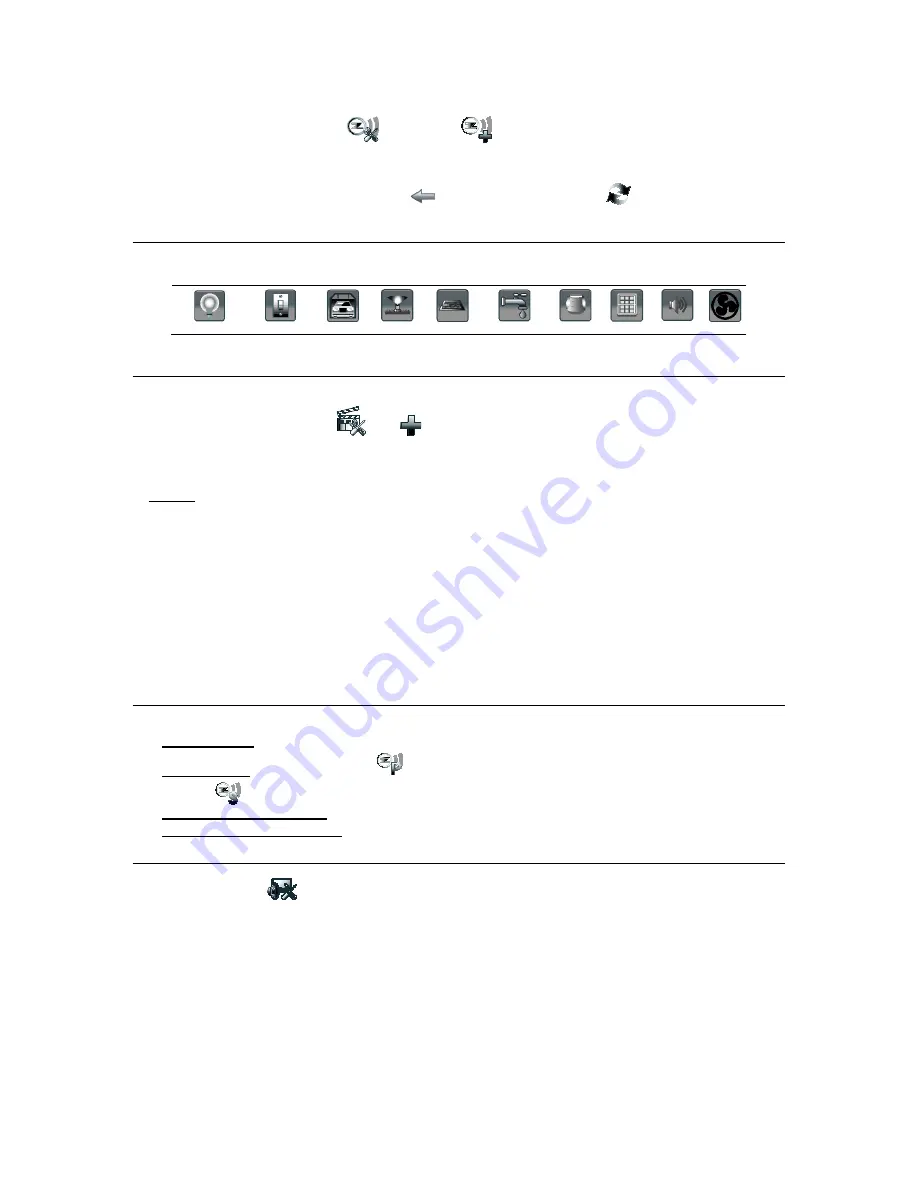
Z-Wave Device Icon Options
Dimmable Light
On/Off Light
Garage
Sprinkler
Pool
Water Valve
Siren
Shade
Sounder
Fan
NOTE
: Controllers cannot be edited, only Binary, Multilevel switches and Water Valves.
Create Scenes
–
Define Up to 30 Scenes
The Scene feature is used to control a single device, or multiple devices based on pre-set “Conditions,” “Triggers,” and
“Actions.” When a trigger/condition occurs, the defined action is executed. To program a scene:
1. Press
Automation
>
Scene Setup
>
Add
.
2. Press the
Scene Name
field > enter a
Name
>
OK
.
3.
Add
the “Condition,” “Trigger,” and “Action” that you want to occur (see below).
After each selection press Save !!
Note
: Determine if you need a Condition. The Condition is a ‘condition’ set to occur prior to a trigger event. See example below.
Example
: Turn the
lights on
when the
system disarms
, but
only at night.
(Condition):
“only at Night”
–
Set
TIME
Condition (enter
Start Time
/
Duration
or
Sun Set/Sun Rise
).
(Trigger):
when the “system disarms”
–
Set the trigger to
SECURITY: Disarm.
(Action):
Turn the “lights ON”
–
Set the Action to
LIGHT:
ON
.
Scene Rules
•
Triggers and Conditions include:
Time
setting Occurrence/Days/Start Time,
Security
mode Disarm/Night/Away/Stay/Away
Secured,
Thermostat
setting Above/Below/Temperature Value, Door Unlocked/Locked/ Code Unlocked Status,
Garage
Door
Opened/Closed,
Water Valve
Opened/Closed, and
Zones
Restore/Alarm/Fault.
•
Actions
include choosing
Security
mode Disarm/Night/Away/Stay/Disarm With Code (enter User Code),
Thermostat
setting Set Mode/Set Energy/Set Point,
Door
Unlocks/Locks,
Garage Door
Open/Close,
Water Valve
Open/Close,
Recording
(List the camera’s and choose the camera which will record [see “Camera” section above], and choose the email
address(es) you wish to send to and create a custom message.
NOTE:
Each Trigger event can have up to 5 Actions.
Secondary Keypad
After all Z-Wave devices have been enrolled into the Primary Keypad (Controller #1), device information can be transferred to a
Second Keypad (Controller #2). Keep the controllers within 10 feet of each other.
1.
On Controller #1:
Press
Automation
>
Z-Wave Setup.
2.
On Controller #2:
Press
Z-Wave
Primary
. (Lower right side of screen.) Press
Yes,
to change this controller to
Secondary
.
3.
On the Primary Controller (#1):
Press
Add
;
4.
On the Secondary Controller (#2):
Press
Add
.
Display & Audio Setup
1. Press
Setup
; slide the
Brightness / Volume
bar up or down to change settings >
Yes
.
2. Press
Disp & Audio
> highlight the field for each option and use the Up/Down arrows to select the desired settings.
3. Press
Chime
,
Voice
or
Voice Chime
operating mode (when using Security option only).
4. To clean the controller screen, press
Clean Screen
>
Continue
, or press
Cancel
to exit.
NOTE: Panic keys are inoperable in while the Clean Screen option is performed.


