HomeTroller Getting Started Guide – rev 2.0
Page 13
Configuring Devices
Specifying Device Types
Before adding devices to the
HomeTroller, you must first
specify the types of devices that
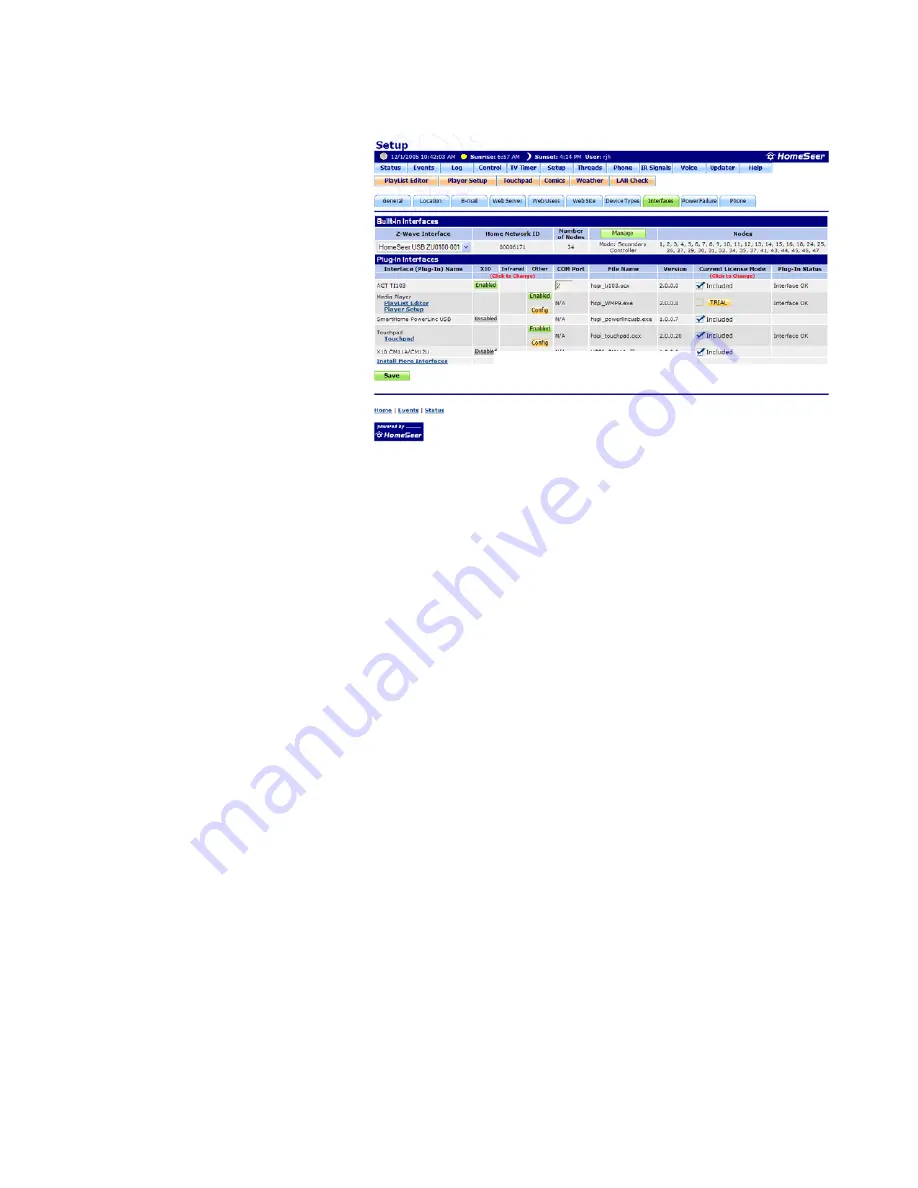
will be used. The Interfaces
Setup screen is where you enable
and configure plug-in programs
that can be used with the
HomeTroller. Plug-ins are
designed to integrate the
HomeTroller with other hardware
and software and to add
additional functionality to the
HomeTroller.
To get to this screen, launch the web interface (see page 8), click the
Setup
button beneath the
time and date bar, and then click the
Interfaces
tab.
Buttons appear under the columns for the type of hardware or software the particular plug-in
supports. By default, the button will be labeled Disabled, which indicates that the plug-in is not
enabled or not active. Click the button to enable the plug-in.
By default, this screen will be empty. Select the Install More Interfaces link at the bottom, or
click on the Updater button to get a list of available interfaces that you can add to the system.
Click the
SAVE
button to save the changes.
Z-Wave Devices
Refer to documentation included with your Z-Wave PC interface.
Interfaces Setup Screen
Figure 4: Interface Setup


