P a g e
|
15
Kakute F7
Here are the remaining steps:
1.
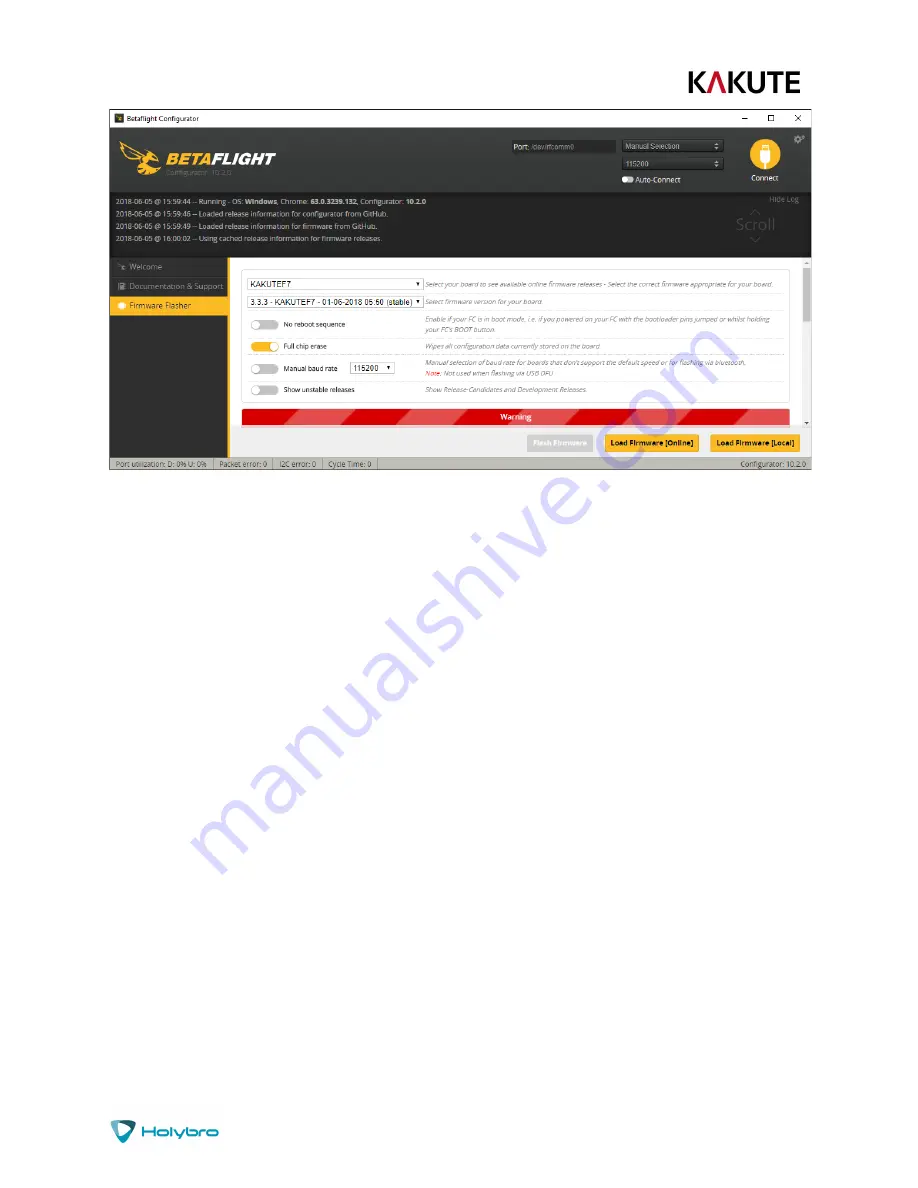
Go to the “Firmware Flasher” tab.
2.
Select “KAKUTEF7” in the “Choose a board” pulldown menu. If you flash any other board type,
the Kakute F7 will not function. It won’t be damaged, it just won’t work until you flash
KAKUTEF7 to the board.
3.
Select the latest version of Betaflight in the “Choose a firmware version” pulldown menu.
4.
Click the “Load Firmware (Online)” button. The button will change to read “Downloading”. The
Flash Firmware button will change from gray to orange.
5.
Click the “Flash Firmware” button. The screen should automatically scroll down to show the
status bar, which will fill with orange as the flashing process completes.
6.
Flashing will be followed by a process called “Verifying”. Verification sometimes fails, but this
isn’t a problem. If the flash completes, everything is usually fine.
7.
Un-plug your board and then plug it back in again, this time without holding down the
bootloader button.
8.
For Windows users, the pulldown menu in the upper right of the configurator will read COM3
(or some other number). For MacOS and Linux users, the pulldown will read something starting
with /dev/tty. This is normal. If the pulldown menu reads “Manual Selection” then your board is
not being detected. This may indicate that you did not use the KAKUTEF7 target when you
flashed the board. Or it may indicate that your Virtual COM Port (VCP) drivers were not installed
correctly.
You are ready to configure your board.


