HOBO
®
U12 4-External Channel Outdoor/Industrial Data Logger
4
protected from moisture and other environmental factors that
could damage it. To mark an event, press the button for at least
one second. Both a button up and a button down event will be
recorded.
The logger stores 64K of data, and can record up to 43,000
samples and events combined.
Operation
A light (LED) on the front of the logger confirms logger
operation. The following table explains when the logger blinks
during logger operation:
When: The
light:
The logger is logging
Blinks once every one to four
seconds (the shorter the logging
interval, the faster the light blinks);
blinks when logging a sample
The logger is awaiting a
start because it was
launched in Start At
Interval, Delayed Start,
or Button Start mode
Blinks once every eight seconds
until launch begins
The button on the logger
is being pushed for a
Button Start launch
Blinks once every second while
pressing the button and then
flashes rapidly once you release
the button. The light then reverts
to a blinking pattern based on the
logging interval
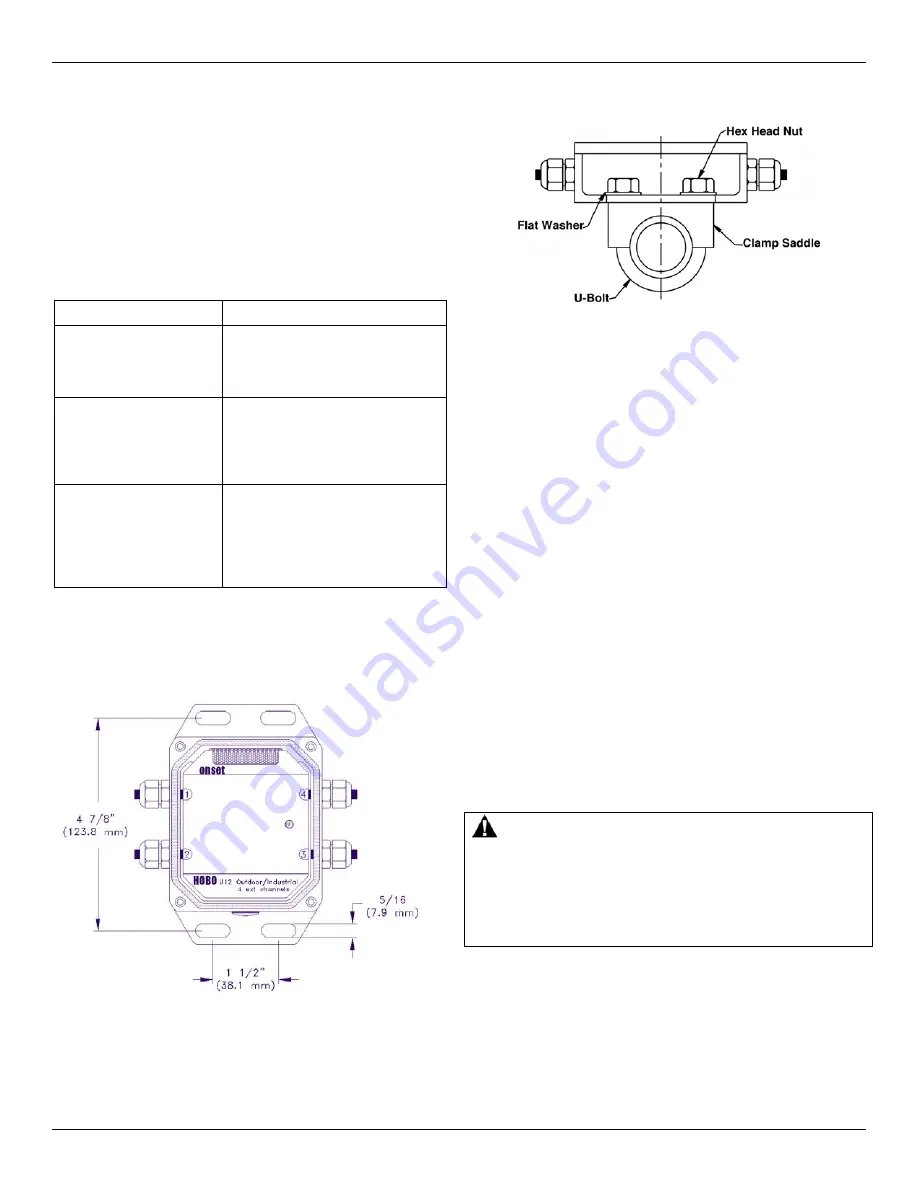
Mounting
Four mounting screws and washers are included with your
logger. Use these screws to mount the logger to a wooden post.
UV-stable tie wraps also work well.
U-bolt clamps (part # U-BOLT-KIT) are preferred for mounting
to a 1" pipe (1.3" outside diameter), as shown.
The Battery
The logger requires one 3-Volt CR-2032 lithium battery.
Expected battery life varies based on the temperature and the
frequency at which the logger is recording data (the logging
interval). A new battery will typically last one year with logging
intervals greater than one minute. Deployments in extremely
cold or hot temperatures or logging intervals faster than one
minute may significantly reduce battery life. Onset recommends
that you install a fresh battery before every deployment if
temperatures below 0°C (32°F) are expected.
To replace the battery:
1.
Disconnect the logger from the computer.
2. Use the Allen wrench to remove the four socket head screws
on the logger’s cover. Then remove the cover.
3. Carefully insert a thin screwdriver blade between the edge of
the battery and the battery contact that is farther from the red
LED. Gently pry up the edge of the battery, popping it out of
the holder.
4. Slide the new battery, positive side up, under the two small
tabs of the contact that is closer to the red LED. Press down
on the battery until it snaps into place. The logger’s LED will
blink several times.
5. When the new battery is secure, close the logger’s case as
described in the “Closing the logger” section of this manual.
WARNING:
Do not cut open, incinerate, heat above 85°C
(185°F), or recharge the lithium battery. The battery may
explode if the logger is exposed to extreme heat or
conditions that could damage or destroy the battery case. Do
not dispose of the logger or battery in fire. Do not expose
the contents of the battery to water. Dispose of the battery
according to local regulations for lithium batteries


