USING THE VCR PLUS+ SYSTEM FOR RECORDING
- 60 -
to record on
the cable box (08 in this case) before recording starts.
To stop recording while in the timed recording mode:
1 Press the POWER button.
2 Press the STOP button within 10 seconds.
•
This can be done either on the VCR or with the remote control.
Important:
Your timed recording settings take effect when you turn off the power on the VCR.
USING THE VCR PLUS+ SYSTEM FOR RECORDING
About the VCR Plus+ system
This handy feature makes timed recording a snap. You don't need to enter the specific channel, date, time, or
duration of a program. All you enter is its PlusCode programming number - a number of up to eight digits. This
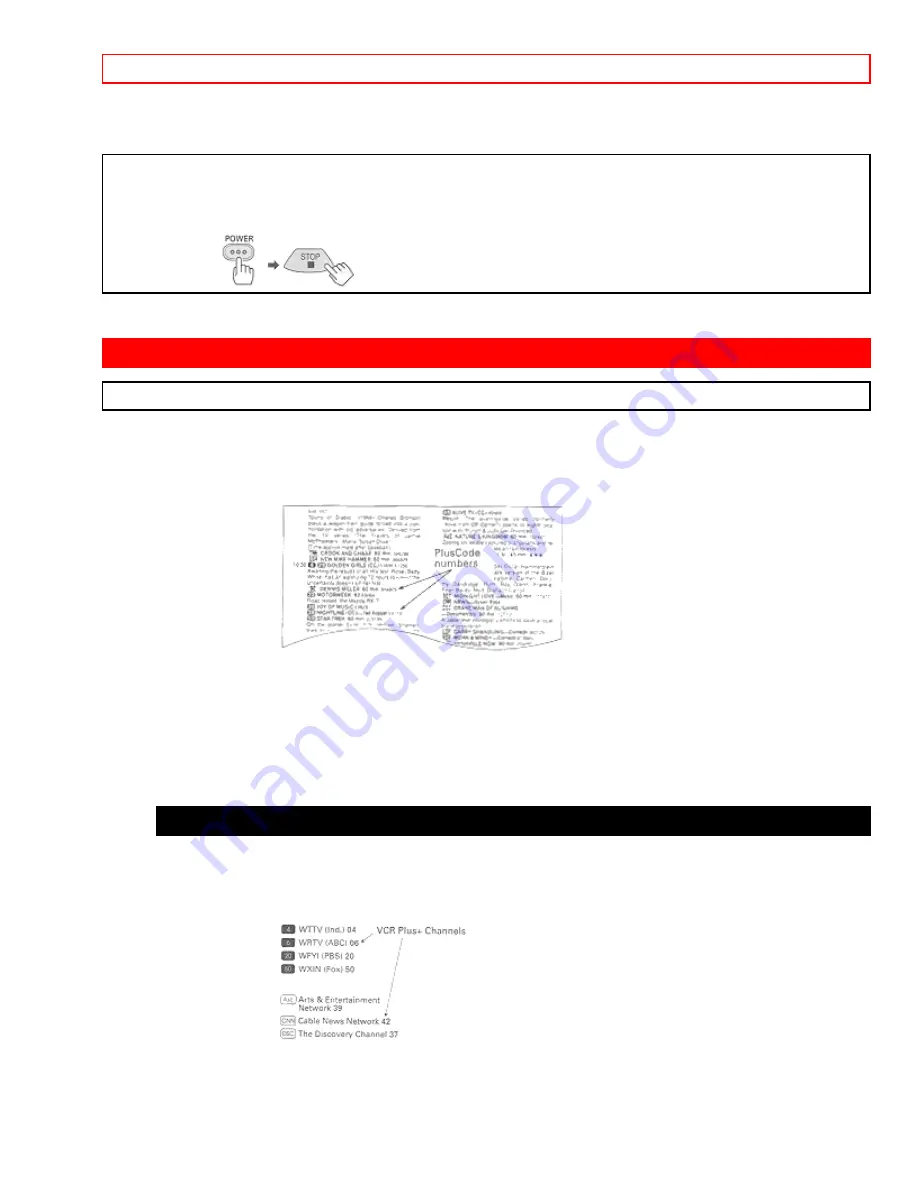
special code is easy to find in your favorite TV program guide or daily newspaper. Here's a sample page from TV
Guide showing PlusCode numbers next to each program.
Your local channels may be different from the VCR Plus+ channel codes. To get ready to record with the VCR
Plus+ system you need to assign your local broadcast and cable channel numbers to the VCR Plus+ channel
codes already stored in your VCR's memory. This is called channel setup and you do it using the on-screen Easy
Guide System and the following step-by-step instructions. Then you will be ready to begin VCR Plus+ recording,
also using the on-screen Easy Guide System. VCR Plus+' and PlusCode R are trademarks of Gemstar
Development Corporation.
Channel setup
Before you begin
1
Look for a listing like this one in your local TV program guide or Sunday newspaper TV section. Notice the
small numbers to the right of the station name.
These are the VCR Plus+ channel numbers that you will use in the channel setup procedure.
2
Make a list of the VCR Plus+ channel numbers and the channel numbers you are receiving them on. If there are
any differences,
YOUR
channel numbers must be assigned to the corresponding VCR Plus+ numbers. (See


