- 14 -
IDTV Menu System
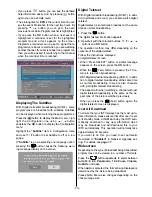
The IDTV menu can only be shown when watching
Digital terrestrial broadcasting. Press the
but-
ton to turn IDTV on while TV is in analogue mode.
Press the
button.
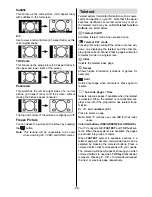
The menu below appears on the
screen:
0DLQ0HQX
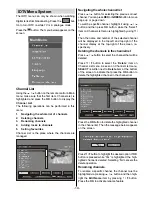
Channel List
Using the
a
/
b
button on the remote control in Main
menu, make sure that the first item, Channel List, is
highlighted and press the
OK
button to display the
Channel List
.
The following operations can be performed in this
menu:
1. Navigating the whole list of channels
2. Deleting channels
3. Renaming channels
4. Adding locks to channels
5. Setting favourites
Channel List is the place where the channels are
managed.
Navigating the whole channel list
Press
a
/
b
button for selecting the previous or next
channel. You can press
RED
or
GREEN
button to move
page up or page down.
To watch a specific channel, highlight it using
a
/
b
button and then press
OK
button, while the Select
item on Channel List menu is highlighted by using
_
/
`
.
Then the name and number of the selected channel
will be displayed in the top-left and top-right of the
channel display at the top-right of the screen, re-
spectively.
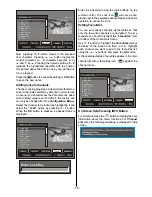
Deleting the channels in the channel list
Press
a
/
b
button to select the channel that will be
deleted.
Press
_
/
`
button to select the
Delete
item on
Channel List menu. As seen on Channel List menu,
SELECT
is written next to
Delete
item at the bottom
of the screen to indicate that press the
OK
button to
delete the highlighted channel in the channel list.
Press the
OK
button to delete the highlighted channel
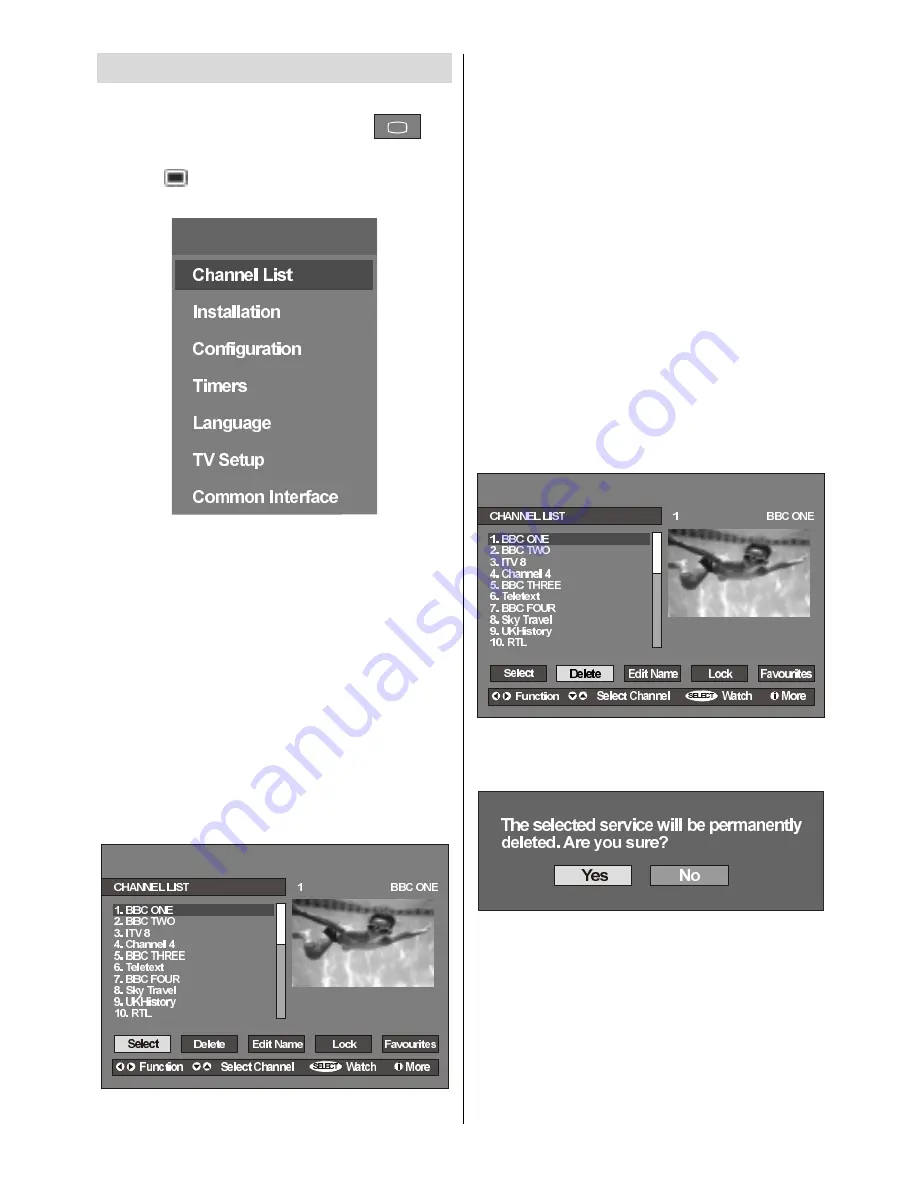
in the channel list. Then the message below appears
on the screen.
Press
_
/
`
button to highlight the desired option. If
OK
button is pressed while Yes is highlighted, the high-
lighted channel is deleted. Selecting No cancels the
delete operation.
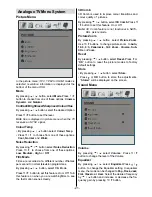
Renaming channels
To rename a specific channel, the channel must be
highlighted via pressing
a
/
b
button and then high-
light the
Edit Name
item by pressing
_
/
`
button.
Press the
OK
to activate rename feature.
Summary of Contents for L26H01U
Page 1: ...L26H01U GB Instructions for use Digital LCD olo r Television C u L26HR1U ...
Page 33: ... 32 Peripheral Equipment Connections 2XWGRRU HULDO RQQHFWLRQ Aerial Connection ...
Page 34: ... 33 Specifications ...
Page 35: ... 34 Specifications ...
Page 38: ... 37 Appendix B Main and PIP PAP Picture Combinations 0DLQ DQG 3 3 3 3 SLFWXUH FRPELQDWLRQV ...


