


English
- 18 -
see the programme numbers and names assigned to
the programmes.
If you do not accept the locations and / or the
programme names, you can change them in the Pro-
gram menu.
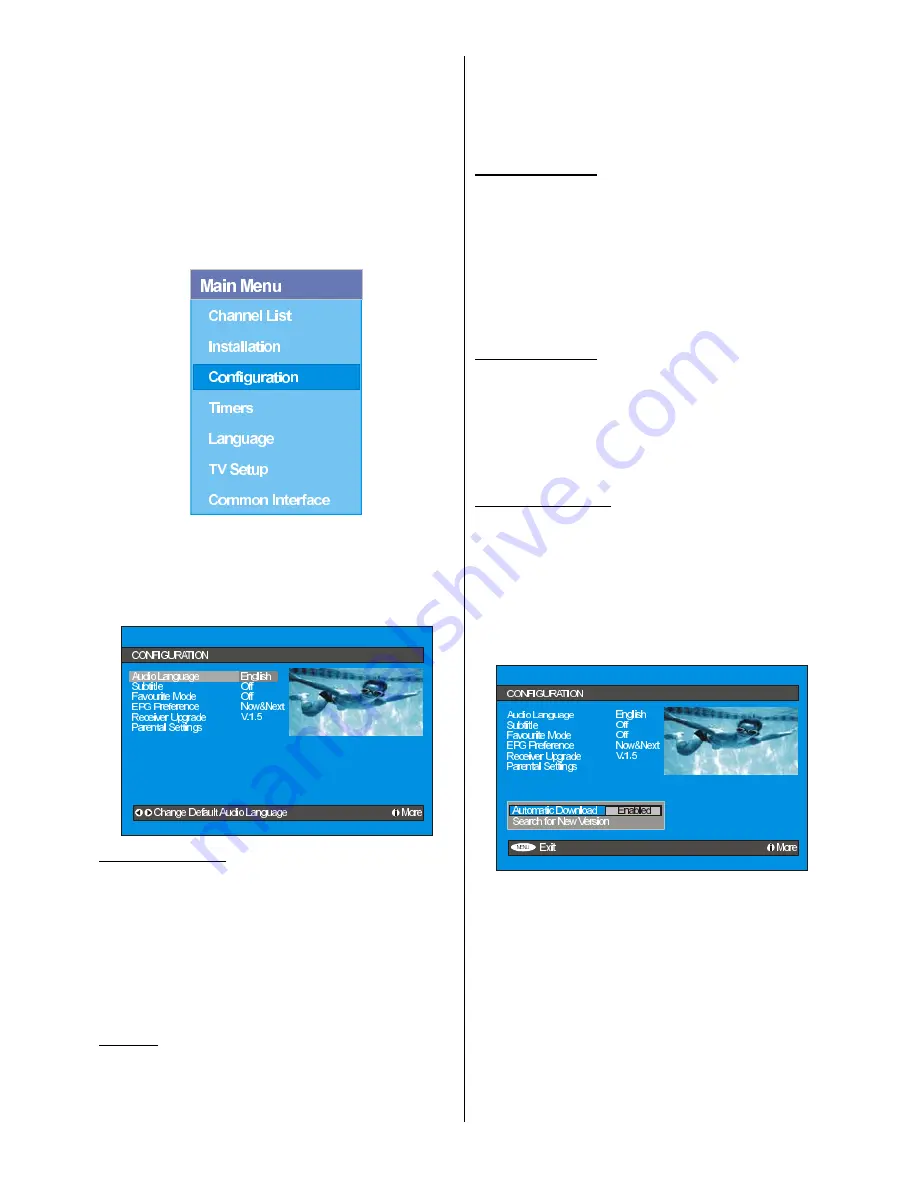
Configuration
Press the
"M"
button to display the Main Menu and
the
b
button twice to highlight Configuration, then
press the
SELECT
button to display the Configura-
tion menu. Press the
"M"
button to leave the menu.
The various configuration functions are displayed in a
list, along with a quarter-screen image of the currently
selected channel. You can select a function by high-
lighting the corresponding menu line using the
a
/
b
button.
Audio Language
Digital terrestrial television channels can broadcast
simultaneous soundtracks in more than one language.
This function selects which language soundtrack you
will hear when switching to a channel broadcasting
with the multiple soundtracks.
Highlight the
Audio Language
line in the Configura-
tion menu and use the
_
/
`
button to cycle through
the language options.
Subtitle
Digital terrestrial television channels can broadcast
subtitles displayed on-screen for the hard-of-hear-
ing. This function selects the desired subtitle language
and enables the automatic display of subtitles when-
ever subtitle information is broadcast.
Highlight the Subtitle line in the Configuration menu
and use the
_
/
`
button to cycle through
Off
and
language options.
Favourite mode
This function enables or disables the favourite chan-
nel list mode. See Channel List menu Favourites on
page 16
.
Use
_
/
`
button to turn on/off favourite mode. If the
Favourite Mode
is on, in normal operating mode
pressing
P+
and
P-
buttons will only navigate
through the channels that were previously defined
as favourites in Channel List.
EPG Preference
Digital terrestrial television channels can broadcast
simultaneous Next&Now and 7-Day electronic
programme.
Highlight the EPG Preference line in the Configuration
menu and use the
_
/
`
button to select
Next&Now
or
7-Day.
Receiver Upgrade
The IDTV can be upgraded via the configuration menu,
entered from the main menu.
In the Configuration menu, highlight the
Receiver
Upgrade
item by pressing
_
/
`
button and press
the
SELECT
button to start upgrade process.
There are two possibilities for Receiver software to
be upgraded:
automatic
and
manual
.
Automatic Download (Automatic upgrade)
Automatic Download
can be enabled or disabled
by pressing
_
/
`
button. If it is enabled, then there are
two ways for automatic upgrade. The first one is
checking the existence of a new software every time
the IDTV goes to standby. The second one is waking
up at 03:00 a.m. every night, provided that the IDTV is
left in standby mode. Both automatic upgrade meth-
ods result in standby mode either upgraded or not.
If the automatic upgrade is set to Disabled then this
function will not work.
Search For New Version (Manual upgrade)


