important note.
Once the TV has
found all your local stations, they are then automatically assigned a
programme numberand name, if available from the broadcast.
important note before starting Auto Setup
start A.P.S. (Auto Programming System)
GB
If you have a Video Cassette Recorder or a Satellite receiver connected to your TV
please ensure that they are switched on before automatic tuning begins. In the case of
a VCR, insert a pre-recorded tape and begin playback of your equipment. These
measures ensure that all your external equipment is tuned in during the Auto Setup
procedure.
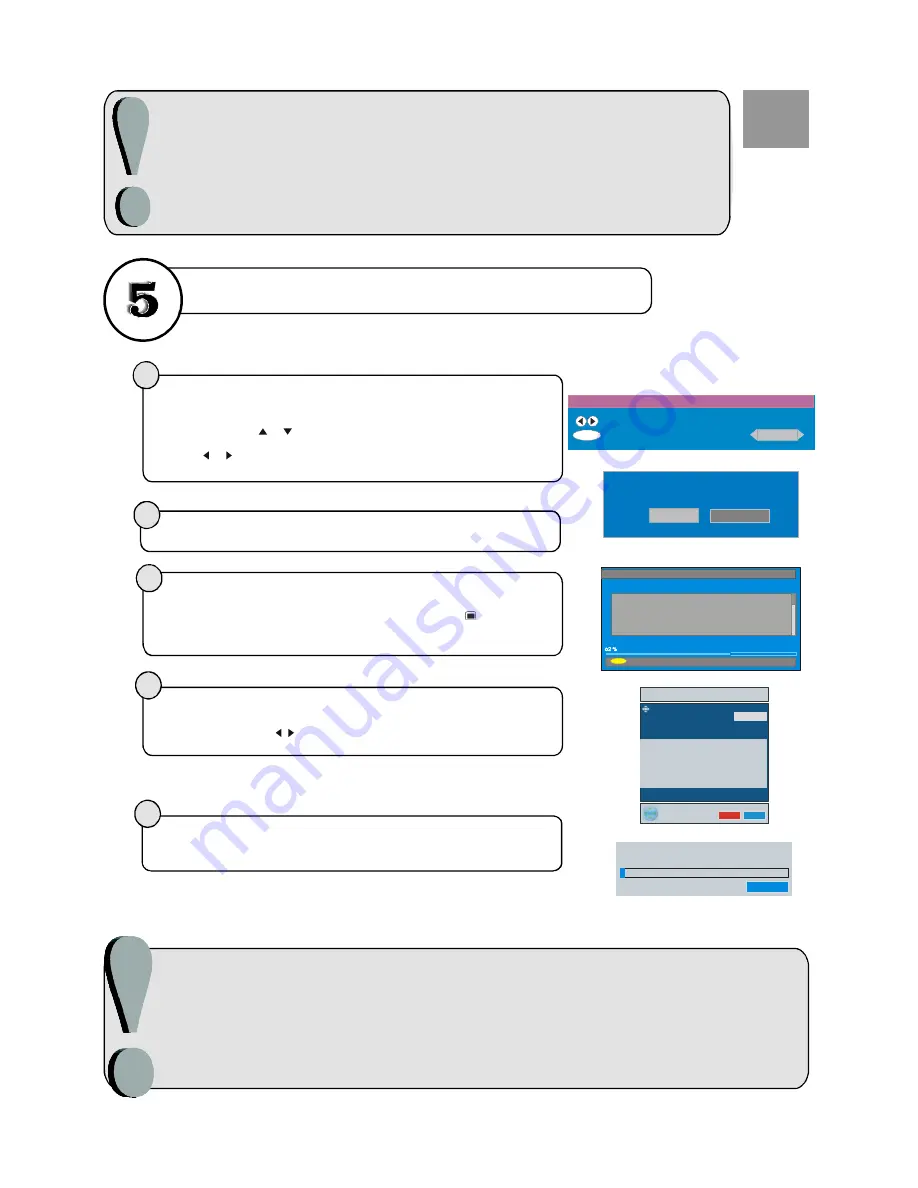
After the First Time Installation is set, the following message appears on the
screen.
1
2
First time installation
Choose Country
Set country and continue installation
OK
UK
Do you want to start automatic search?
Yes
No
To start automatic search, select
to cancel select
This process will
take about five minutes. To cancel searching, you can press “
” button at any
time during the process.
“Yes”,
“No”.
3
MENU
Codec 4:3
Codec 16:9
Searching UHF channels 62. Please wait. This will take a few minutes
Cancel searching
Automatic Search
After
process is completed, a message asking for analogue
channel search appears on the screen. To continue APS, first select the language
and country by pressing / button and then press the RED or “
” button.
Automatic Search
OK
4
5
APS is running...
UK - I
055,25 Mhz
Cancel
After APS is finalized, the programme table will appear on the screen.For details
Program menu please refer to the Installation Menu section of the instruction
book.
Language
UK
PLEASE CHECK ANTENNA CABLE
OK
Cancel
AUTO PROGRAM
AUTO. PROGRAMMING SYSTEM
Country
English
GB
GB
When the TV is turned on for the first time, the menu for the language selection
appears on the screen. The message
is written in all language options sequentially in the menu on the
screen. By pressing
or
buttons highlight the language you want to set and
press “OK”. After then, First time Installation Menu will appear on screen. By
pressing
or
buttons, select country item you want to set and press “OK”
button.
“Welcome please select your
language!”
Summary of Contents for 37LD8700C
Page 4: ... 3 LCD TV FRONT VIEW REAR VIEW 63 5 63 5 3RZHU RUG QSXW 3RZHU 2Q 2II EXWWRQ ...
Page 34: ... 33 Connect Peripheral Equipment Aerial Connection ...
Page 40: ... 39 Appendix D Main and PIP PAP Picture Combinations ...
Page 47: ... 2 85 Attention Only the original wall bracket should be used with this product ...


