2021
55SOA25PT
Issue Date: 03/09/2021
Copyright © 2021, All Rights Reserved.
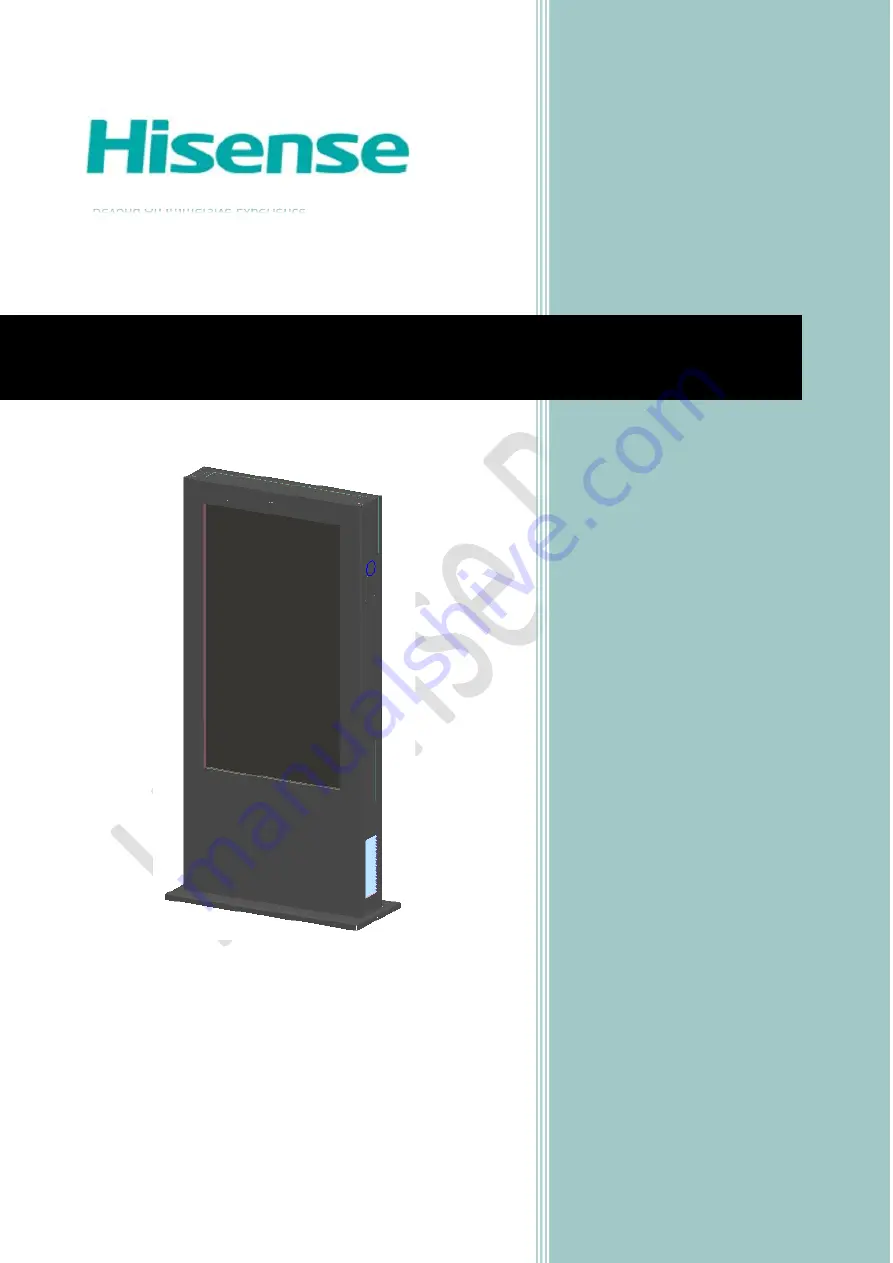
User Manual Outdoor Series
Beyond An Immersive Experience
Page 1: ...2021 55SOA25PT Issue Date 03 09 2021 Copyright 2021 All Rights Reserved User Manual Outdoor Series Beyond An Immersive Experience...
Page 2: ...on 3 2 2 Power Voltage 4 2 3 Avoid Water 4 2 4 No Touch 4 2 5 Avoid Open Flame 4 2 6 Installation Place 4 2 7 Cooling Performance 4 2 8 Clean or Maintenance 4 2 9 Cleaning 4 2 10 Expert Engineer Requi...
Page 3: ...13 8 3 Installation Hole 14 8 4 Lift product 14 9 Power on testing 16 9 1 safety testing 16 9 2 Power on procedure 16 9 2 1 External power supply 16 9 2 2 Switch off power 16 9 2 3 Display status tes...
Page 4: ...etc 1 2 Content This manual is introduction for 55SOA25PT include structure technical parameters installation usage maintenance as well as troubleshooting 1 3 Operation instructions Please make sure...
Page 5: ...Flame Do not install it nearby open flame area and no fire closed to the display 2 6 Installation Place Please follow the instructions and install it firmly on the ground or bracket to prevent any LC...
Page 6: ...sonal injury 3 Power cable The power cable is 3 meters if no particular request The cable is placed in the bottom of cabinet under display Customer can use or change different cable length as per need...
Page 7: ...Hisense B2B 6 4 Overall size mm Power Cable...
Page 8: ...on 1080 1920 Brightness 3000cd m2 Viewing angle 178 Contrast ratio 3000 1 IP rating IP65 Cooling system Air conditioner Working temp 40 50 Working Humidity 5 100 Working Voltage 220V 10 50HZ Consumpti...
Page 9: ...Hisense B2B 8 6 2 2D View 6 3 Door opening 6 4 Structure inside Step 1 Step 2 Step 3 Door for A C Rear door Speaker LCD Installation hold Eyebolt...
Page 10: ...6 5 Cable entrance hole Fan Power Timer A C LCD Switch 3 cable entrance hole for A C power cable external power cable and LAN cable Cable entrance hole for LAN Power cable Android board Power Socket R...
Page 11: ...se B2B 10 7 A C Installation 7 1 A C Removal 7 1 1 Open the A C door 7 1 2 Disconnect power cable to A C 7 1 3 Take out A C Unscrew and remove covere A C Draw out tray and take out A C Turn the rocker...
Page 12: ...Hisense B2B 11 7 1 4 Draw out tray and take out A C 7 2 A C installation 7 2 1 Put A C in the tray and fix it by rocker 7 2 2 Connect power cable to A C as below Tray Rocker...
Page 13: ...Caution before installation 8 1 1 Installation Place Environment This is floor standing mount ensure the concrete must be solid and we propose custom concrete foundation No less than 300mm No less tha...
Page 14: ...low to custom concrete foundation the overall size should be larger than base plate size recommended depth of concrete 400mm podium 20mm please make cable entrance hole in 8 2 2 Cable Pre embedded cab...
Page 15: ...y and solid make 8x installation hole in ground by M16 drill 8 4 Lift product Use crane or other tool to lift up product to the concrete and align to installation hole in concrete make sure the reserv...
Page 16: ...Hisense B2B 15 Step 1 Step 2 After installation remove 4 eyebolts and replace it with rubber plug Step 3 Anchoring by dynabolt Install 4 eyebolt Cross like this dynabolt Dynabolt into concrete...
Page 17: ...be implemented under the guidance of professional electrical engineer with multi meter 9 2 Power on procedure 9 2 1 External power supply Make sure voltage of power supply is compatible with the produ...
Page 18: ...r conditioner cooling when inside temperature up to a certain degree the A C will start working please clean the mesh in air vent after long time running 11 Media player Android media player 2G 16G wi...