23
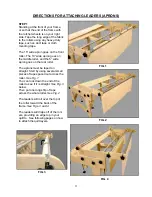
STEP 1.
Setting Carriage on Tracks
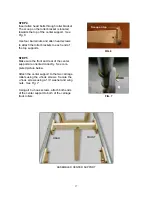
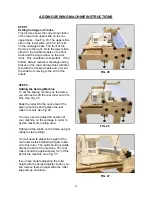
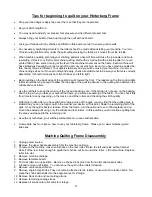
This picture shows the correct orientation
of the lower and upper slide on the car-
riage tracks.
See Fig. 25.
The upper slide
sits on the lower slide, which in turn sits
on the carriage tracks. The front of the
frame is to the right. Note the lower slide
sits with the double wheels on the front
track and the single wheel on the rear
track. This orientation is important. If the
bottom slide is reversed, the diagonal leg
braces on the rear carriage track will inter-
fere with the double wheels and prevent
the slide from moving to the end of the
rollers.
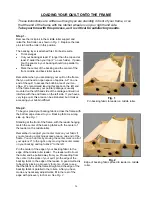
STEP 2.
Adding the Sewing Machine
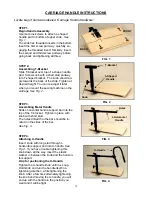
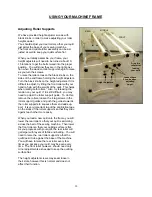
To set the sewing machine on the frame,
you will need to lift the rear roller out of its
slot.
See Fig. 25
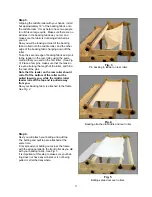
Slide the roller into the neck area of the
sewing machine and replace the rear
roller in its slot.
See Fig 26
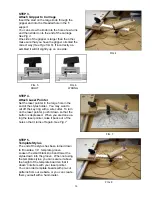
You may need to adjust the position of
your machine on the carriage in order to
get the maximum quilting area.
Tighten all the knobs on the frame and get
ready to start quilting!
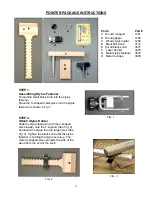
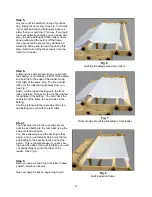
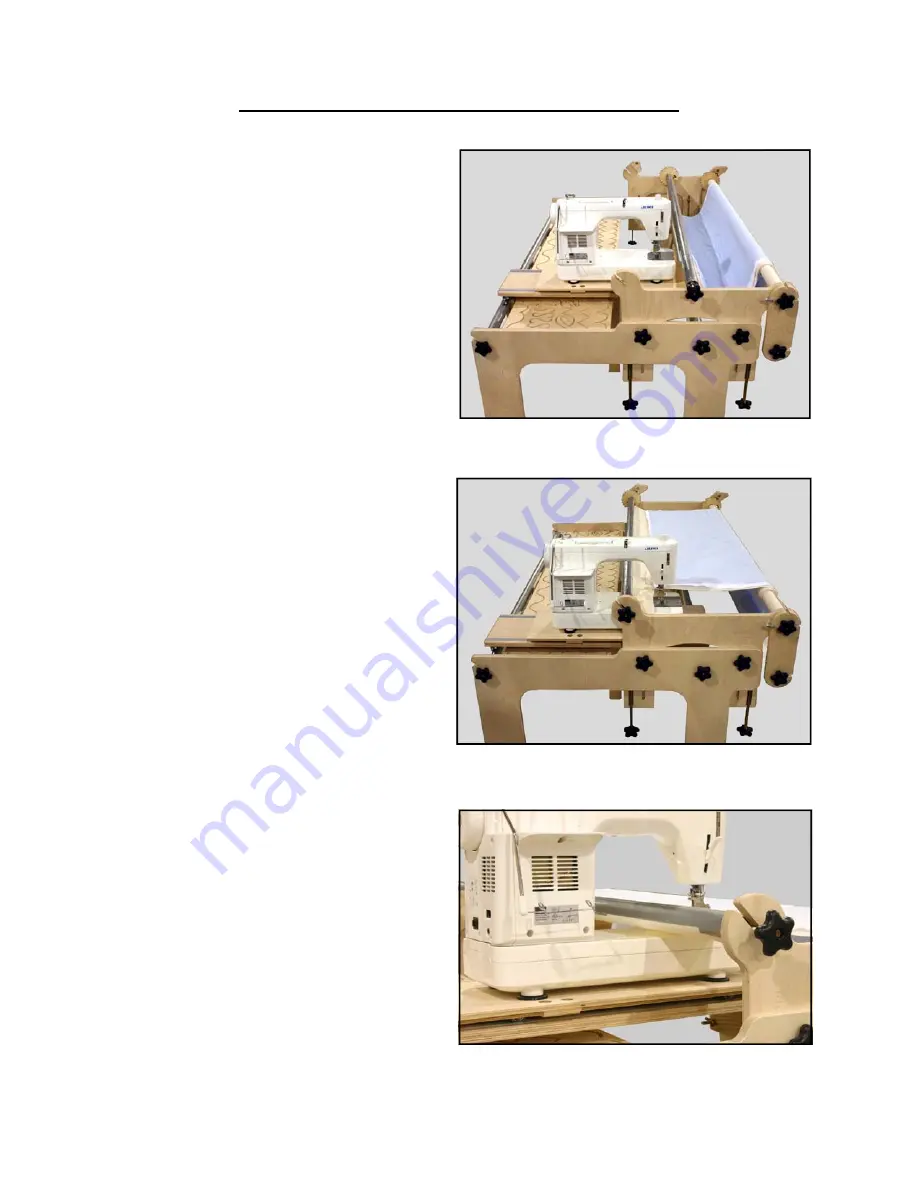
You will need to adjust the height of the
rear roller as the finished quilt gets rolled
on to this roller. The quilt should just glide
across the bed of the machine. The rear
roller should be approximately 1/4” off the
bed of the machine.
See Fig. 27
If you have trouble adjusting the roller
height with the height adjuster knobs, you
can remove them and just slide the roller
supports up and down.
ADDING SEWING MACHINE INSTRUCTIONS
FIG. 25
FIG. 26
FIG. 27

