Step By Step Instructions for Typical Use Cases
20/89
NXHX 52-JTAG | Getting Started
DOC131004GS02EN | Revision 2 | English | 2013-11 | Released | Public
© Hilscher 2013
The prompt shows the specified path:
Figure 8: Change Directory in Command Prompt
4. Specify build options and execute waf.bat batch file.
To build an ELF for debugging from the
rcX_Tasks
example, type in
the following string behind the prompt, then press
Enter
key on your
keyboard:
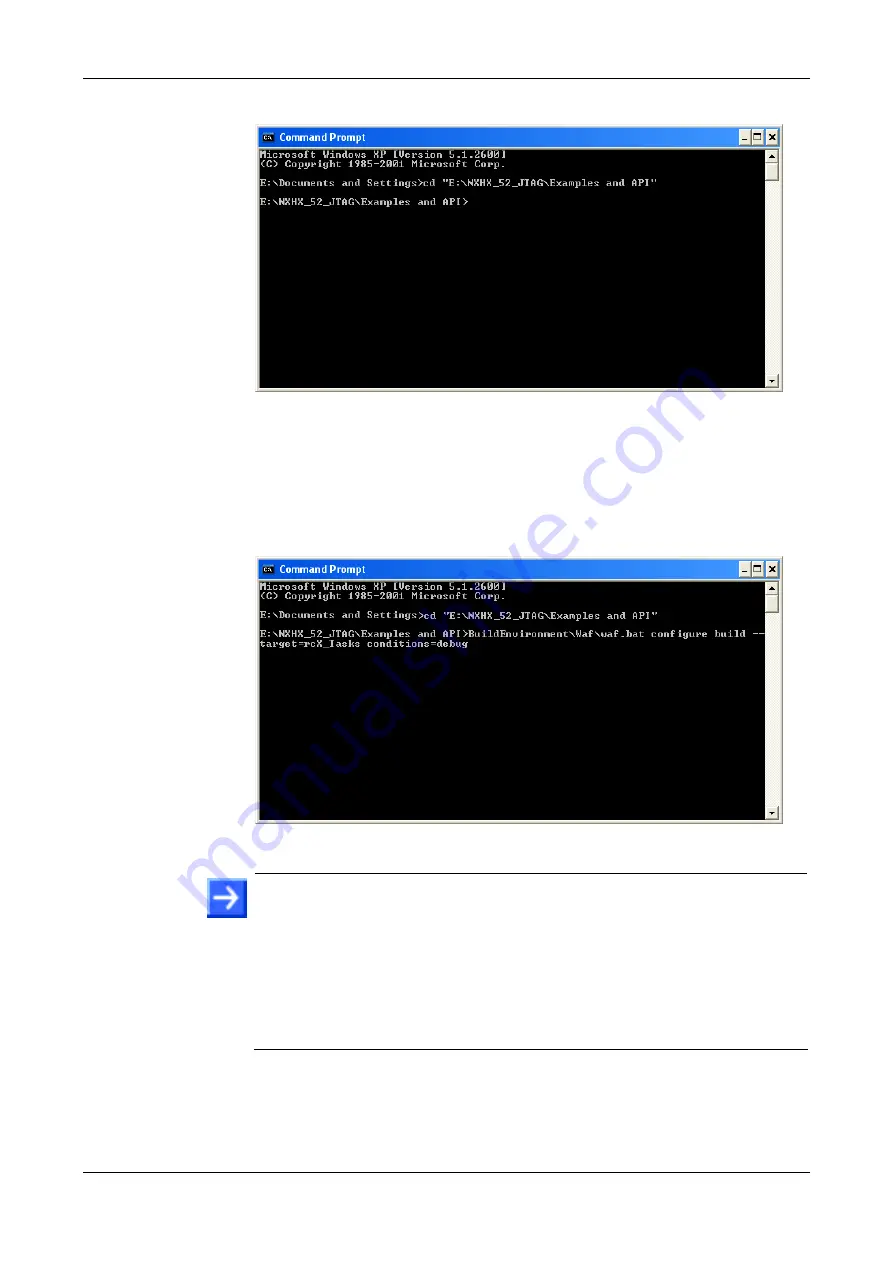
BuildEnvironment\Waf\waf.bat configure build --target=rcX_Tasks --conditions=debug
Figure 9: Execute waf.bat with Target and Build Options
Note:
If you want to build a different application (not the
rcX_Tasks
application), look up the APPNAME in the
wscript
file belonging to the
corresponding application example and enter it behind the target option:
--target=[APPNAME]
. Note that the parameters are case sensitive.
If you want to use the ELF for debugging, don’t forget to add the
debug
option:
--conditions=debug
. If you don’t use the
--conditions=debug
option, the ELF will be built for
release
by
default.
Waf starts to build the application example specified by the target option
(i. e. the
rcX_Tasks
example). It creates a
build\Targets\debug
or
build\Targets\release
directory and stores the produced ELF in
the corresponding application example folder (i. e. in the
Examples
and API\build\debug\Targets\rcX\1. rcX Tasks
directory).


