


Part 2 - Getting Started
25
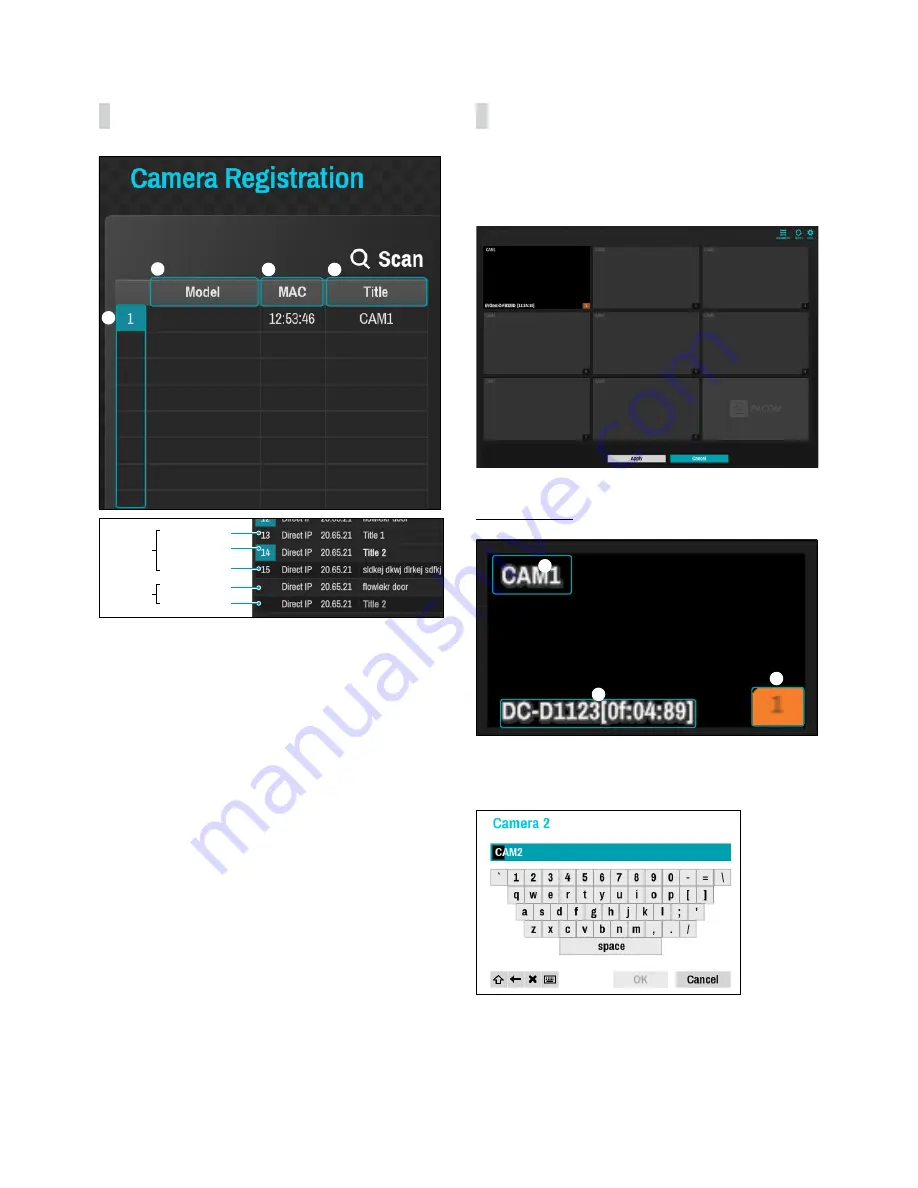
Camera List Area
1
2
3
4
Registered
Screen
No display
Screen
display
Initial registration
Initial registration
other NVRs
(Registration X)
other NVRs
(Registration X)
1
Screen Position/Registration Status: Identifies the
camera's position in the video display area. A blue
background indicates a camera that is available for
registration. A grey background indicates an already
registered camera. Other registered cameras are
shown in black background.
2
Model: Indicates the camera's model.
3
MAC: Displays the last 6 digits of the camera's MAC
address.
4
Title: Indicates the camera's name. Changing a
camera's name in the video display area updates the
camera list as well.
Following options can be accessed by right-clicking on a
camera list entry:
•
Add/Remove Camera: Adds or removes the selected
camera. The Add Camera option is inactive if the
camera has already been added to the screen.
•
Authentication: Enter the necessary camera login
info. This option is inactive for DirectIP™ cameras
because they do not require logins.
Video Display Area
Left-click on the video display area to toggle between
split screen and single screen modes.
Drag the camera screens around to rearrange them.
Camera Screen
1
2
3
1
Camera Title
Indicates the camera's title. Left-click on the title to
edit the camera's title.
2
MAC Address
Camera's model and MAC address are shown if the
camera has not been registered to the NVR.
3
Screen Position/Registration Info


