


Part 3 - Configuration
49
• Edit: Rename the selected privacy masking area.
• Delete: Delete the selected privacy masking area.
• Save: Save the changes and exit the privacy masking
area options screen.
• Cancel: Exit the privacy masking area options screen
without saving the changes.
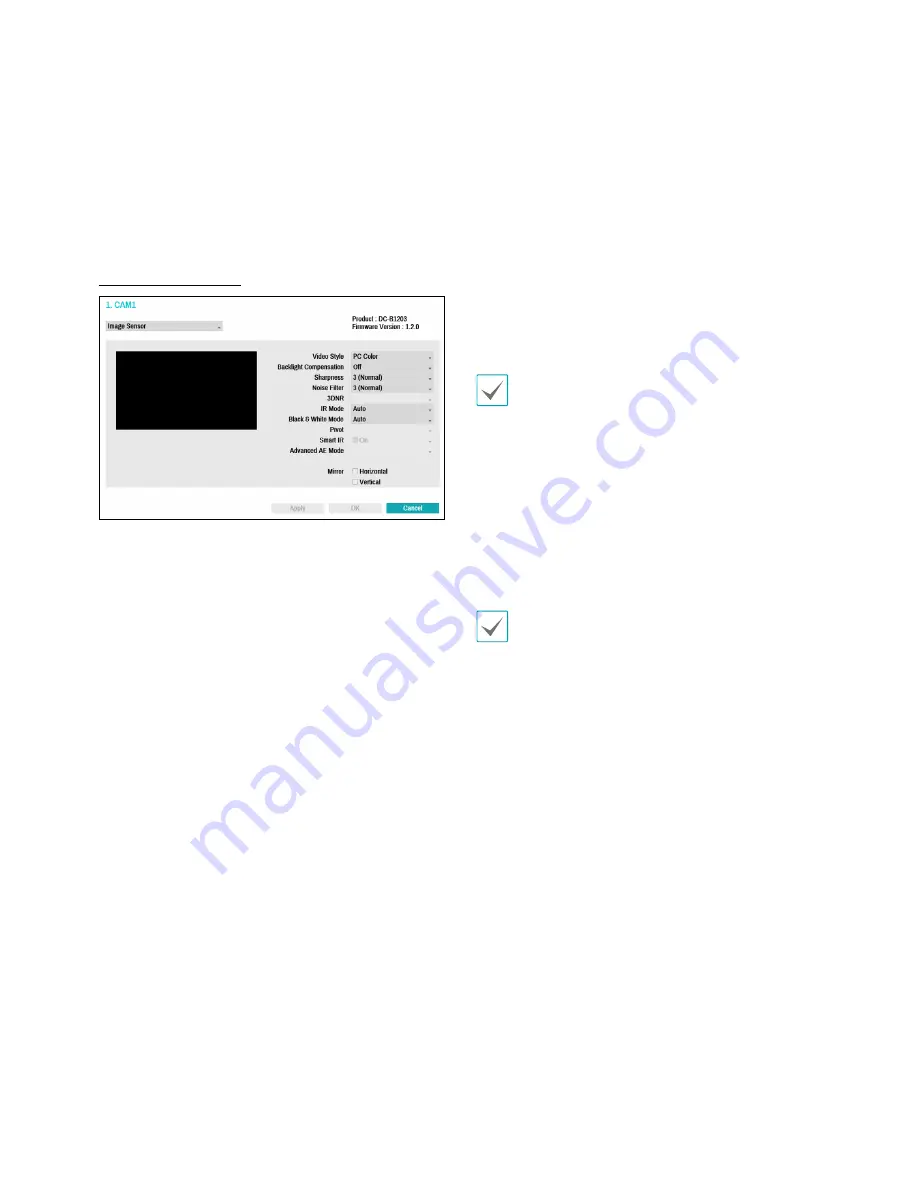
Image Sensor Options
• Product, Firmware Version: Displays the camera
model name and firmware version.
• Video Style: Select TV Color or PC Color.
• Backlight Compensation: Enable/disable Backlight
Compensation. If enabled, objects are exposed
brighter in backlit situations.
• Sharpness: Adjust the sharpness level. Adjust the
contours to make the images look sharper. Increasing
the value raises the sharpness level, but using too
high a value can result in unwanted noise.
• Noise Filter: Select the noise filter level. Noise filter
can reduce the noise in images taken under low-
lighting conditions. Increasing the value reduces the
noise, but using too high a value can result in blurry
images.
• 3DNR : Enable/disable 3DNR (3D Noise Removal).
3DNR reduces background noise in images taken
under low-lighting conditions. 3DNR does not
produce blurry images like Noise Filter but can result
in ghosting.
• IR Mode: IR Mode blocks out the infrared spectrum.
You can ensure clear images at all times by blocking
out the infrared spectrum in high-lighting conditions
and allowing the infrared spectrum to pass through in
low-lighting conditions.
– Daytime Mode/Nighttime Mode: Enable/disable
IR Mode.
– Auto: Allow the system to enable/disable IR Mode
automatically.
– Schedule: Set up the IR Mode schedule. IR
Mode is disabled for all days and times that are
designated as Daytime in the schedule and is
enabled at all other times.
Schedule function may not be supported depending
on the camera model.
• Black & White Mode: Display the images in greyscale
for greater clarity in low-lighting conditions.
– On/Off: Enable/disable Black & White Mode.
– Auto: Allow the system to enable/disable Black &
White Mode automatically.
– Schedule: Set up the Black & White Mode
schedule. Black & White Mode is disabled for all
days and times that are designated as Daytime in
the schedule and is enabled at all other times.
Schedule function may not be supported depending
on the camera model.
• Pivot: Enable this option and choose the direction of
the pivot. You can turn the image by 90 degrees in the
clockwise or counterclockwise direction. This feature
is particularly effective when monitoring hallways,
passages, and other confined spaces.
• Smart IR: Adjust the IR LED's brightness level. Select
On to allow the system to adjust the brightness level
automatically. Deselect On to select a brightness level
manually between 0% (darkest) and 100% (brightest).


