background image

Thermal Image Scope User Manual 

14 


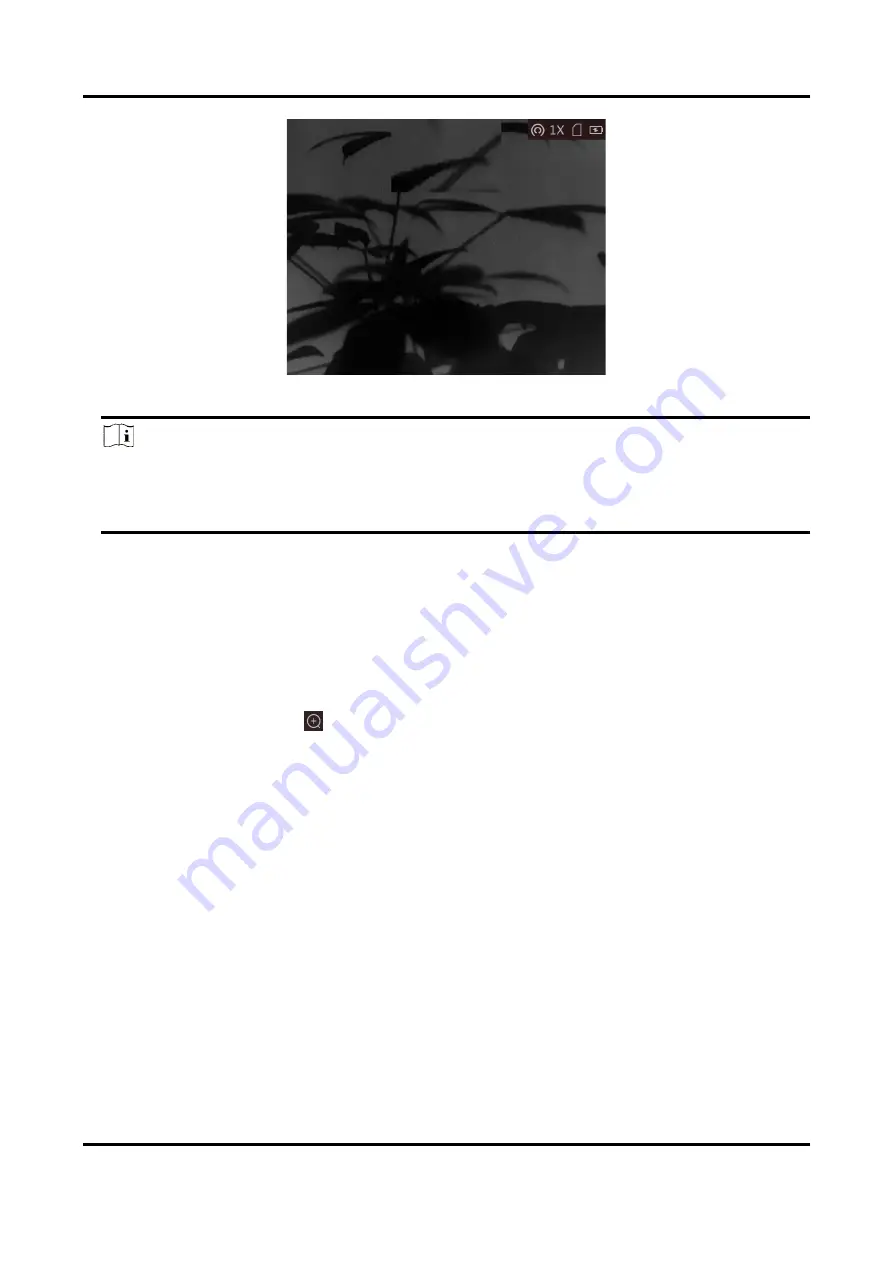
Figure 3-6 Set Picture in Picture Mode 

Note 


When reticle is enabled, the PIP view is the detail of reticle. When reticle is not enabled, the 
PIP view is the detail of central part. 


If the PIP function is enabled, the PIP view zooms when adjusting the digital zoom ratio.   


3.10 Adjust Digital Zoom 

In the live view mode, rotate the wheel to switch the digital zoom ratio of the device. 

Steps 
1. Hold the wheel to show the menu. 
2. Rotate the wheel to select 

, and press the wheel to select a zoom mode. 


Continuous: In the live view mode, rotate the wheel to zoom in or zoom out by 0.1× 
continuously. 


Multiple: In the live view mode, rotate the wheel to set the digital zoom ratio to 1×, 2×, 4×, or 
8× 

3. Hold the wheel to save and exit. 


Summary of Contents for STELLAR Series

Page 1: ...Thermal Image Scope HIKMICRO STELLAR Series User Manual V5 5 54 202212 Contact Us...

Page 2: ...escription 5 2 5 Firmware Status 5 2 5 1 Client Software Connection 5 2 5 2 Check Firmware Status 6 2 5 3 Upgrade Device 7 2 6 Zeroing 8 Chapter 3 Image Settings 9 3 1 Adjust Diopter 9 3 2 Adjust Focu...

Page 3: ...Files 23 Chapter 7 System Settings 25 7 1 Synchronize Time 25 7 2 Language Settings 25 7 3 Unit Settings 25 7 4 View Device Information 25 7 5 Restore Device 26 Chapter 8 Frequently Asked Questions 27...

Page 4: ...Distance Measurement The device can detect the distance between the target and the device Hot Tracking The device can detect the highest temperature in the scene and mark the spot Zeroing The reticle...

Page 5: ...Compartment For holding the battery 5 Wheel Hold Enter Exit menu Rotate Switch digital zoom 6 Power Key Press Standby mode Wake up device Hold Power on off 7 Palettes Key Press Switch palettes Hold M...

Page 6: ...battery type is 18650 with the protection board and the battery size should be 23 mm 67 mm The rated voltage and capacity are 3 6 VDC 3350 mAh 12 18 Wh The external removable battery type is CR123A Th...

Page 7: ...e Cover Note Remove the battery if the device is not used for a long time 2 3 Power On Off Power On When the battery is sufficiently charged press to power on the device Power Off When the device is t...

Page 8: ...antity means the battery is fully charged and means that the battery is low When the low power note shows charge the battery 2 4 Menu Description When the device is turned on hold the wheel to show th...

Page 9: ...tem 5 Open the app and connect your phone with the device You can view the interface of device on your phone Note The device cannot connect to the App if entering wrong password several times Refer to...

Page 10: ...Upgrade to enter the firmware upgrade interface 3 Tap Upgrade to start upgrade Figure 2 7 Upgrade Firmware Note The upgrading operation may vary due to app updates Please take the actual app version f...

Page 11: ...The upgrading process will be displayed in the main interface Note During the upgrade make sure the device is connected to your PC Otherwise it may cause unnecessary upgrade failure firmware damage et...

Page 12: ...g until the OSD text or image is clear Figure 3 1 Adjust Diopter Note When adjusting diopter DO NOT touch the surface of lens to avoid smearing the lens 3 2 Adjust Focus Steps 1 Power on the device 2...

Page 13: ...djust image contrast 3 5 Select Scene Mode You can select proper scene mode according to actual using scene to improve the display effect Steps 1 Hold the wheel to go to the menu 2 Rotate the wheel to...

Page 14: ...ed in view The higher the temperature is the darker the color is Red Hot The hot part is red colored in view The higher the temperature is the redder the color is Fusion From high temperature to low t...

Page 15: ...select Axis and press the wheel to switch the moving direction of the cursor 4 Rotate the wheel to move the cursor until it reaches the defective pixel and press the wheel to confirm 5 Rotate the whee...

Page 16: ...ual FFC In the live view mode hold to trigger calibration Auto FFC The device performs FFC automatically according to the set schedule when switching on the camera External In the live view mode cover...

Page 17: ...usting the digital zoom ratio 3 10 Adjust Digital Zoom In the live view mode rotate the wheel to switch the digital zoom ratio of the device Steps 1 Hold the wheel to show the menu 2 Rotate the wheel...

Page 18: ...ld the wheel to save and exit Result The right top of the image displays the reticle information For example A3 100 m means you are using the No 3 reticle in reticle group A and the set range is 100 m...

Page 19: ...10 types of reticles can be selected 5 Set reticle color 1 Rotate the wheel to select Color 2 Press the wheel to switch the color of the reticle Black White Green and Red are selectable 6 Optional Re...

Page 20: ...e 4 3 Correct Reticle Correcting the reticle can help you aim at the target with high accuracy by marking the offset between the big reticle and small reticle Before You Start Select a reticle group f...

Page 21: ...eticle at the target 2 Optional Rotate the wheel to select Zoom and press the wheel to switch the zoom ratio 3 Rotate the wheel to select the coordinates and press the wheel to switch the X and Y axis...

Page 22: ...t 1 Rotate the wheel to select the target from Deer Grey Wolf Brown Bear and Custom 2 Press and rotate the wheel to set target height Note The available height ranges from 0 1 m to 9 0 m 3 Press the w...

Page 23: ...face 3 Rotate the wheel to select the OSD information you want to display or not 4 Press the wheel to enable or disable the selected OSD information 6 2 Set Brand Logo You can add brand logo on the li...

Page 24: ...view mode hold the wheel to show the menu 2 Rotate the wheel to select and press the wheel to capture a picture 3 Hold the wheel to exit Note When capturing succeeds the image freezes for 1 second an...

Page 25: ...deo After enabling this function the device can automatically record the 7 seconds before and after the recoil activation Steps 1 In the live view mode hold the wheel to show the menu 2 Rotate the whe...

Page 26: ...n the spot of highest temperature When the scene changes the moves accordingly Figure 6 3 Hot Tracking 6 6 Export Files This function is used to export recorded videos and captured pictures Before You...

Page 27: ...to DCIM 202206 to find the picture or video 3 Select and copy the files to PC 4 Disconnect the device from your PC Note The device displays images when you connect it to PC but functions such as reco...

Page 28: ...ain to finish the setting 6 Hold the wheel to save and exit 7 2 Language Settings You can select the device language in this function Steps 1 Hold the wheel to show the menu 2 Rotate the wheel to sele...

Page 29: ...the wheel You can view the device information such as version and serial No 7 5 Restore Device Steps 1 Hold the wheel to show the menu of device 2 Rotate the wheel to select and press the wheel to re...

Page 30: ...3 Capturing or recording fails What s the problem Check the following items Whether the device is connected to your PC Capturing or recording is disabled in this status Whether the storage space is fu...

Page 31: ...ce common serial port commands Note that the command list contains the commonly used serial port commands for HIKMICRO thermal cameras 9 2 Device Communication Matrix Scan the following QR code to get...

Page 32: ...e factory with the original wrapper Transportation without the original wrapper may result in damage on the device and the company shall not take any responsibilities DO NOT drop the product or subjec...

Page 33: ...n using it to ensure the device performance Using Environment Make sure the running environment meets the requirement of the device The operating temperature shall be between 30 C to 55 C 22 F to 131...

Page 34: ...PTION OR LOSS OF DATA CORRUPTION OF SYSTEMS OR LOSS OF DOCUMENTATION WHETHER BASED ON BREACH OF CONTRACT TORT INCLUDING NEGLIGENCE PRODUCT LIABILITY OR OTHERWISE IN CONNECTION WITH THE USE OF THE PROD...

Page 35: ...ted Consult the dealer or an experienced radio TV technician for help Please take attention that changes or modification not expressly approved by the party responsible for compliance could void the u...

Page 36: ...recyclethis info According to the Batteries and Accumulators Placing on the Market Regulations 2008 and the Waste Batteries and Accumulators Regulations 2009 This product contains a battery that cann...

Page 37: ...subi m me si le brouillage est susceptible d en compromettre le fonctionnement This equipment complies with IC RSS 102 radiation exposure limits set forth for an uncontrolled environment ce mat riel e...

Page 38: ...Website www hikmicrotech com E mail support hikmicrotech com UD31318B...

Reviews: