40
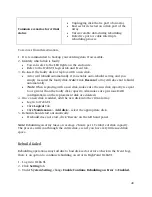
Common scenarios for critical
status
Unplugging disk that is part of an array
Bad sector detected on a disk part of the
array
Unrecoverable data during rebuilding
Defective port or cable interrupts
rebuilding process
To recover from this situation,
1.
It is recommended to backup your existing data if accessible.
2.
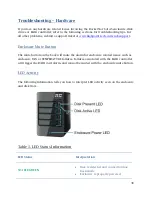
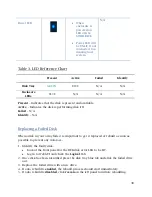
Identify which disk is faulty.
You can refer to the LED lights on the enclosure.
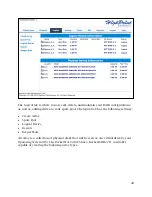
Refer to the WebGUI Logical tab and Event tab.
3.
Re-insert the faulty disk or replace with a new disk.
Array will rebuild automatically if you enable auto-rebuild setting and you
simply reseated the faulty disk.
Note
: Click
Rescan
if array still does not rebuild
automatically.
(
Note
: When replacing with a new disk, make sure the new disk capacity is equal
to or greater than the faulty disk capacity. Also make sure previous RAID
configurations on the replacement disk are deleted.)
4.
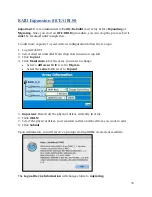
Once a new disk is added, add the new disk into the critical array.
Log in to WebGUI.
Click
Logical
Tab.
Click
Maintenance
>
Add
disk
> select the appropriate disk.
5.
Rebuild should start automatically.
If rebuild does not start, click ‘Rescan’ on the left hand panel.
Note
: Rebuilding an array takes on average 2 hours per 1 Terabyte of disk capacity.
The process will scan through the entire disk, even if you have very little
used
disk
space.
Rebuild failed
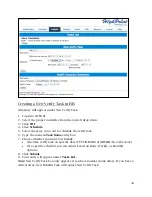
Rebuilding operations may fail due to bad disk sector errors (check in the Event Log),
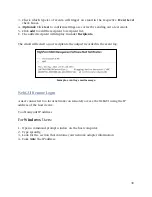
there is an option to continue rebuilding on error in HighPoint WebGUI.
1.
Log in to WebGUI.
2.
Click
Setting
tab.
3.
Under
System
Setting
, change
Enable
Continue
Rebuilding
on
Error
to
Enabled.

