HL 721A/B 1351B Plotting Cutter User Manual
Page 7/27
* Make sure there is 1 ~ 10 cm distance between feeding wheel and paper edge to achieve good feeding.
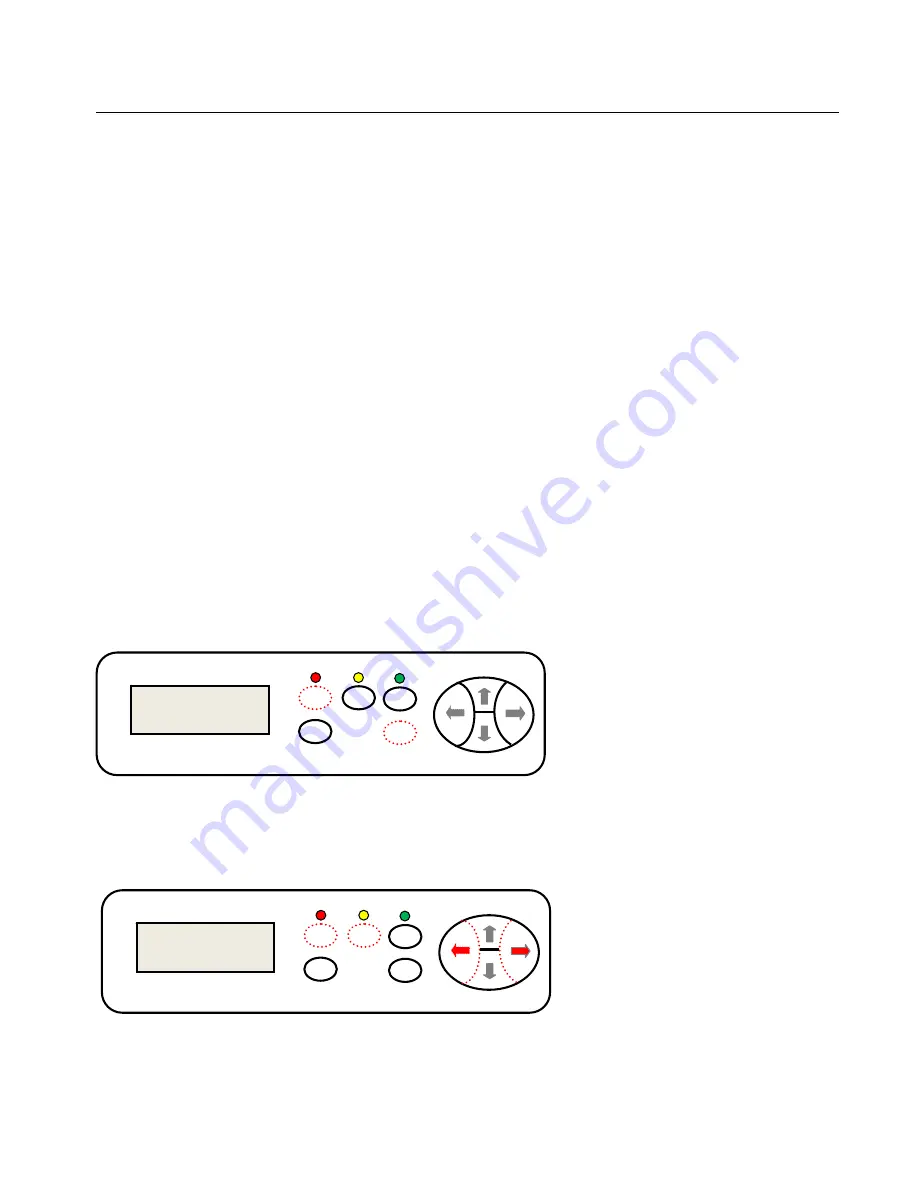
6. Offline Operation - Machine Standalone Adjustment (
The LCD panel
layout of B model is different than A model, but key operations are same
)
Key points:
1. The cutting plotter stands alone, do not need to connect to a PC.
2. Manual check X, Y, Z axis, adjust the carriage speed and pressure.
3. Load a ball pen and a piece of paper; check whether a test pattern (a test square) can be drawn.
4. The cutting plotter will be considered as OK generally as long as it’s able to draw a test square.
6.1. Initialize
1. Load a piece of paper properly (smooth, nice even and square).
2. Load a ball pen into a carriage holder (to eliminate any influence from a knife).
3. Plug power cable to the 240V AC 50Hz power point and turn on the power switch (a red “
Reset
” LED stays on and a blue
screen on LCD panel).
4. The blade carriage will move to right end position.
5. The rolling shaft will rotate forward and backward.
6. The carriage head will lift up 1~ 2mm.
7. The
“
Reset
” LED stays on which means the cutter is standby.
The factory default settings are:
Baud rate:
9600 bps.
Cutting speed:
480 mm/s.
Cutting force:
240 g.
Starting point:
right end of the machine.
Data buffer:
empty.
*The default settings can be changed during running.
6.2. Check Z Axis (Pen/Blade Holder Heads Down or Up)
1. The red “
Reset
” LED stays on.
2. Press and hold “
Origin
” button on the keypad and the blade holder on the carriage will head down, and lift up when release “
Origin
”
button.
6.3. Check X Axis (Pen/Blade Carriage Moves Left or Right)
1. The red “
Reset
” LED stays on.
2. Press “
Offline/Pause
” button, and make sure the yellow LED stays on.
Offline
/Pause
Reset
Setup
Test Origin
X
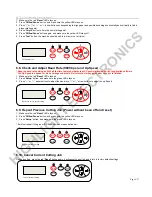
axis operation
1
2
3
Offline
/Pause
Reset
Setup
Test Origin
Z axis operation
2
1
HIGHLIGHT
ELECTRONICS


