VertX V1000 (CS) Quick Installation Guide
Note
: Most configurations will
not
Advanced Setup
require accessing the
screen.
3 .1 .2 .1
St at ic N et w ork
Configuration
If using a Static TCP/IP network, proceed with changes using the information collected on the
Checklist
, page 18.
3 .1 .2 .2
DH CP N et w ork
If using a DHCP TCP/IP network, this information is configured automatically.
3 .1 .2 .3
M odem
Configuration Checklist
If using a Modem, proceed with changes using the information collected on the
.
3 .1 .3
Ba sic Ce n t r a l St a t ion / H ost Com m u n ica t ion Se t u p
Enter the
CS/Host IP Address
Host Name
Here I Am Interval
or
, and the
collected on the
Configuration
Checklist
, page 18. See
central station automation software
, page 16.
3 .1 .3 .1
Cont roller Login Passw ord
During your first instance of accessing the Configuration GUI, you must change the password (located at the
bottom of the screen). Enter a new password, and reenter the password in the second field.
Note
: This step is not necessary during any consecutive Configuration GUI sessions. However on consecutive
sessions the password may be changed.
Submit
, and the
Confirmation
page (see 3.1.4
Once configuration changes have been made, click
Confirmation, page 13) will display.
3 .1 .4
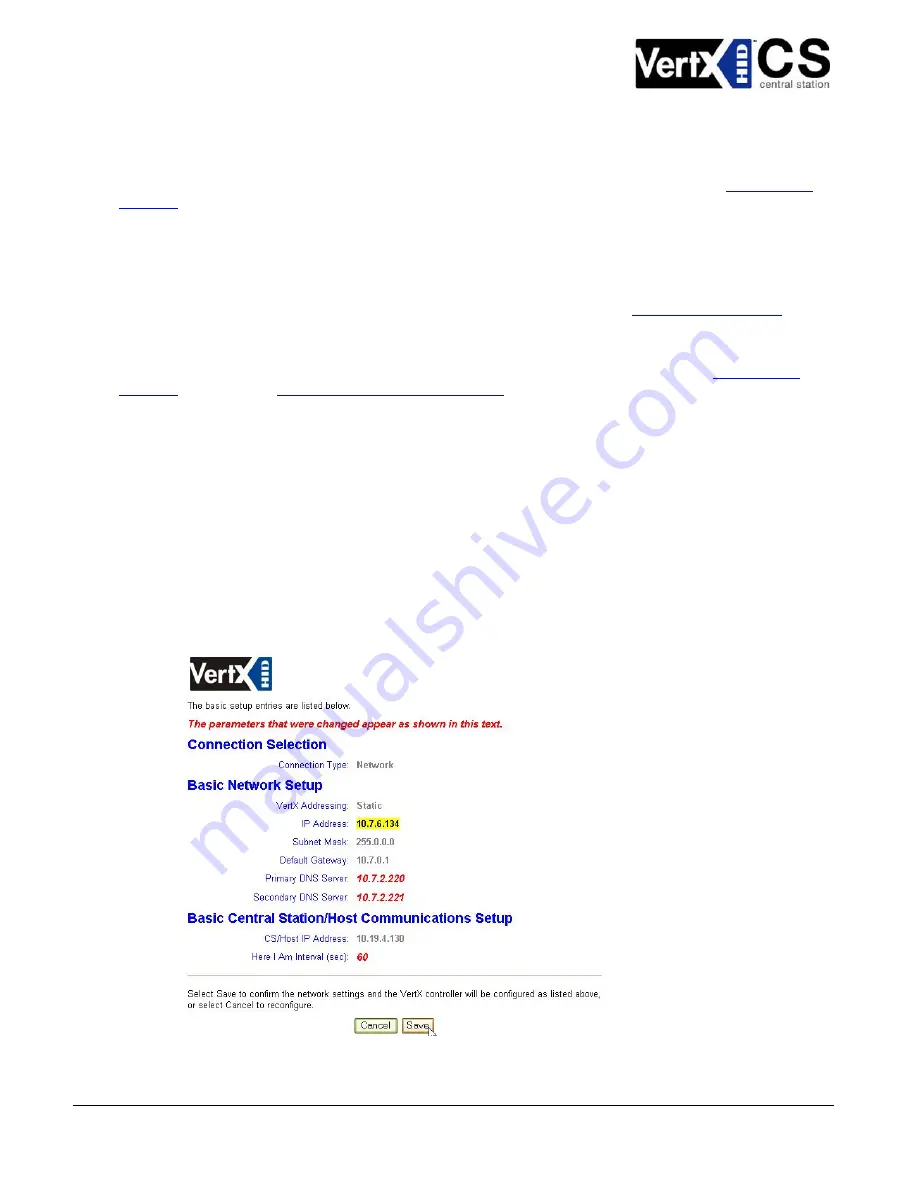
Con fir m a t ion
Confirmation
Once configuration changes are complete and submitted, the
screen will display. Verify that the
changes submitted are accurate, and click
Save
Cancel
. If the changes submitted are not accurate, click
and
adjust the settings appropriately.
October 2006
Page 13 of 20
© 2006 HID Global Corporation. All rights reserved.


