


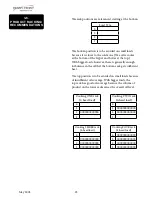


25
June 2009
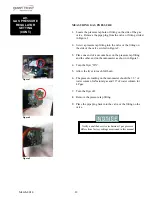
4.
Allow fryer to heat until READY illuminates.
Once out of the Melt Cycle, “WAIT” flashes until 5° before
setpoint temperature is reached. Then READY illuminates and
the selected product shows in the display.
5.
Before loading product onto the racks, lower the racks into
the hot shortening to prevent the product sticking to the
racks.
6.
Slide racks of breaded product into carrier on the lid, starting
with the bottom rack, to prevent damaged product.
7.
Lower and latch the lid, and press the TIMER button.
8.
At the end of the cycle, an alarm sounds, while the display
shows “DONE”. Then press the TIMER button.
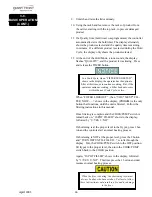
3-6.
BASIC OPERATION
(CONT.)
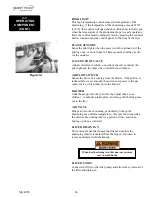
Bypass Melt Cycle, if desired, by pressing a Product
button
and holding it for five seconds. The display
shows “EXIT MELT? 1=YES 2=NO”.
Press 1 button to exit melt.
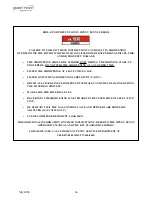
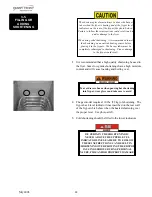
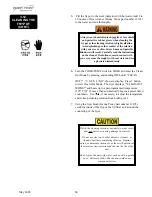
In the event of a power failure, no attempt should be
made to operate the fryer. The fryer is equipped with
an automatic ignition system and cannot be operated
without electrical power.
A different product can be selected during the first min
-
ute of cooking, in case the wrong product button was
pressed. To check the shortening temperature, press
(◄INFO) or to stop a cook cycle, press the TIMER
button.
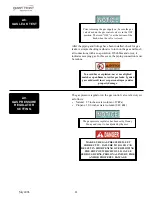
To avoid property damage do not leave fryer
unattended.
The heat cycles on and off about 10°F (6°C) before the
setpoint temperature, to help prevent overshooting the
setpoint temperature. (Proportional Control)
Do not bypass the Melt Cycle unless enough shortening
has melted to completely cover all of the burner tubes.
If the Melt Cycle is bypassed before all burner tubes
are covered, excessive smoking of shortening or a fire
will result.