
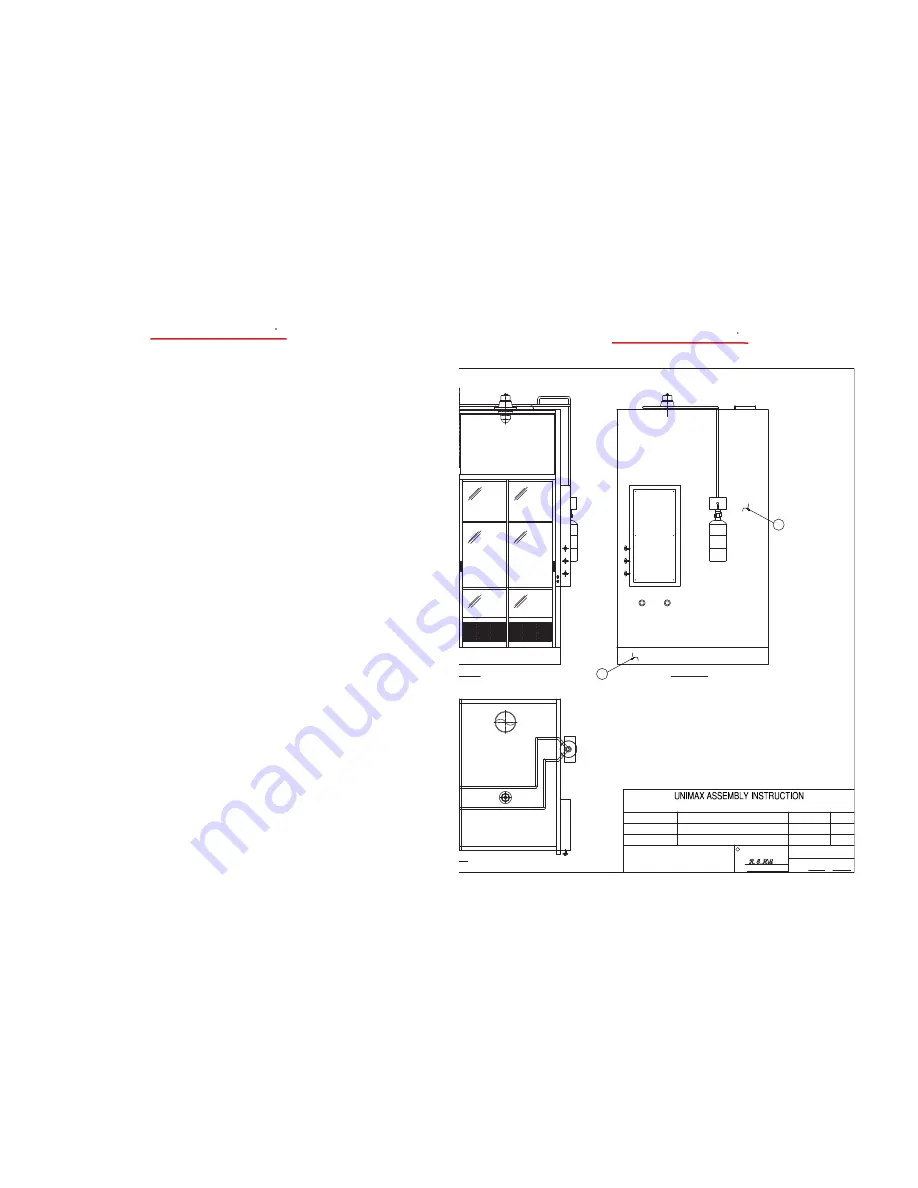
4
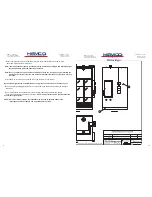
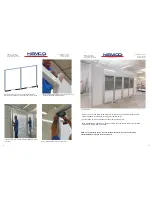
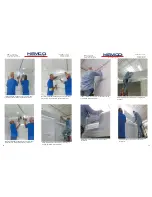
• Orient basin so that the front is oriented to suit the customer’s requirement.
Note: left and right would be determined by facing front of enclosure and the drawing set.
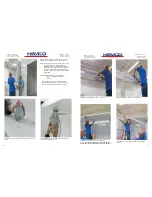
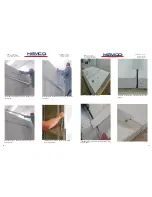
• Remove banding holding grating into recess of the basin and the wood protecting the aluminum
extrusions.
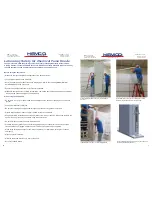
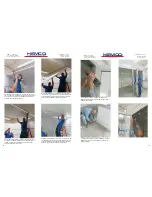
• Be sure wall panels are seated fully into the structural channels and plumb and square.
Secure with provided #10 sheet metal screws.
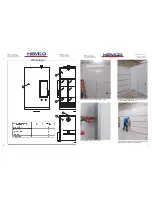
NOTE: Some pictures shown are from di
ff
erent
but similar style projects.
NOTE: Quick ratchet bar clamps to stepladder may be used to partially support the
initial panel until other panels can be permanently secured.
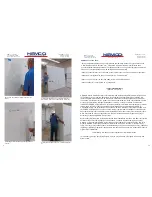
• Deliver components to erection site and segregate. Note identifi cation markings on each
panel and inside aluminum extrusions.
Note: Insertion of the wall panels into the base may be aided by utilizing a thin
fl
exible putty or
spackling knife to guide the panel into the track.
Note: Be very careful as sub-assemblies and wall sections can be very heavy, particularly the
basin and the rear wall section. Use dollies or mechanical means to carry items over any
distance.
HEMCO
Laboratory Planning Solutions
www.HEMCOcorp.com
Fax (816) 796-3333
Tel (816) 796-2900
HEMCO Corporation
711 South Powell Road
Independence, MO 64056
R
21
HEMCO
Laboratory Planning Solutions
www.HEMCOcorp.com
Fax (816) 796-3333
Tel (816) 796-2900
HEMCO Corporation
711 South Powell Road
Independence, MO 64056
R
Drawings:
HEMCO Corporation


