23
Installation with “Easy Plug Cable”
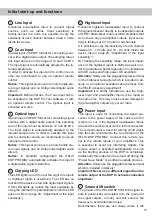
To simplify installation to an OEM or aftermarket
radio the HELIX DSP PRO MK2 can also be con-
nected using the optional Easy Plug Cable (EPC 5)
which will supply the signal processor with both
power and loudspeaker signals of the radio. No
factory wires or plugs need to be cut by using this
connection method. The Easy Plug Cable uses the
highlevel inputs A - D.
Connection to an OEM radio is detailed below:
1.
Once the radio has been removed by using the
right tools disconnect the OEM harness from
the radio. Connect the vehicle cable jack con-
nectors of the Easy Plug Cable. You may need
a special ISO-adaptor depending on vehicle
type. In order to verify please check the adaptor
database on the Audiotec Fischer homepage
www.audiotec-fischer.com
.
2.
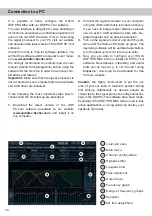
Connect the cable plugs to the car radio.
3.
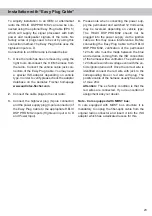
Connect the highlevel plug (8-pole connector)
and the power supply plug (4-pole connector) of
the Easy Plug Cable to the appropriate HELIX
DSP PRO MK2 inputs (
Highlevel Input
A to D
and
Power Input
).
4.
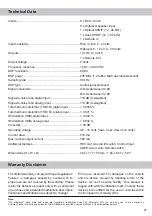
Please note when connecting the power sup-
ply the permanent and switched 12 Volts wires
may be reversed depending on vehicle type.
The HELIX DSP PRO MK2 should not be
plugged into the power supply via the ignition
cable as this may cause interferences. Before
connecting the Easy Plug Cable to the HELIX
DSP PRO MK2, verification of the permanent
12 Volts wire must be made between the blue
and red wires coming from the ISO connectors
of the harness with a voltmeter. The permanent
12 Volts wire will show voltage even with the ve-
hicle ignition turned off. Once the correct wire is
identified connect the red wire with jack to the
corresponding blue or red wire with plug. The
positive cable of the harness usually has a fuse
of max. 20 A.
Attention:
The ex factory condition is that the
red wires are connected. If you’re uncertain of
assignment ask your dealer.
Note - Cars equipped with MOST bus:
In cars equipped with MOST bus structure it is
mandatory to unplug the fiber-optic cable from the
original radio connector and insert it into the ISO
adaptor which has a dedicated recess for this.


