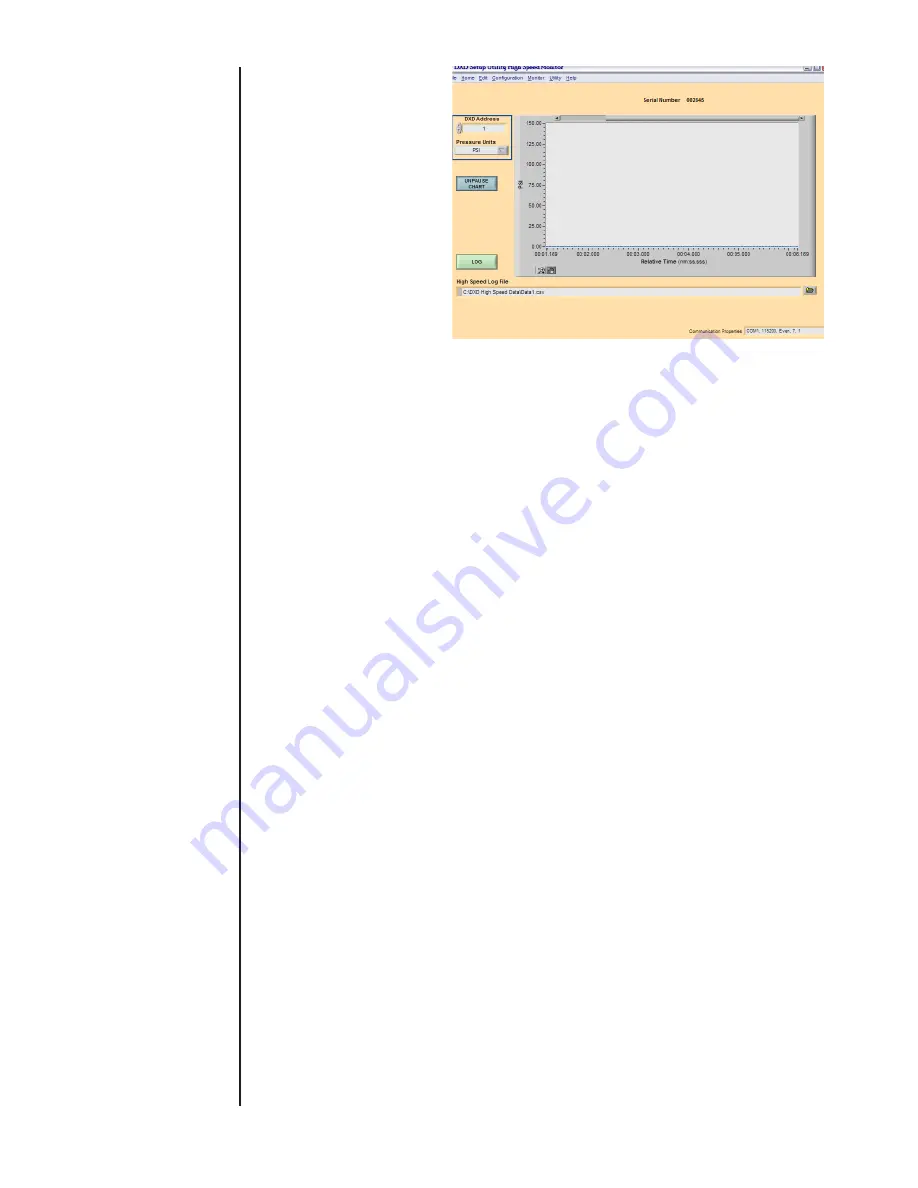
66
Figure 16
NOTE: To keep a copy of the “as received” eeprom data it is
recommended that the user use this utility to first READ the
contents of the DXD eeprom using the “Get Settings” com-
mand and then SAVE the contents to a file on the controlling
computer using the “Save Settings” command. The system
will allow you to choose a location to save it in, along with a
file name. This will allow the user to reload the original data to
eeprom in the event of data loss due to unforeseen problems
with editing or value changes.
This window, shown in Figure 17, provides a summary of
all parameters that can be returned by the DXD pressure
transducer at the specified address and with the specified
pressure units. Functionality also is provided to save the
EEPROM contents to file and restore the EEPROM contents
from file.
The current communication properties are shown at the
bottom right of the window. They are shown in order of com-
munication port (COM1), baud rate (115200), parity (Even),
number of data bits (7), and number of stop bits (1).
To select the DXD pressure transducer from which to retrieve
settings, select “DXD Address” and “Pressure Units” on
the upper left side of the window, then click “Get Settings.”
Within a few seconds, all indicators will fill in with settings
from the selected transducer, except for “EEPROM Data from
File.” The EEPROM data can be saved to a text file by click-
ing “Save Settings” and specifying the file path and name in
the Windows dialog.
The EEPROM data in the “EEPROM Memory Dump String
Control” can be copied to the “EEPROM Data From File”
control for editing and writing back to the EEPROM by click-
ing the “Copy Current EEPROM Data” button. EEPROM
data can also be loaded into the “EEPROM Data From File”
control by clicking the “Open EEPROM File From Disk” con-
trol and specifying the EEPROM data file to open in the Win-
dows dialog. Data can always be edited or completely hand
entered in this control for writing to the EEPROM.
The “Heise Label (S/N)” shows “No Response!” in red text
if there is no response from the transducer at the specified
address.
This window is for viewing settings and saving and restoring
the EEPROM data only. To set individual parameter values,
see the Command and Query window.
SECTION 3.5
UTILITY>>DIAGNOSTICS


