


58
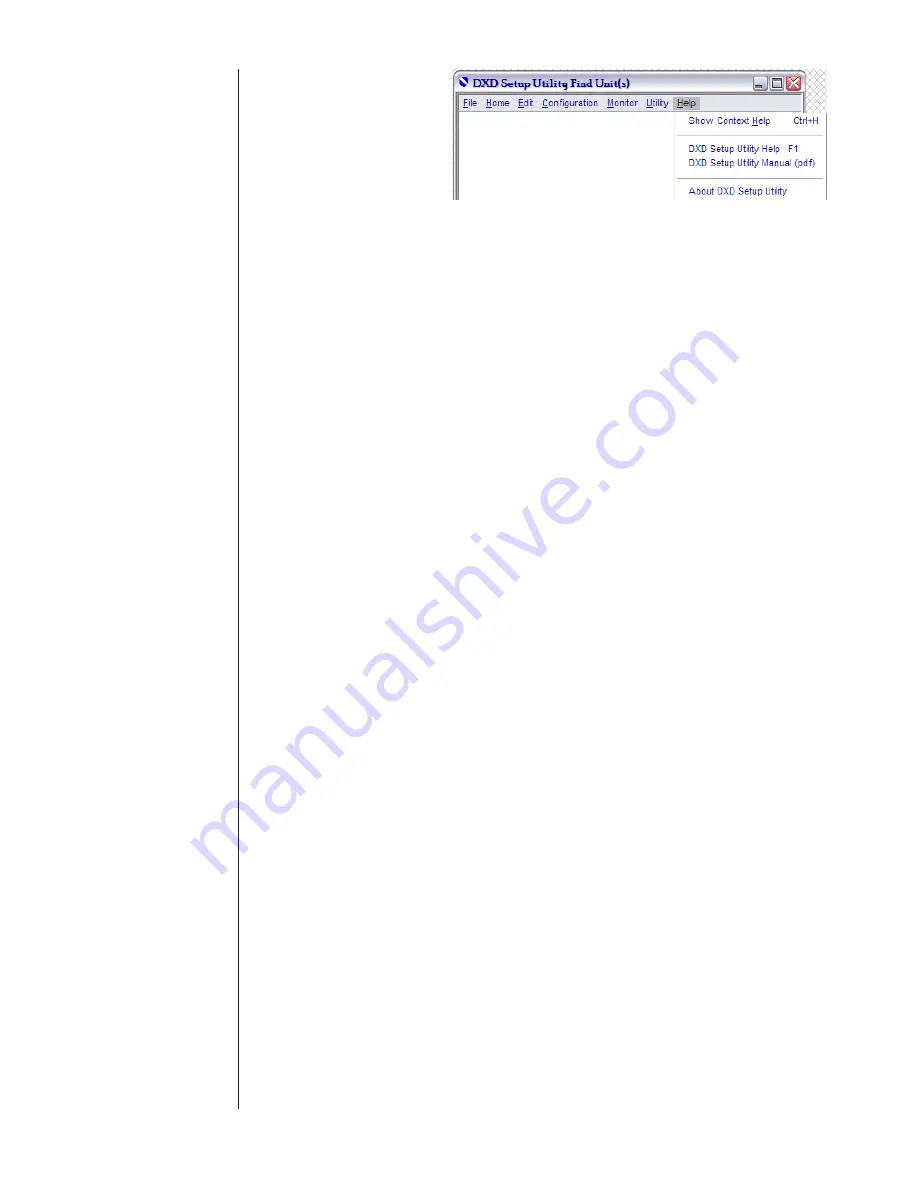
Figure 8
The operation of each window in this application is described
in detail in Section 3 of this document. For information on
connecting DXD pressure transducers to your computer for
use with the DXD Setup Utility software, please consult with
the DXD Series – Precision Digital Pressure Transducer Instal-
lation and Operating Instructions.
When connecting new transducers for the first time, connect
one at a time until each is configured with a unique address,
and communication properties are configured.
The best procedure for configuring new transducers is:
1. Connect one transducer
2. Run DXD Setup Utility application
3. Select Configuration>>Communication Properties
4. Set “Port” to the appropriate number (note: for the
USB option reference section 2.1 of this manual for
instructions to determine the communications port
assigned by Windows to the device.)
5. Select Monitor>>Find
6. Select {Single Transducer} for “Type of Search”
7. Click “Poll Bus”
8. Note address and baud rate returned from connected
transducer
9. Select Configuration>>Communication Properties
10. Select returned baud rate in “Baud Rate” control
11. Confirm “Data Bits” is set to {7}, “Parity” is set to
{Even}, and “Stop Bits” is set to {1.0}
(These are the standard factory default settings)
12. Select Utility>>Command and Query
13. Enter noted “DXD Address” (step eight)
14. Select {Write Unit Address} in “Command” control and
enter “Desired DXD Address” in the control that shows
to the right
15. Click “Send Command” button
16. Select {Write Bit Per Second Rate} in “Command”
control and select “Desired Bit Per Second Rate” in
control that shows to the right
17. Click “Write Command” button
18. Repeat for each new transducer and assign a unique
address for each. (Note: They all should have the same
baud rate.)
This section describes in detail the use of the various win-
dows in the DXD Setup Utility.
Note: For systems using the DXD transducer with the
optional USB interface, please refer to section 2.1 for proper
communication set-up.
This window is accessed via menu selection Configura-
tion>>Communication Properties. Use the controls on this
window, shown in Figure 9, to set the properties used for
communicating with the DXD pressure transducers con-
nected to the specified port. Settable parameters are “Port,”
“Baud Rate,” “Data Bits,” “Parity,” and “Stop Bits”. Note that
these are not factory defaults. See section below Figure 9 for
factory defaults
SECTION 2.6
MENUS (CONT.)
SECTION 2.7
OPERATION
SECTION 2.7.1
NEW TRANSDUCERS
SECTION 3.0
WINDOWS
SECTION 3.1
CONFIGURATION>>
COMMUNICATION PROPERTIES