HCO ScoutGuard SG580M
3 Quick Introductions
Page 6
3
Easy Operations
3.1
Power Supply
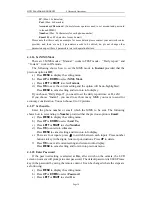
To supply power for the camera, four or eight AA size batteries are needed.
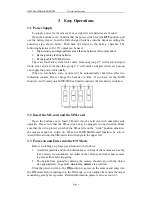
Open the bottom cover. Confirm that the power switch is at the
OFF
position, pull
out the battery depot. Load the fully charged batteries into the depot according the
polarities sign shown below. Push back the depot to the battery chamber. The
following batteries with 1.5V output can be used:
1.
High-density and high-performance alkaline batteries (Recommended)
2.
Rechargeable alkaline batteries
3.
Rechargeable NiMH batteries
There are four battery slots. Slot 1 and 2 form one group (“1” will mark on depot),
while slot 3 and 4 form the other group (“2” will mark on depot) where each group
can supply the power individually.
When in low-battery state, camera will be automatically shut down after two
indication sounds. Please change the batteries in time. If you have set the MMS
function, it will send you a MMS/SMS or Email to indicate the low battery situation.
3.2
Insert the SD-card and the SIM-card
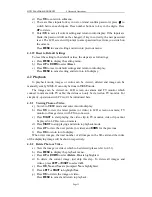
Open the bottom cover. Insert SD-card into the card slot with unmarked side
upwards. Please note that the SD-card can only be plugged in one direction. Make
sure that the write-protect switch of the SD-card is on the “write” position otherwise
the camera cannot be switch on. When use MMS/SMS/E-mail function, be sure to
insert SIM-card into the SIM-card slot with angle in the upper left.
3.3
Power on and Enter into the ON Mode
Before switching on, please pay attention to the follows:
1.
Avoid temperature and motion disturbances in front of the camera such as big
leaf, curtain, air-conditioner, air outlet of the chimney and other heat sources
to prevent from false triggering.
2.
The height from ground for placing the camera should vary with the object
size appropriately. In general,
one
to
two meters
are preferred.
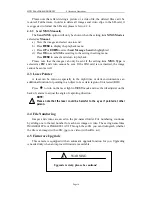
Slide the power switch to the
ON
position to power on the camera and enter into
the
ON
mode. Before entering into the ON mode, you can adjust the camera the target
monitoring area by laser pointer. Related information, please refer to section 4.3.


