68_
setup
setup
to check Quick connect status
A progress bar and its message appears for a Quick Connect.
●
Quick connect Success
: Message for a successful connection.
●
invalid network configuration
: Message appears if the network configuration is not valid. Check the
configuration.
●
please enable upnp function of the router.
: Message appears if the router requires UPnP function enabled.
●
failed to find the router.
: Message appears if the router is not found. Check the router's configurations.
●
please restart the router.
: Message appears if the router should be restarted.
DDnS Setting
Setting DDnS in the recorder
Set <
protocol type
> to <
tcp
> in the "
Setup
>
network
>
ip & port
>
port
" menu of the connected recorder.
DDnS Settings of the router
Select the corresponding menu for the network transfer protocol of the router.
Setting up upnp of router
Refer to the router's documentation to enable the UPnP function of the router.
ip filtering
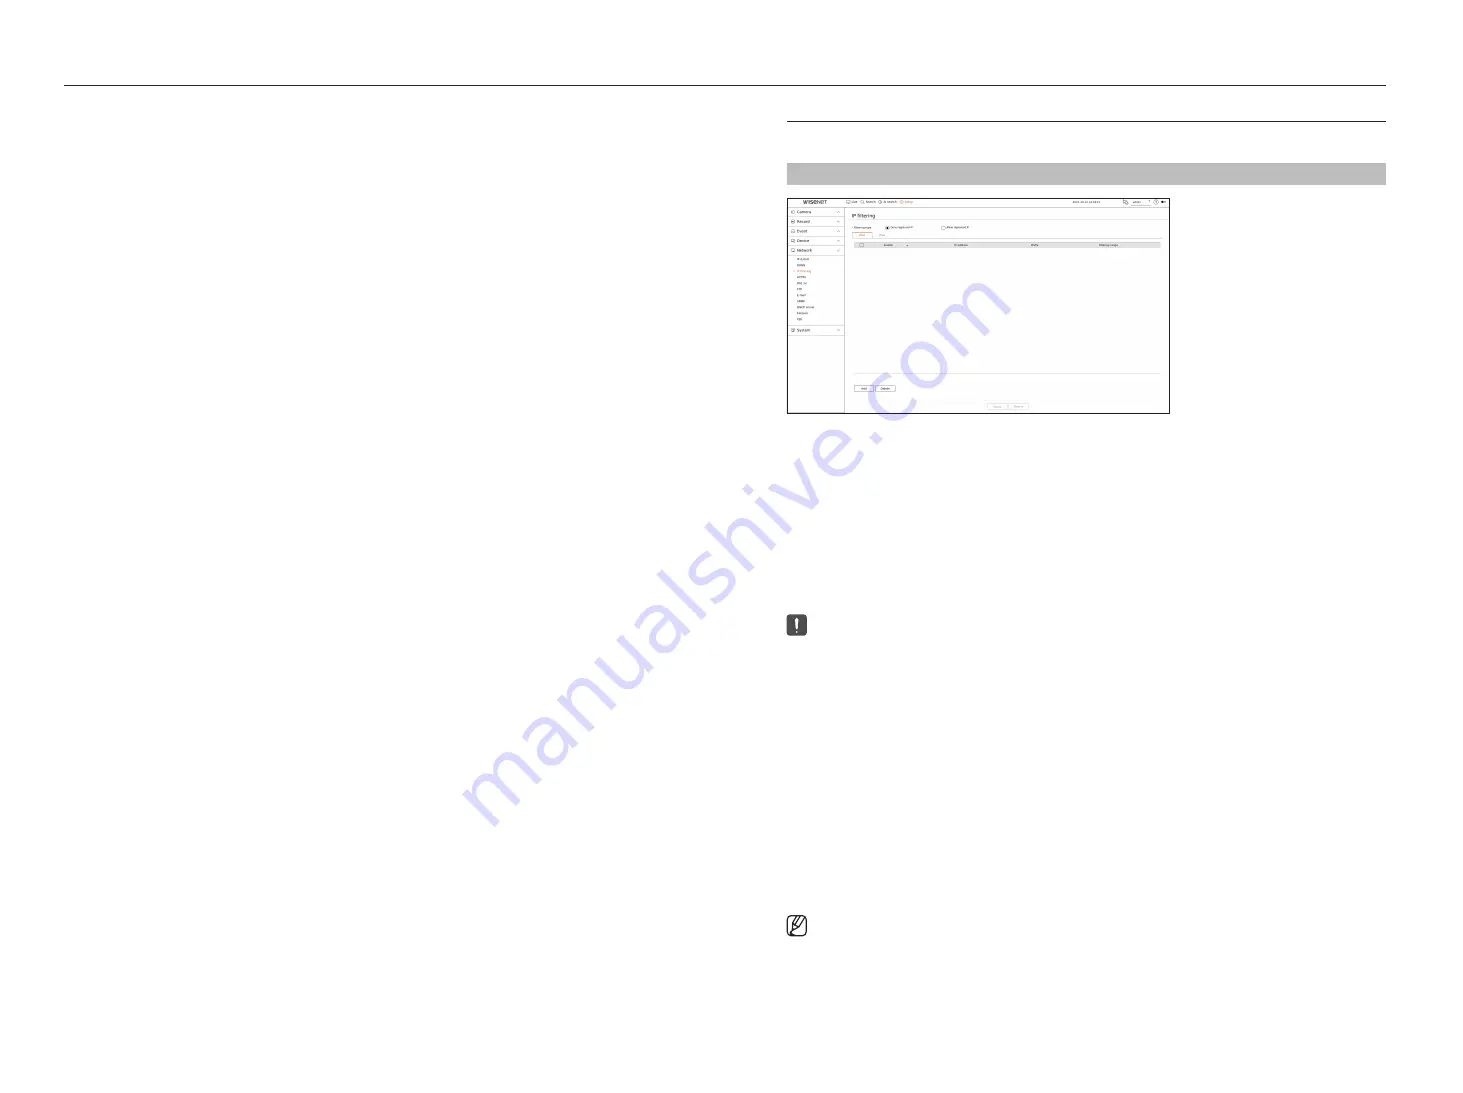
You can prepare the list of IP addresses to allow or block access to a specific IP address.
Setup > network > ip filtering
●
Filtering type
– Deny registered IP : Access to the registered IP address will be limited.
– Allow registered IP : Only registered IP addresses can be accessed.
●
Enable : Select whether to enable registered IP filtering.
●
IP address : Displays the registered IP address. Double click the IP address to change the settings.
●
Prefix : Displays the prefix to be filtered. Double-click the prefix to change the settings.
●
Filtering range : If you enter an IP address or prefix, then the range of IP addresses blocked or permitted will be
displayed.
■
If a camera's IP address is not included in the Permit list or is in the Reject list access to it will be rejected.
■
For IPv4, camera IP filtering through PoE port is not immediately applied. (Previous connections are maintained, and filtering is applied on
next login.)
to register the ip addresses to filter
1.
Select the IP type tab you want to register from IPv4 or IPv6.
2.
Click <
add
> at the bottom of the screen.
3.
When the additional window is displayed, set the details.
●
IP filtering : Select whether to enable IP filtering.
●
IP address : Enter the address to enable IP filtering.
– When entering an IP address, a value in the range 0-255 must be entered to register.
●
Prefix : Enter the prefix value.
4.
Click <
oK
> to complete.
■
To delete a registered item, select the check box of the item to be deleted and click <
Delete
> at the bottom of the screen.
Summary of Contents for Wisenet PRN-6400DB4
Page 1: ...NETWORKVIDEO RECORDER User Manual Wisenet NVR...
Page 125: ......


