


Color Monitor
4
Controls
-
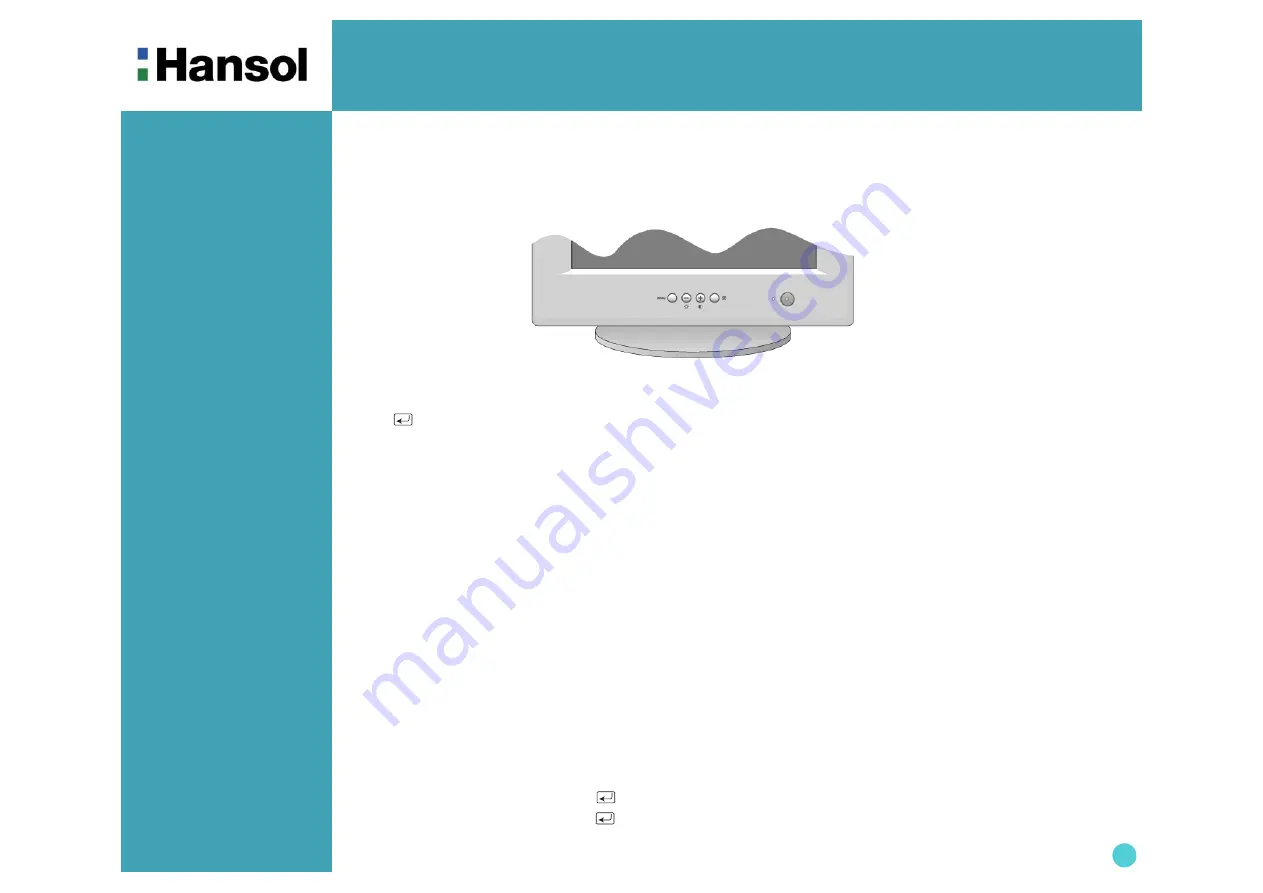
OSD controls
Function of OSD buttons on the front of the monitor
In the main menu, exits the OSD controls. In a submenu, exits to the OSD main menu.
-
/
+
1) When no OSD on the Screen,
-
: Direct access to Brightness controls.
+ : Direct access to Contract controls.
2) When Main menu is displayed. : Moves to function what you want to adjust.
3) When the Sub menu is displayed. : Controls the amount what you want to adjust.
MENU : Displays OSD main Menu.
1) When Main menu is displayed. : Selects function with RED ICON.
2) When Sub menu is displayed. : Selects function with RED ICON.
Additional front controls
Power Switch : Turns the monitor power on or off. When the power is on, the LED is on.
LED Power indicator Light : Located left side of the power switch and indicates the monitor's power mode.
Each mode reduces the amount of power used by the monitor.
Accessing on screen menu
Press MENU Button.
Turning off on screen menu
When in the main menu, press
button.
When in submenus, press the
button twice.
"
ON SCREEN MENU
" controls include the following extended controls such as Size, Position,
Geometry, Color Adjust, Brightness and Contrast Utilities. Adjustments are saved instantly.
The currently addressed control can be reset to factory settings by pressing the Reset button.


