background image


User’s Manual


15 


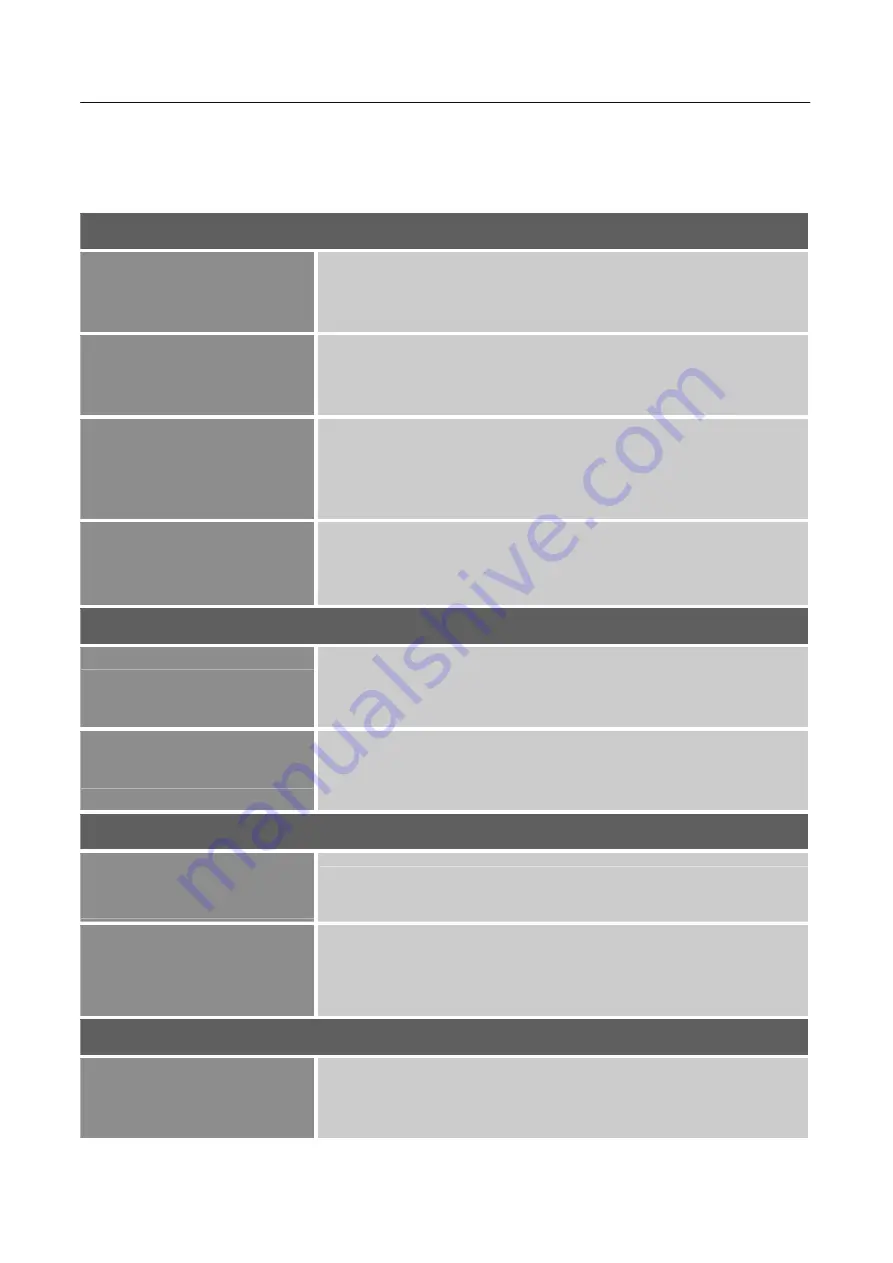
HOW TO ADJUST A SETTINGS 


BRIGHTNESS/ CONTRAST 

BRIGHTNESS 

Adjust the brightness value of the display according to your 
preference. Select

BRIGHTNESS

option to adjust the 

brightness value.


CONTRAST 

Adjust the contrast value of the display according to your 
preference. Select

CONTRAST

option to adjust the contrast 

value.


ACTIVE CONTRAST 

Optimal setting for high contrast images or videos. The dark and 
light areas of the image are automatically detected, and the 
contrast is enhanced to provide a clearer, sharper image. Also, 
you may select the

ACTIVE CONTRAST

option. 

PRESET MODE 

Select the preset mode according to your preference: PC/ 
MOVIE/ GAME/ ECO 

[The availability of this function depends upon the selected 
model]


INPUT SETTING 

INPUT SETTING 

Select the 

INPUT SETTING

option to change between analog 

(VGA) or Digital (HDMI) source. Enter the option and select 
Analog or Digital.

 [Dual input mode optional]


AUTO SEARCH 

From the Signal Selection menu, select the 

AUTO SEARCH

option to activate or deactivate the automatic signal search 
function. 

[For DVI/ HDMI Input only]


COLOR SETTING 

WARM 
NATURE (6500K) 
COOL 

Adjust the color temperature value of the display according to 
your preference: WARM /NATURE/ COOL. 

USER 

Move the cursor to the User option and select it,   
1. To adjust the red, enter the

R

option and adjust the level. 

2. To adjust the green, enter the

G

option and adjust the level.

3. To adjust the blue, enter the

B

option and adjust the level. 

IMAGE SETTING 

AUTO ADJUST 

The auto adjustment function is used to optimize the 

H-POSITION

V-POSITION

,

CLOCK

,and 

PHASE

.


[For VGA Input only]


Summary of Contents for HC270HCB

Page 1: ...HC270HCB HCW HSG1419 LCD Monitor...

Page 2: ...and 2014 35 EU and 93 68 EEC with regard to Low Voltage directive Optional depend on selected model Socket outlet shall be near the equipment and shall be accessible Trademark Notice HANNspree product...

Page 3: ...ecycling of industrial technology devices at the end of life These devices contain recyclable materials which can be re decomposed and re integrated into brand new marvels On the contrary other materi...

Page 4: ...NSTRUCTIONS 8 POWER 8 SETTING THE MONITOR ON THE WALL 9 MAKING CONNECTIONS 10 ADJUSTING THE VIEWING ANGLE 11 OPERATING INSTRUCTIONS 12 GENERAL INSTRUCTIONS 12 FRONT PANEL CONTROL 13 HOW TO ADJUST A SE...

Page 5: ...ng kit approved by the manufacturer and follow the kit instructions Slots and openings in the back and bottom of the cabinet are provided for ventilation To ensure reliable operation of the monitor an...

Page 6: ...ou use The LCD screen has effective pixels of 99 99 or more It may include blemishes of 0 01 or less such as a missing pixel or a pixel lit all of the time Due to the nature of the LCD screen an after...

Page 7: ...r Crisp Clear Display for Windows Ergonomic Design Space Saving Compact Case Design CHECKING THE CONTENTS OF THE PACKAGE The product package should include the following items LCD Monitor Cables and U...

Page 8: ...wer cord is the correct type required in your area 2 This LCD monitor has an Internal universal power supply that allows operation in either 100 120V AC or 220 240V AC voltage area No user adjustment...

Page 9: ...e bracket using the 4 mount holes on the back and center of the Monitor Note Please read the instructions of your specific wall bracket to properly wall mount the Monitor The pitch of the mounting hol...

Page 10: ...ort 3 Connect one end of the HDMI to DVI cable optional to the back of the monitor and connect the other end to the computer s DVI port 4 Connect the audio cable between the monitor s audio input and...

Page 11: ...d the stand so you do not topple the monitor when you change the monitor s angle You are able to adjust the monitor s angle from 4 to 11 Figure 3 Monitor Angle NOTES Do not touch the LCD screen when y...

Page 12: ...gure 4 By changing these settings the picture can be adjusted to your personal preferences The power cord should be connected Connect the Signal cable from the monitor to the VGA card Press the power...

Page 13: ...ons may very depending on the models This function is only available in models with digital inputs 2 The OSD menu is used as confirmation function during start up 3 Press and hold this button more tha...

Page 14: ...diators or air dusts or in a place subject to direct sunlight or excessive dust or mechanical vibration or shock Save the original shipping box and packing materials as they will come in handy if you...

Page 15: ...tion depends upon the selected model INPUT SETTING INPUT SETTING Select the INPUT SETTING option to change between analog VGA or Digital HDMI source Enter the option and select Analog or Digital Dual...

Page 16: ...orizontal flicker of characters on the screen Enter the option and adjust the level For VGA only SHARPNESS Select the SHARPNESS option to adjust the sharpness of the display Set the value from 2 to 2...

Page 17: ...ble is connected to monitor s LINE IN or AUDIO IN port For HDMI Input only VOLUME Select the VOLUME option to change the volume level Enter the option and adjust the level This function applies only t...

Page 18: ...entity and depending on the level of DDC used communicate additional information about its display capabilities The DDC2B is a bidirectional data channel based on the I C protocol The host can request...

Page 19: ...ent Make sure computer is operational by hitting the CAPS LOCK key on the keyboard while observing the CAPS LOCK LED The LED should either turn ON or OFF after hitting the CAPS LOCK key Missing one of...

Page 20: ...the recommended display resolution that is supported by the monitor 3 If the recommended display resolution is not working try the second recommended display resolution 1 2 35 56cm 14 16 9 1366 768 60...

Page 21: ...0 67Hz 35 000 66 667 5 640 480 72Hz 37 861 72 809 6 640 480 75Hz 37 500 75 000 7 720 400 70Hz 31 469 70 087 8 800 600 56Hz 35 156 56 250 9 800 600 60Hz 37 879 60 317 10 800 600 72Hz 48 077 72 188 11 8...

Page 22: ...Hz 67 500 60 000 Video mode MODE RESOLUTION 1 640 480p 60Hz 2 720 480i 60Hz 3 720 480p 60Hz 4 720 576i 50Hz 5 720 576p 50Hz 6 1280 720p 60Hz 7 1920 1080i 50Hz 8 1920 1080i 60Hz 9 1920 1080p 50Hz 10 19...

Page 23: ...r channel Input Terminal VGA HDMI Maximum Screen Size Hor 597 888mm Ver 336 312mm Power Source AC100 240V 1 5A 50 60Hz DC 12V 4 0A Environmental Considerations Operating Temp 0 to 40 C Storage Temp 20...

Reviews: