8
Hangar 9 Funtana 125 ARF Assembly Manual
Step 10
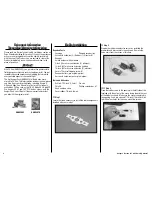
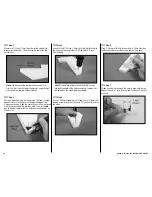
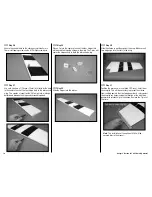
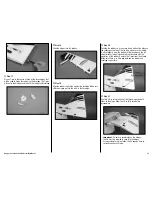
Locate the plywood receiver tray. Use 1/4-inch (6mm) foam
and a hook and loop strap to secure the receiver to the tray.
Make sure the foam isolates the receiver from vibrations that
could be transferred to it through the tray or strap.
Note
: Small pieces of fuel tubing can be placed over
the antenna of the receivers to keep them straight for
the best reception from your radio system.
Step 11
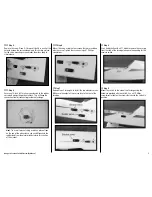
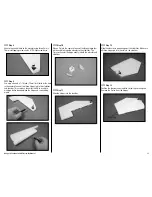
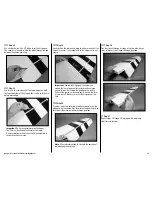
Plug the elevator and rudder servo leads into the receiver.
Two 3-inch (76mm) extensions will be required for the
ailerons. Finally, plug the switch into the receiver as well.
Note
: We are using a computer radio and mixing the
two elevator channels and two aileron channels to
operate correctly. If you are not using a computer radio,
we highly recommend the use of the JR MatchBox to
operate the elevator and aileron servos.
Important
: Using a Y-harness for the elevator
servos will make them rotate in opposite directions. A
MatchBox, reverse servo, reversing Y-harness, or best
yet, a computer radio, will be required for the elevator
servos.
Step 12
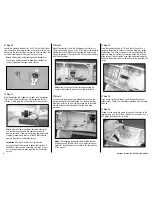
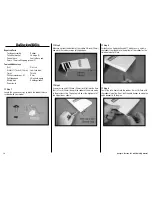
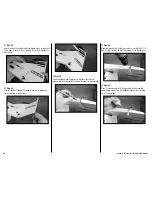
Mount the receiver tray in the fuselage using two 2mm x
12mm self-tapping screws. Use a #1 Phillips screwdriver to
tighten the screws. Make sure to harden the holes for the
screws by placing 2–3 drops of thin CA in each hole before
installing the screws.
Hint
: Secure any excess servo extensions using tie-
wraps or clear tape to clean up the radio installation.
Step 13
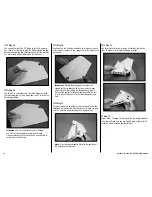
Use hook and loop tape or two-sided tape to secure the
remote receiver inside the fuselage. The remote receiver
should be as far away from the main receiver as possible
and the antenna oriented vertically for the best radio
reception.
Note
: The following steps detail installing the receiver
battery pack and throttle servo. If you are building your
model for electric flight you can skip to the next section
of the manual.
Step 14
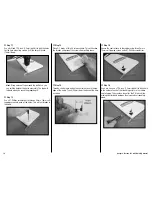
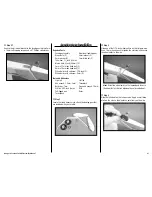
Wrap the receiver battery in 1/4-inch (6mm) foam. Use a
hook and loop strap to secure it under the wing tube inside
the fuselage. The strap will go over the tube and behind the
former to keep the battery from moving inside the airframe.
Make sure not to damage the wing tube when tightening the
hook and loop strap. Connect the battery to the lead from the
switch.
Step 15
If you haven’t done so already, you will need to bind your
radio system. Follow the instructions provided with the radio
to do so.
Step 16
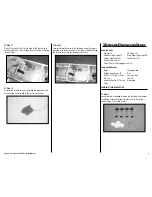
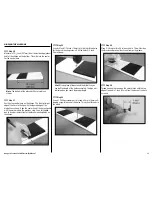
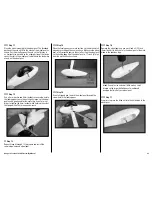
Thread a servo mounting screw into each of the holes in the
throttle servo tray. This will cut threads for the screws. Use a
#1 Phillips screwdriver for this step.


