Wi-Fi Personal Bridge 150
User Manual
117
WPS
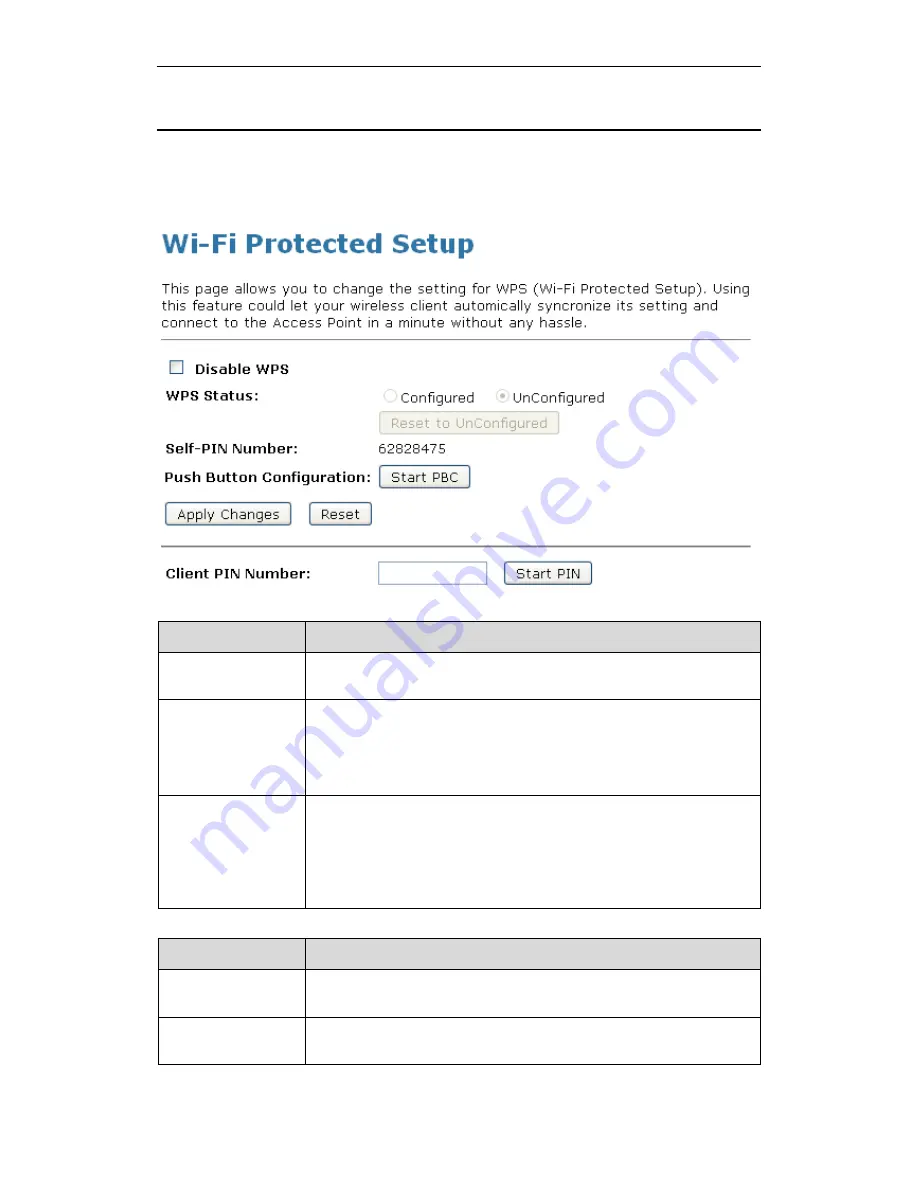
This page allows you to change the setting for WPS (Wi-Fi Protected Setup). Using this feature
could let your wireless client automatically syncronize its setting and connect to the Access Point in a
minute without any hassle. To access the
Wireless Network WPS
page:
From the left-hand
Wireless
menu, click on
WPS
. The following page is displayed:
Field
Description
Disable WPS
Checking this box and clicking “Apply Changes” will disable Wi-Fi
Protected Setup. WPS is turned on by default.
WPS Status
When AP’s settings are factory default (out of box), it is set to open
security and un-configured state. It will be displayed by “WPS Status”. If it
already shows “Configured”, some registrars such as Vista WCN will not
configure AP. Users will need to go to the “Save/Reload Settings” page
and click “Reset” to reload factory default settings.
Self-PIN Number
“Self-PIN Number” is AP’s PIN. Whenever users want to change AP’s
PIN, they could click “Regenerate PIN” and then click “ Apply Changes”.
Moreover, if users want to make their own PIN, they could enter four digit
PIN without checksum and then click “ Apply Changes”. However, this
would not be recommended since the registrar side needs to be
supported with four digit PIN.
Field
Description
Push Button
Configuration
Clicking this button will invoke the PBC method of WPS. It is only used
when AP acts as a registrar.
Apply Changes
Whenever users want to enable/disable WPS or change AP’s PIN, they
need to apply this button to commit changes.


