17
Windows Vista
Choose Start => Control Panel => Printer => Add a
printer. On the following screen, select Add a local
printer. On the next screen, choose Create a new
port and then Standard TCP/IP Port under Type of
port. Then click Next. In the following window, enter
the IP address of the MFS under Hostname or IP
address. (To fi nd this, switch to the Control Center.
The IP address (such as 192.168.1.100) is displayed in
the main window after the MFS name.)
Then click Next.
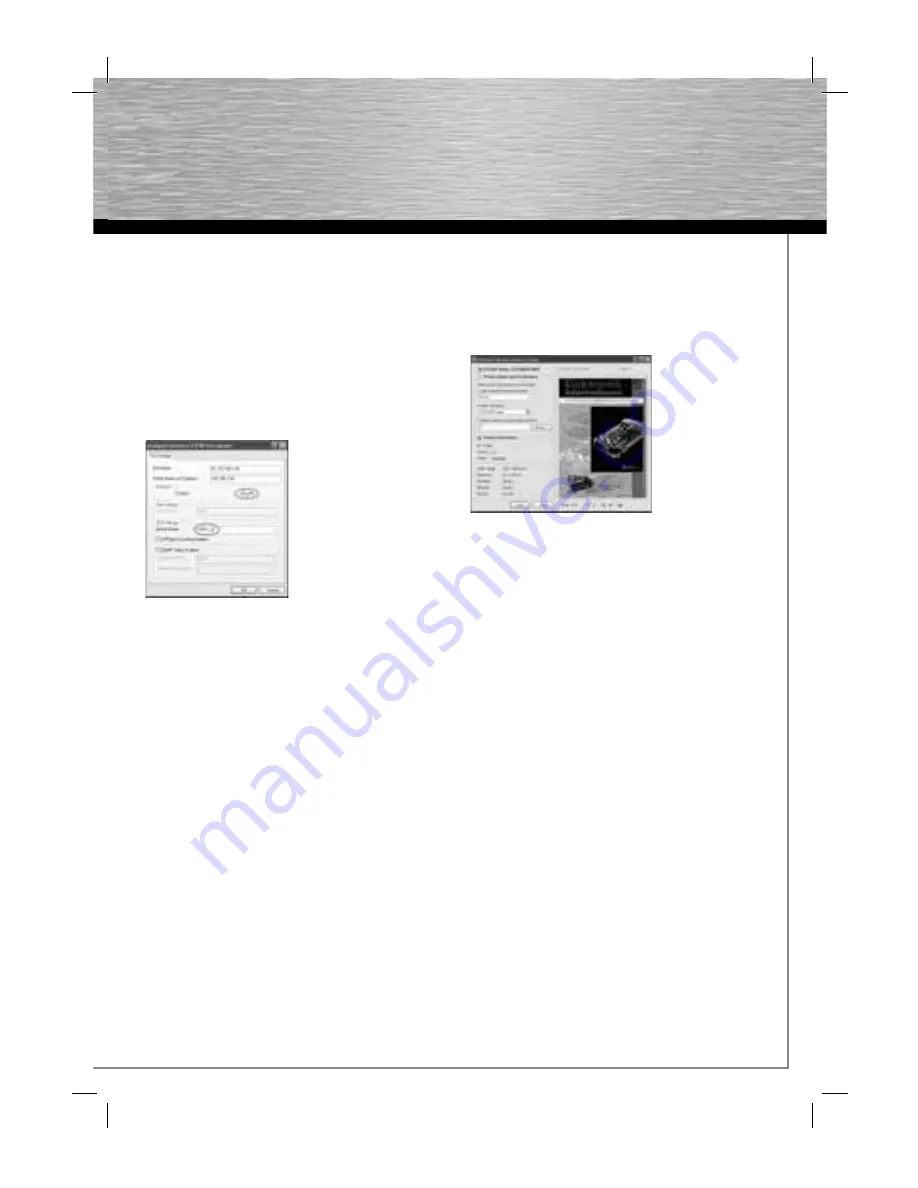
Under Device Type, select Custom and then click
Settings. In the new window, choose LPR. Under LPR
Settings, enter USB1_LQ in the fi eld Queue Name.
Click OK and then click Next. Installation of the
printer port is now complete. You must then select
the printer driver. Select the driver (which has
already been installed) for the connected printer
from the list and follow the instructions provided by
the wizard.
Once the installation has been completed
successfully, you will fi nd the printer installed in the
Printers and Faxes window. This installation of the
printer is complete.
6. Network scanners
If you have already used the scanner on your
computer, the driver is already installed and you can
continue with the next point. Otherwise, fi rst install
the scanner driver on each computer that is to use
this scanner. Use the instructions and driver CD
from the scanner manufacturer. Depending on the
manufacturer, you may need to connect the scanner
to the computer directly. After you have completed
the installation of the driver, reconnect the scanner
to the MFS.
Select the scanner or multifunction device in the
Control Center and then click Network scanner.
Select the driver from the list and click OK. If you
are informed that no driver is installed, you must fi rst
install the scanner driver from the manufacturer.
The integrated tool now opens. You can select the
File name, File format and Save location here. After
you have made the selection, click Scan. Depending
on the driver used, the manufacturer’s scanner
tool will open and guide you through the scanning
process. A preview is shown and the fi le is saved to
the specifi ed folder.
7. Addition of USB storage media to the network
This device allows you to make data such as videos,
music, or pictures that are saved to a USB storage
medium available to the entire network.
First, connect the USB data medium to the USB port
on the MFS and turn it on. There are two options for
accessing the data medium.
A)
Direct connection:
NetUSB mode must be
activated
B)
Network access:
Server mode must be activated
Please make the appropriate setting under Confi gure
server/Supported protocols.
7.1 Direct connection
In this mode, Windows will act the same as it would
if the hard disk were connected via USB to your
computer directly. The disadvantage is that only
one computer can access the connected device at
a time.


