background image

16

4.1.6 E-mail

You can use these settings to be notifi ed of status  
messages or errors per e-mail. These settings are not 
required for basic operation of the device.

4.1.7 SNMP

SNMP is a protocol for controlling network components 
remotely. You can change settings for this protocol on 
this page. These settings are not required for basic 
operation of the device.

5. Printer server (printer connection

)

The integrated printer server allows you to share a USB 
printer on the network. A connected printer is 
displayed below the USB Multifunction Server, as shown 
in the image. If you have already used the printer on your 
computer, the drivers are already installed and you can 
continue with the next point. Otherwise, fi rst install the 
printer driver on each computer that is to use this printer. 
Use the instructions and driver CD from the printer 
manufacturer. Depending on the manufacturer, you may 
need to connect the printer to the computer directly. 
After you have completed the installation of the driver, 
reconnect the printer to the MFS.

There are two ways of connecting to the printer.

5.1 Direct connection

In this mode, Windows will act the same as it would if 
the printer were connected via USB to your computer 
directly. The disadvantage is that only one computer can 
access the connected device at a time.

Select the printer in the main menu and then click 
Connect. The connection to the printer is established and 
the driver is linked again. The printer can then be used.

After installation is complete, you can add the printer to 
the list of automatic printers. This means that the  
connection to the printer must no longer be made 
manually. To do this, click Automatic printer in the Control 
Center and then Set auto-connect printer. Select the 
printer from the list and click Apply.
Please remember to disconnect. As long as you are 
connected, no other user can access the printer.

5.2 Network printers wither LPR

To use this function, you must activate the LPR printer 
protocol under Confi gure server/Supported protocols.

Windows 2000/XP 

Choose Start => Printers and Fax Devices => Add a 
printer. Click Next on the initial screen.
On the following screen, select Local printer. Remove the 
check for Plug and Play printer. Then click Next. 

On the next screen, choose Create a new port and then 
Standard TCP/IP Port under Type of port. Then click Next. 
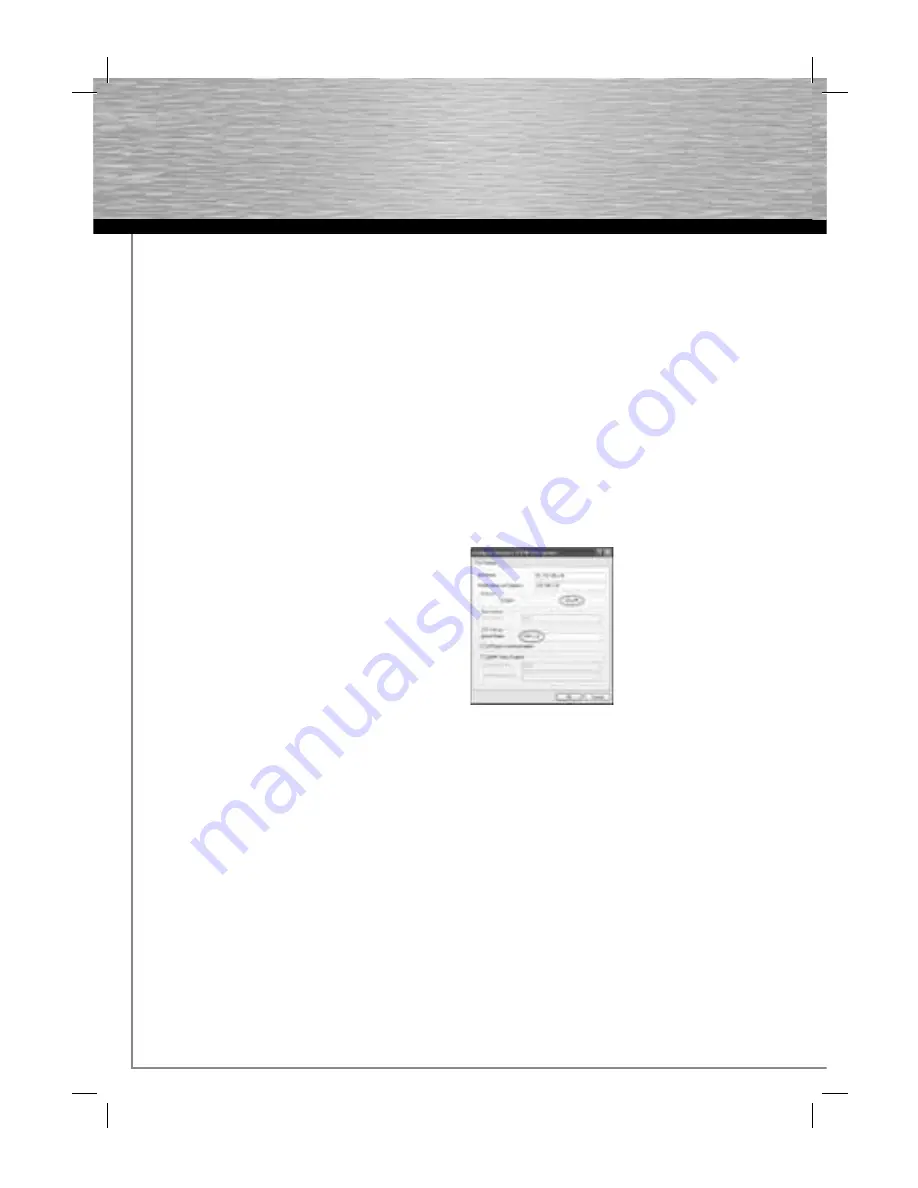
This will now open the Add Standard TCP/IP Printer Port 
Wizard. Click Next on the initial screen. In the following 
window, enter the IP address of the MFS under Printer 
Name or IP Address. (To fi nd this, switch to the Control 
Center. The IP address (such as 192.168.1.100) is  
displayed in the main window after the MFS name.) 
Then click Next.

Under Device Type, select Custom and then click 
Settings. In the new window, choose LPR. Under LPR 
Settings, enter USB1_LQ in the fi eld Queue Name. 
Click OK and then Finish to close the wizard. 


Installation of the printer port is now complete. 

Next, choose the driver (which has already been 
installed) for the connected printer. To do this, the 
Add Printer Wizard opens once the installation of 
the printer port is complete. Follow the instructions 
provided by the wizard.

Summary of Contents for USB Multifunction Server

Page 1: ...d brands are trademarks of the corresponding companies Errors and omissions excepted and subject to technical changes Our general terms of delivery and payment are applied Hama GmbH Co KG D 86651 Monh...

Page 2: ...N E T W O R K 00062713 USB Multifunktions Server USB Multifunction Server Serveur USB multifonction...

Page 3: ...Sch tzen Sie das Ger t vor Druck und Sto einwirkung Das Ger t darf w hrend des Betriebes nicht ge ffnet oder bewegt werden Achtung Betreiben Sie das Ger t nur mit dem mitgelie ferten Netzteil Die Verw...

Page 4: ...nschte Sprache Diese Installationsroutine ist f r die Betriebssysteme Windows 2000 XP Vista geeignet Um die Installation jetzt fortzusetzen klicken Sie auf Installieren M chten Sie sich die Bedienung...

Page 5: ...dem Sie Eigenschaften w hlen Markieren Sie in der Liste den Eintrag Internetprotokoll TCP IP und klicken Sie anschlie end auf Eigenschaften W hlen Sie Folgende IP Adresse verwenden und geben Sie diese...

Page 6: ...enden die Konfiguration indem Sie auf Schlie en oder falls Sie nderungen vorgenommen haben auf bernehmen klicken Nach nderung der Einstellungen muss der MFS neu gestartet werden Best tigen Sie in dies...

Page 7: ...ifen Server Mode In diesem Modus ist es m glich dass mehrere Benutzer gleichzeitig das angeschlossene Ger t nutzen zum Beispiel Zugriff auf eine angeschlossene Festplatte Wechseln Sie zur Registerkart...

Page 8: ...mputer verwendet sind die Treiber schon installiert und Sie k nnen mit dem n chsten Punkt fortfahren Ansonsten installieren Sie als Erstes den Druckertreiber auf jedem Computer der diesen Drucker nutz...

Page 9: ...s MFS ein Um diese heraus zu finden wechseln Sie zum Control Center Im Hauptfenster wird hinter dem MFS Namen die IP Adresse angezeigt z B 192 168 1 100 Klicken Sie anschlie end auf Weiter W hlen Sie...

Page 10: ...erkzugriff Bitte beachten Sie dass f r einen Netzwerkzugriff Kom munikation ber verschiedene Ports notwendig ist und diese eventuell von einer Firewall geblockt werden k n nen Diese Ports m ssen Sie f...

Page 11: ...dner ffnen Sie den Browser und geben Sie in die Addresszei le ftp IP Adresse_des_ Routers ein Beispiel standardm ig ftp 192 168 2 30 Es ffnet sich anschlie end ein Fenster zur Eingabe der Benutzerdate...

Page 12: ...outdoors Protect the device from pressure and impact The device may not be opened or moved during operation Caution Use the device with the enclosed power supply unit only The use of other power suppl...

Page 13: ...will find a free version on the enclosed driver CD Click Download driver to download the latest driver from the Hama website This allows you to check whether drivers have now been developed for previ...

Page 14: ...the device e g LAN connection When you right click the appropriate connection a menu is displayed select Properties Select the entry Internet Protocol Version 4 TCP IPv4 from the list and click Prope...

Page 15: ...y Computer and select Properties from the menu The System Properties will now be displayed Switch to the Computer Name tab You can see the workgroup name here Description The description is optional F...

Page 16: ...cters letters and numbers are allowed Password Enter a password of your choosing with a maximum of 15 characters letters numbers and punctuation marks are allowed Repeat password Confirm the password...

Page 17: ...e used After installation is complete you can add the printer to the list of automatic printers This means that the connection to the printer must no longer be made manually To do this click Automatic...

Page 18: ...from the scanner manufacturer Depending on the manufacturer you may need to connect the scanner to the computer directly After you have completed the installation of the driver reconnect the scanner t...

Page 19: ...r on your PC From the Tools menu choose Map Network Drive Drive Select a drive letter that the network drive should be mapped to Folder Enter the path to the desired folder such as IP address of the M...

Page 20: ...dealer or Hama Product Consulting if you have any product claims Internet World Wide Web Product support new drivers or product information can be found at www hama com Support hotline Hama product c...

Page 21: ...as con u pour une utilisation en plein air Prot gez l appareil de la pression et des chocs L appareil ne doit tre ni ouvert ni transport pendant son fonctionnement Attention Utilisez exclusivement le...

Page 22: ...ionnez la langue d sir e Cette proc dure d installation est destin e aux syst mes d exploitation Windows 2000 XP Vista Cliquez sur Installer afin de continuer l installation Cliquez sur Afficher le mo...

Page 23: ...ec le bouton droit de votre souris sur la connexion correspondante S lectionnez l entr e Protocole internet TCP IP dans la liste puis cliquez sur Propri t s S lectionnez Utiliser l adresse IP suivante...

Page 24: ...igur s par d faut Nom d utilisateur admin Mot de passe admin Quittez le programme de configuration en cliquant sur Terminer ou cliquez sur Appliquer dans le cas o vous avez apport des modifications la...

Page 25: ...eil Mode serveur Ce mode permet plusieurs utilisateurs d utiliser simultan ment un m me appareil connect ils ont par exemple tout acc s un disque dur Commutez vers l onglet Comptes utilisateurs 4 1 4...

Page 26: ...commune d imprimantes USB dans le r seau Une imprimante connect e est affich e comme indiqu dans l illustration au dessous du serveur USB multifonctions Les pilotes sont d j install s et vous pouvez s...

Page 27: ...andard pour le type de connexion Cliquez finalement sur Suivant Dans la fen tre suivante saisissez l adresse IP de votre MFS sous Nom d h te ou l adresse IP commutez vers le centre de contr le afin de...

Page 28: ...c s au r seau et que ces derniers sont ventuellement bloqu s par un pare feu Vous devez lib rer ces ports L utilisation de certaines fonctions n est en outre pas possible actuellement sous Windows Vis...

Page 29: ...e fen tre pr vue pour saisir les donn es utilisateur s ouvre Tous les dossiers partag s sont ensuite affich s selon le principe suivant Dossier d1p1 d1 indique le support de donn es1 et p1 la partitio...

Page 30: ...29...

Page 31: ...30...

Page 32: ...31...

Reviews: