14
First, choose which language you would like to use. In the
upper menu, choose Tools and then Confi guration.
After completion, click OK.
All servers and connected devices are listed in the main
window. If no servers or devices are displayed, click the
button Update server list. If the window still does not
display any devices, check the wiring and network
settings.
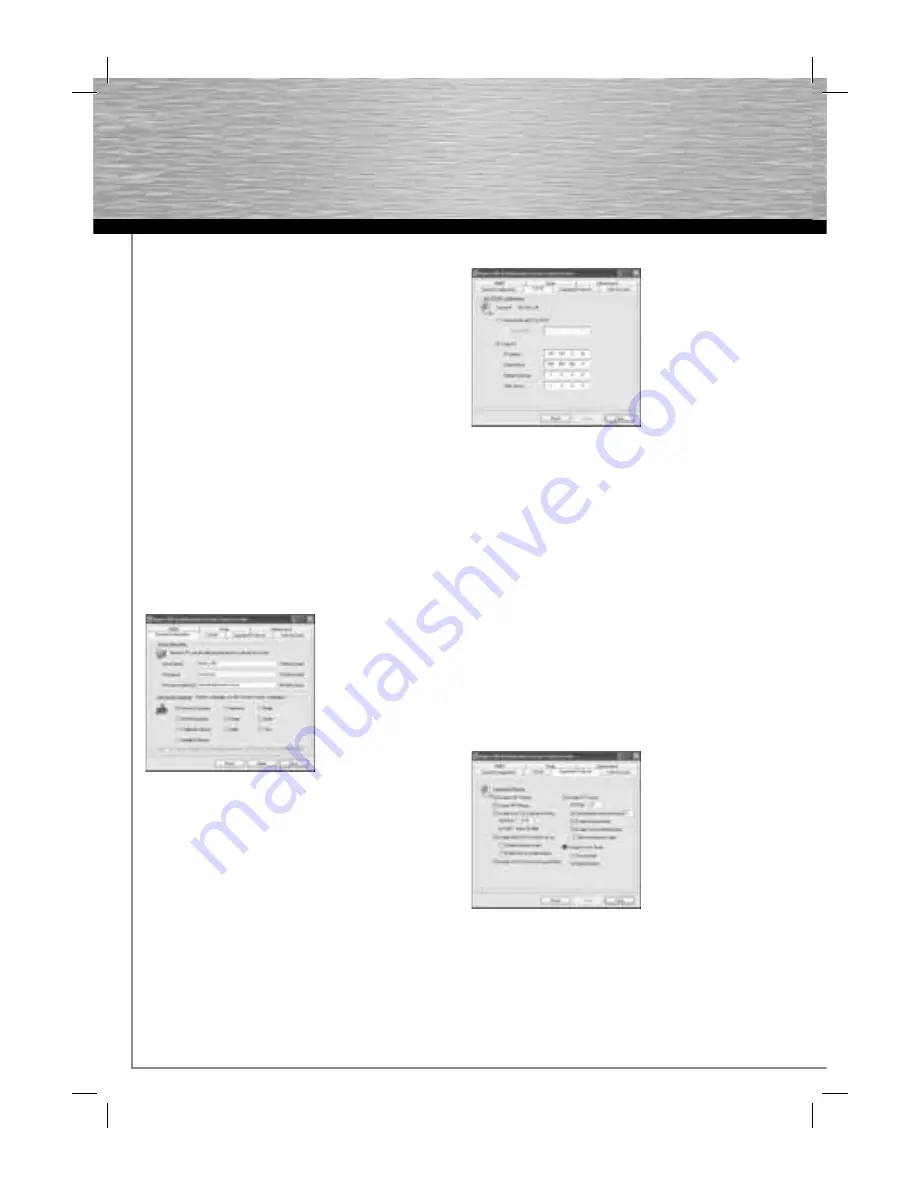
4.1 Basic confi guration
Select the MFS in the big window. Then click Confi gure
server. Enter the username and password in the window
that opens.
By default, the following is set for the administrator:
Username: admin
Password: admin
End the confi guration by clicking Close or, if you have
made changes, Apply. The MFS must be restarted after
setting changes. In this case, confi rm the query.
4.1.1 General confi guration
Server name:
The server appears with this name in the
overview.
Workgroup:
Enter the workgroup name here. Letters,
numbers, spaces and underscores are allowed. If you
don‘t know the workgroup name, go to the desktop.
Right-click My Computer and select Properties from the
menu. The System Properties will now be displayed.
Switch to the Computer Name tab. You can see the
workgroup name here.
Description:
The description is optional.
File server codepage:
This setting is required for the use
of Microsoft codepages and is matched to regions.
Switch to the TCP/IP tab.
4.1.2 TCP/IP
You must now set up your network to be able to use
connected devices.
Obtain IP from DHCP automatically: This option is
selected by default. This means that the USB
Multifunction Server automatically receives an IP
address that works with your network if you are
operating a DHCP server (these are usually integrated in
DSL routers). Please note that with dynamic IP
addresses, the MFS can be assigned a different
confi guration the next time the device is used. It is
possible that shortcuts in the server modes to printers
and hard disks will then no longer work.
Static IP: If you use static IP addresses on your network,
you can confi gure the corresponding network settings
here. For more on this, see item 3 in the operating
instructions.
Switch to the Supported protocols tab.
4.1.3 Supported protocols
Specify which protocols you want to activate here.


