12
13
FAQ
The subwoofer and the satellites do not work.
Be sure that the on/off on the subwoofer is set to „ON“
and that the wall socket that you are using is live.
Make sure that devices or cables are not plugged into the
headphone output socket and the black plug is inserted
fully into the socket on the back of the subwoofer.
If this does not solve the problem, check your computer‘s
sound settings.
Windows XP
Windows Vista
Be sure that the sound card you are using is the default
device for sound playback under „Sounds and Audio
Devices“ (XP) or „Sound“ (Vista) in the control panel and
that there is no checkmark next to the „Mute“ function.
The sound is distorted
Check that the plugs for both loudspeaker connection
cables and the green jack plug are inserted fully into the
sockets and do not stick out.
Be sure that you have made the settings in your operating
system as is described in „Settings with Windows XP“ or
„Settings with Windows Vista“.
Safety notes:
• Use the loudspeakers only in closed, dry spaces.
• Be sure that the mains power supply is 230 V/50 Hz.
• Route that cable so that no one will walk on it or trip
over it and so that it cannot be damaged by objects
that lie on it.
• Do not allow objects such as paper clips, etc. to enter
the speaker, since these may cause a short circuit.
• Keep all liquids away.
• Use only a dry cloth for cleaning. If the unit is
extremely soiled, use a slightly dampened cloth.
• Switching off the on/off switch does not disconnect
the speaker from the mains voltage. The mains plug
must be pulled out of the wall socket in order to
disconnect the speakers from the mains voltage
completely.
• Repair work may only be performed by authorized
technicians.
Specifi cations:
Subwoofer
Output power:
7 watts; <1% THD+n
Frequency response: 20 Hz - 200 Hz
Dimensions:
12,5 x 22,6 x 21,2 cm
Woofers:
133
mm
Satellites:
Output power:
2 x 4,5 watts
Frequency response: 63 Hz - 20 kHz
Dimensions:
7,6 x 7,8 x 17,8 cm
Loudspeakers: 76
mm
Support and contact information
If products are defective:
Please contact your dealer or Hama Product Consulting
if you have any product claims.
Internet / World Wide Web:
Product support, new drivers or product information can
be found at www.hama.com
Support Hotline – Hama Product Consulting:
Tel. +49 (0) 9091 / 502-115
Fax +49 (0) 9091 / 502-272
E-mail: [email protected]
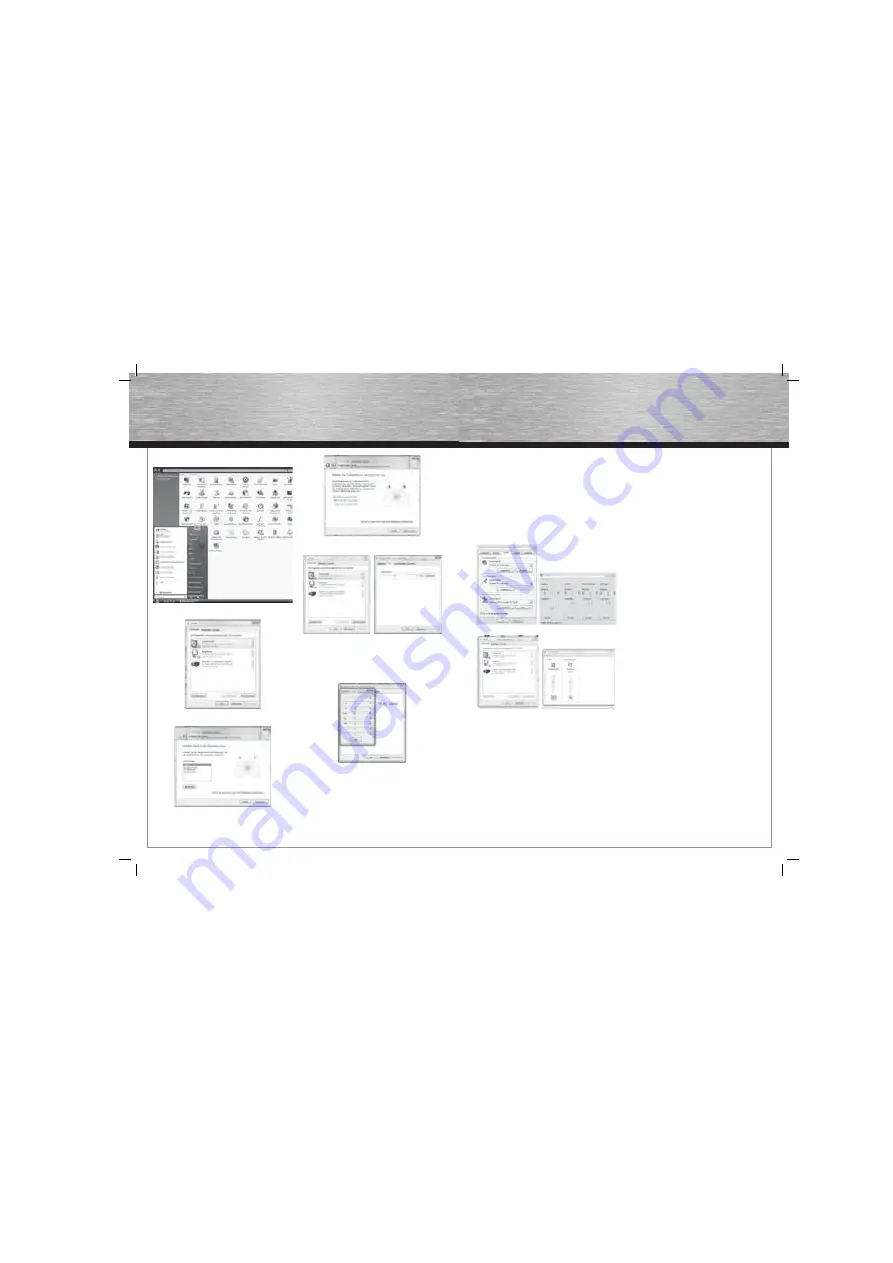
Settings with Windows Vista
Open „Sound“ from your control panel.
Select your sound card and then click „Confi gure“.
In the new menu, select „Stereo“, then click „Continue“.
Place a checkmark in the box next to „“Front left and
right“. Click „Next“. In the next window, click „Finish“.
Your sound settings are now optimised for this
loudspeaker system.
If you cannot place the satellites, as was described, so
that they are at equal distances from your head, you can
now balance the volume between the two satellites.
To do this, click „Properties“ in the „Sound“ menu. In the
new window that opens, click the „Level“ tab and the
„Balance“ button.
You can control the level for the various output channels
here. Increase or decrease the level for the right (R) and
left (L) satellites as you need, then click „OK“ to confi rm
the entries.
00052800bda.indd Abs3:12-Abs3:13
00052800bda.indd Abs3:12-Abs3:13
15.02.2008 11:44:31 Uhr
15.02.2008 11:44:31 Uhr
All manuals and user guides at all-guides.com


