


65
Description
00053157
g
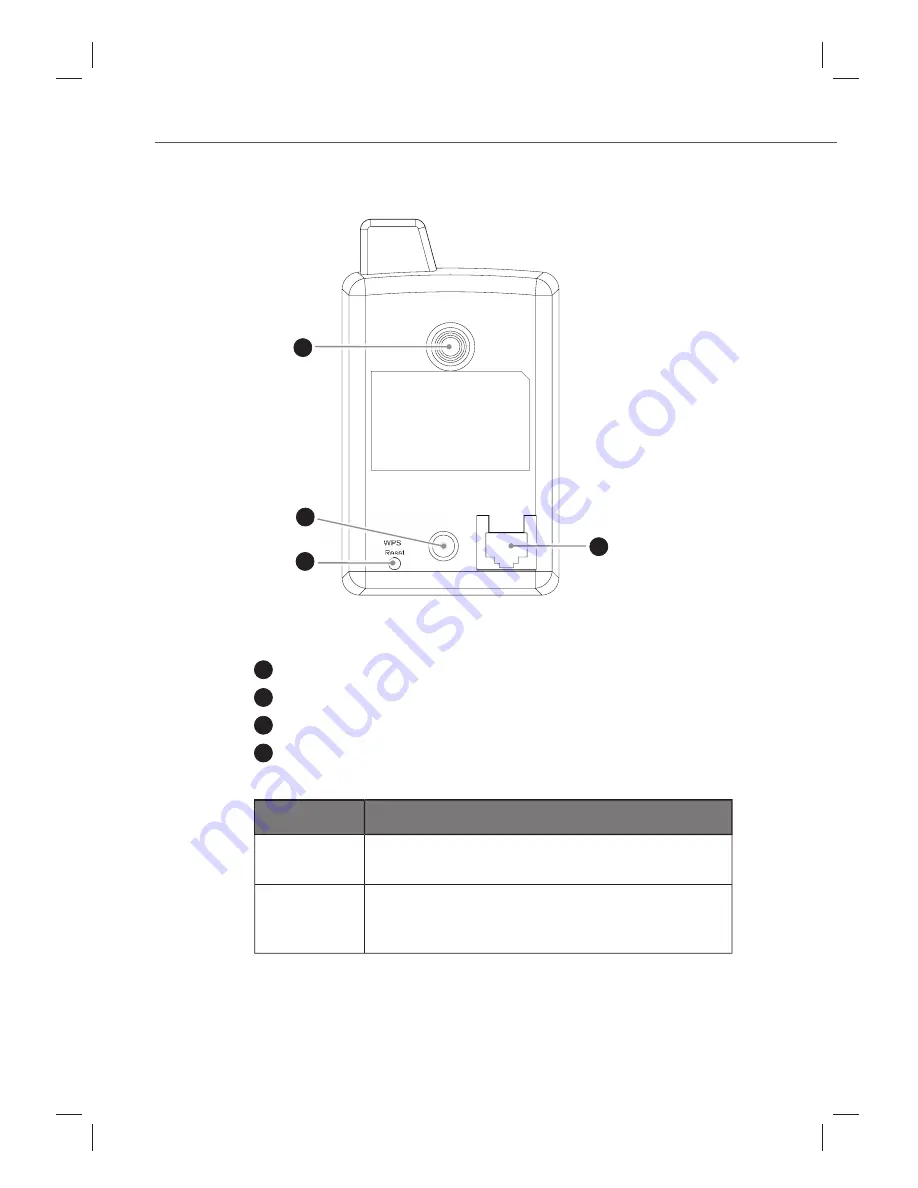
Rear view
5
6
7
8
/
POWER
LAN
/
/
/
/
/
/
/
POWE
5
Thread connection for tripods
6
Socket for the mains adapter
7
Reset/WPS button
8
RJ-45 network connection
Designation Description
Resetting
Press the reset button for at least 5 seconds to
revert to the factory settings.
WPS
Briefly press the WPS button on the camera and
the device to be connected to establish a wireless
connection.
Summary of Contents for 53157
Page 57: ...113 Appendix 00053157 g...


