background image

Note:
During the installation under Windows XP, a message concerning a non-signed driver
may appear. The function of the mouse or of the software is not affected by this. 
Continue with the installation.

• You can adapt the wheel and button settings to your personal demands by 

double-clicking on the mouse symbol.

4. Switching the mouse on/off

The mouse can be switched off completely to save e. g. the batteries if the mouse is
not used for a longer period of time. Press the connecting button  
for at least 2 seconds. A short lighting up of the optical sensor indicates that 
the mouse is now switched off. Press the connecting button to switch on the mouse
again.  

5. Other matters

• In case of disturbance through other wireless mice or in case of change of 

the batteries, the mouse and the receiver have to be adjusted anew.
Proceed as described under point 2.2 d. 

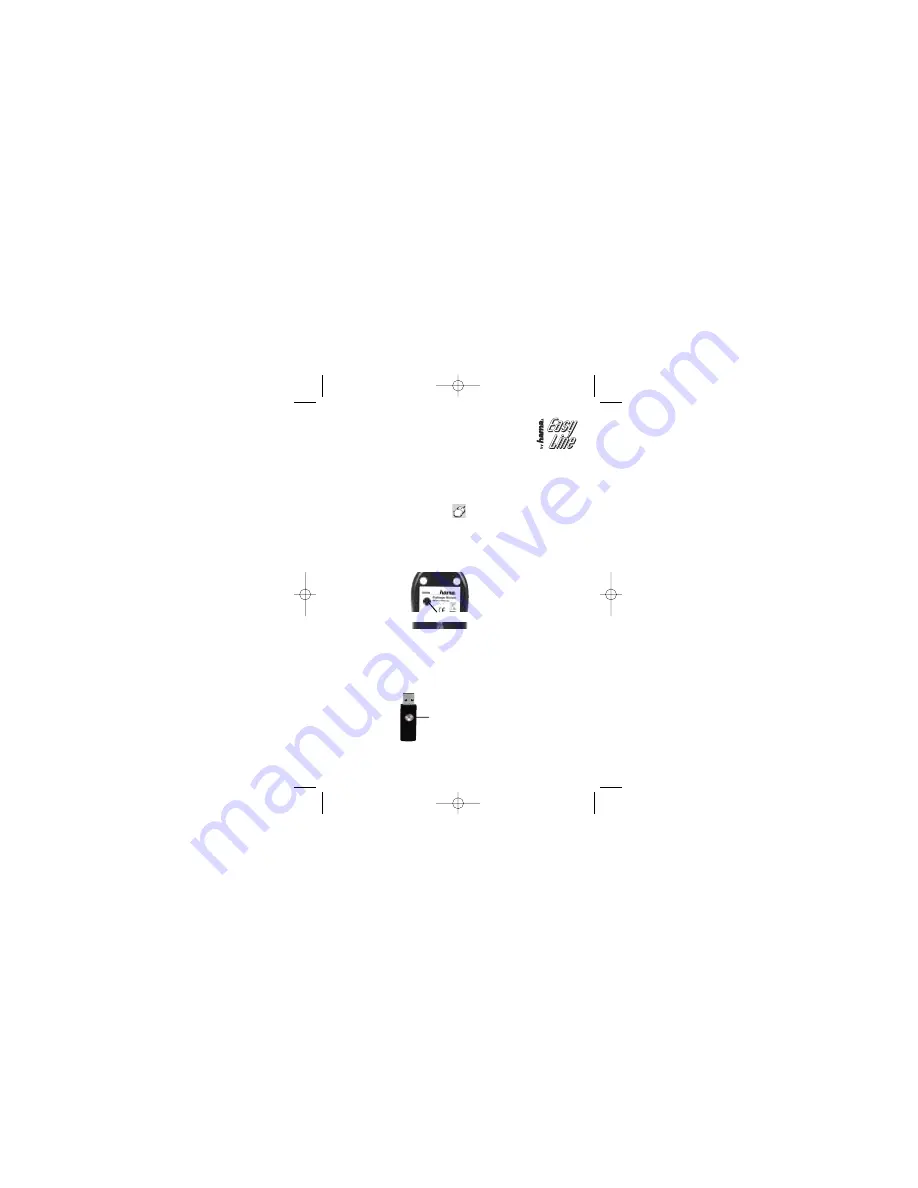
• During the mouse operation, the status indicator at the receiver flashes. 

Connecting button

Status indicator

00020898bda  11.08.2009  8:08 Uhr  Seite 9

Summary of Contents for 20898

Page 1: ...weilige Landesrecht Das Symbol auf dem Produkt der Gebrauchsanleitung oder der Verpackung weist auf diese Bestimmungen hin Mit der Wiederverwertung der stofflichen Verwertung oder anderen Formen der V...

Page 2: ...00020898 Optische Funkmaus Wireless Optical Mouse 00020898bda 11 08 2009 8 08 Uhr Seite 3...

Page 3: ...2 Hardware Installation 2 1 Einlegen der Batterien a Zum Einlegen der Batterien dr cken Sie den Batteriedeckel der Maus nach hinten b Legen Sie die beiden AA Batterien polrichtig in das Batteriefach D...

Page 4: ...un als Standard 3 Tasten Maus Um der 3 Rad Taste eine bestimmte Funktion zuordnen ist es notwendig die beigelegte Software zu installieren Siehe Punkt 3 3 Software Installation Deinstallieren Sie zun...

Page 5: ...halten um z B die Batterien zu schonen falls die Maus l ngere Zeit nicht ben tigt wird Bet tigen Sie dazu die Verbindungstaste f r mindestens 2 Sekunden Das Ausschalten wird durch ein kurzes Aufleucht...

Page 6: ...ide 2 Hardware Installation 2 1 Inserting of batteries a Press the battery cover of the mouse backwards in order to insert the batteries b Insert the two AA batteries correctly in the battery compartm...

Page 7: ...oint 5 The mouse works now as a standard 3 button mouse You have to install the enclosed software if you want to assign a certain function to the third wheel button 3 Software Installation Uninstall t...

Page 8: ...eries if the mouse is not used for a longer period of time Press the connecting button for at least 2 seconds A short lighting up of the optical sensor indicates that the mouse is now switched off Pre...

Reviews: