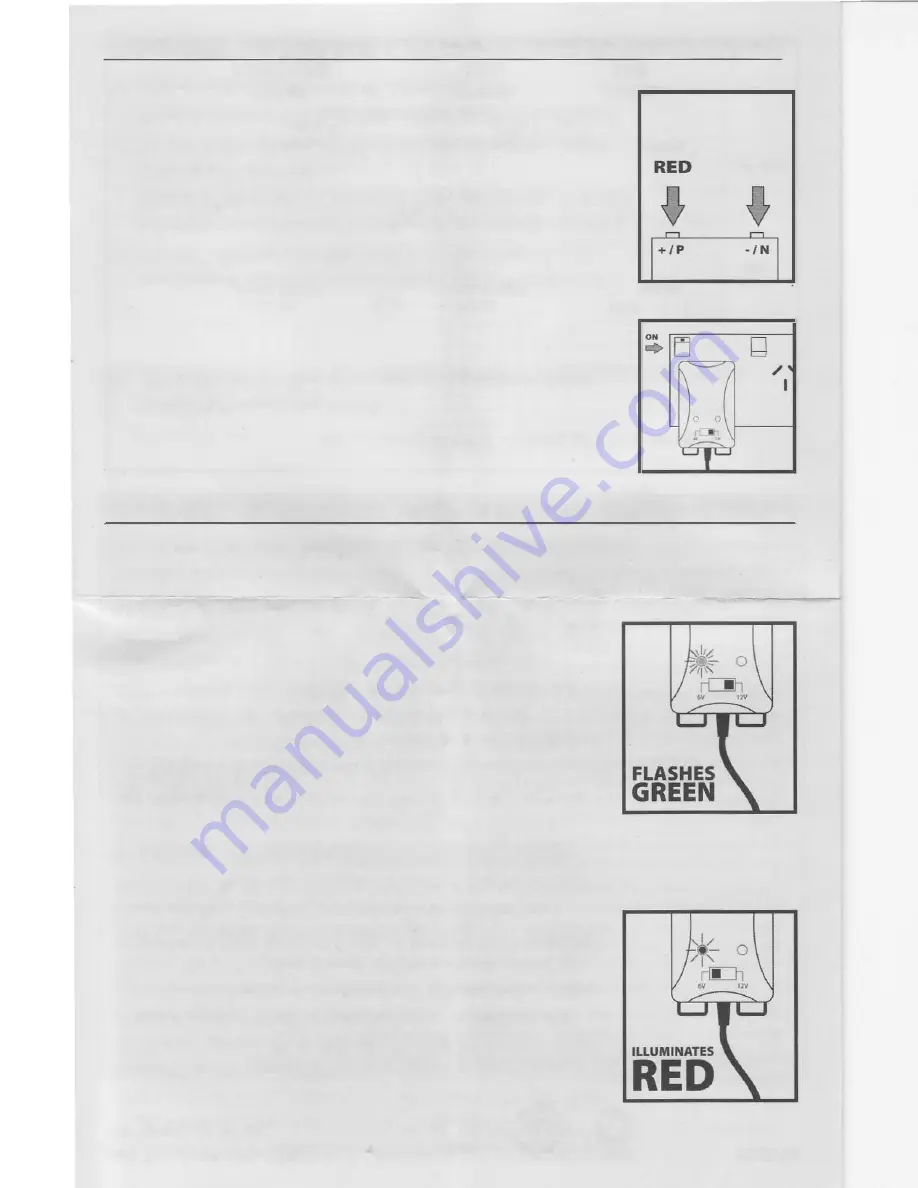
CHARGER TO BATTERY CONNECTION INSTRUCTIONS
5.0 When connecting the charger to the battery:
a. Ensure the battery rosts are clean and free of corrosion.
b. Connect the charger clamps or terminals to the battery
in the following order:
RED to the positive post of the battery (marked
P
or+) and
BLACK to the negative post of the battery (marked Nor-)
c. lt is important to ensure that either battery clamps or
terminals make solid contact with each terminal post.
6.0 Once this is completed switch on the mains power
supply to activate the charger.
BLACK
CHARGER OPERATION AND ANALYSIS INSTRUCTIONS
•
The battery charger automatically detects the voltage of
the battery.
•
If (LED1) flashes GREEN this is an indication that the
voltage is less than 3.75V
±
0.25V for a 6 volt battery or
7.5V
±
0.25V, for a 12 volt battery. This suggests the
battery may be faulty and/or severely discharged and
most likely will not capable of being recharged.
Auto electricians, battery suppliers or larger automotive outlets
have equipment that can determine its condition. This facility is
often offered as a free service. Automotive batteries have an
average life of
3
years in Australian conditions.
•
If (LED1) illuminates RED this is an indication that the
voltage is greater than 3.75V
±
0.25V for a 6 volt battery
or 7.5V
±
0.25V, for a 12 volt battery the charger will
commence bulk charging. When the battery is charged
up to 7.2V
±
0.25V (for 6 volt batteries) or 14.4V
±
0.25V
(for 12 volt batteries), the (LED1) will illuminate GREEN
and a trickle current will maintain the battery at full
capacity. During the maintenance charging mode, if the
battery charger detects a voltage drop to either 6.5V for
a 6 volt battery or 13.0V for a 12 volt battery, the charger
will return to "Bulk Charging" mode and undertake a
charging cycle and then revert to the Maintenance mode.


