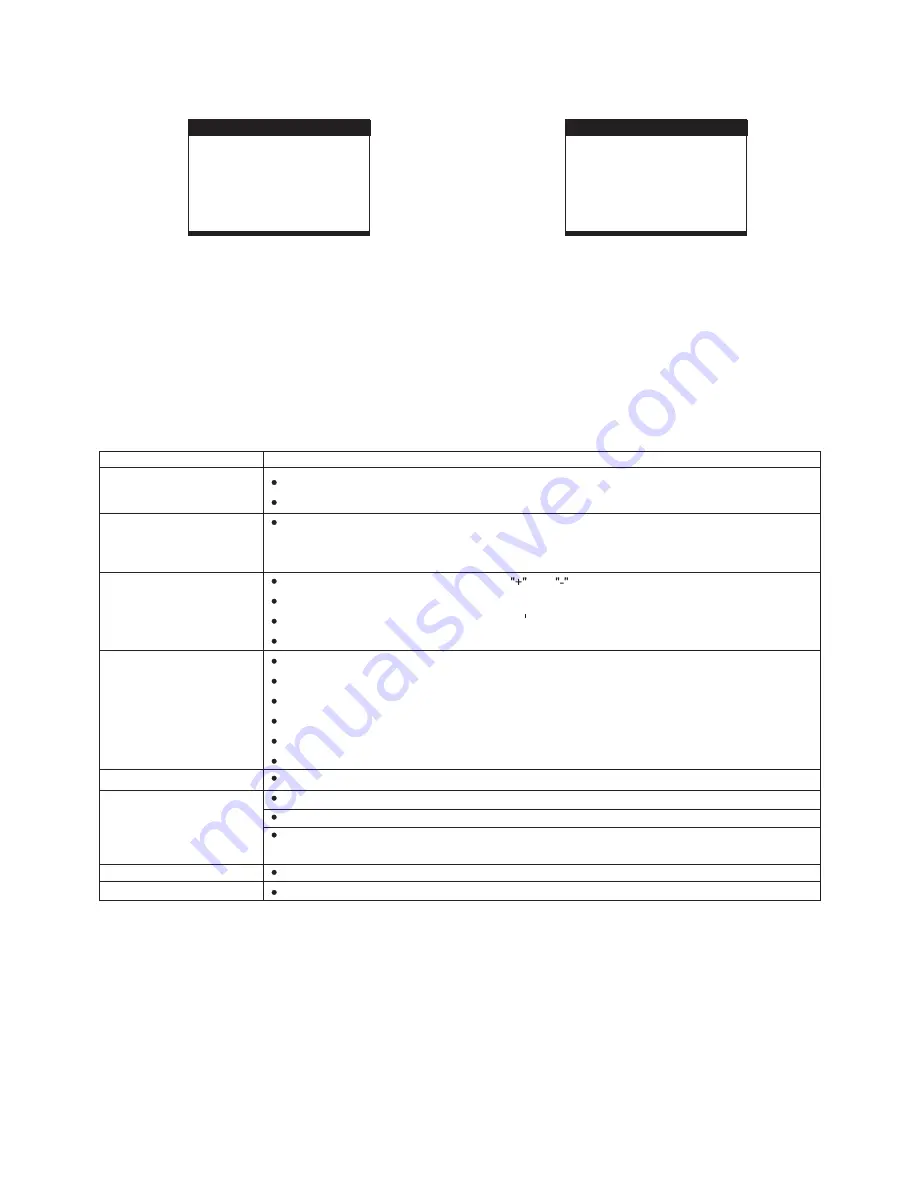
background image

SPEAKER SETUP

SPEAKER SETUP

DOWNMIX

EXIT SETUP

4. SPEAKER SETUP

4.1 DOWNMIX

Options:

Left/Right mix mode

Select this option if you don't have a 5.1

channels amplifier.

LT/RT-

STEREO-

7

3.1 BRIGHTNESS-- to set the brightness for the display.

Options: 0/2/4/6/8/10/12

Options:

3.2 CONTRAST-- to set the contrast effect for display.

3.3 HUE-- to set the colour impression for display.

3.4 SATURATION-- to set the saturation level for display.

0/2/4/6/8/10/12

Options: -6/-4/-2/0/+2/+4/+6

Options: 0/2/4/6/8/10/12

3. VIDEO SETUP

VIDEO SETUP

VIDEO SETUP

BRIGHTNESS
CONTRAST
HUE
SATURATION

EXIT SETUP

TROUBLESHOOTING

If your DVD player does not seem to be functioning properly, check the items below before you contact an authorized service center

Symptom

Check

Make sure the AC adapter is securely plugged into an AC outlet.

Turn the power off and then back on.

Check that the battery pack is charged. If not, recharge it.

Check that the battery is inserted in the

and

direction properly.

The battery may be flat. Replace it with a new one.

Check that the signal transmission is directed at the remote control sensor on the DVD player.

Remove the obstacle between the remote controller and remote control sensor.

Check that the A/V cables are securely connected.

Check that the disc is a DVD (region number 1 or all), DVD-RW or AUDIO CD.

Do not use a disc that has scratches or dirt.

Check that the label-side of the disc is facing up.

The pick-up lens of the DVD player may be dirty. Contact the service center for lens cleaning.

Check that the TV channel is set to VIDEO or AV if viewing with a TV.

Power does not turn on or
suddenly turns off.

Battery pack is in place but
the power does not turn on
or suddenly turns off

Remote control won't work

No picture or sound

Check that the LCD display is turned on.

Check that the display panel is open. If it is closed, audio will not be output to the speakers.

Check the volume setting. If set to zero, turn up volume level.

Check that the headphones are plugged into the PHONES socket.

Speakers cannot be used with the headphones.

Check that the battery is properly installed and AC Adapter is properly connected.

Use a disc without scratches or dents.

No picture

No sound

No picture and sound

Distorted video or sound

Summary of Contents for PF710

Page 1: ...V I D E O USER MANUAL PDVD9KIT PORTABLE DVD PLAYER WITH 9 TFT LCD SCREEN IMPORTANT READ THESE INSTRUCTIONS BEFORE USE AND RETAIN FOR FUTURE REFERENCE V I D E O ...

Page 2: ...panying the appliance VENTILATION WARNING THE NORMAL VENTILATION OF THE PRODUCT SHALLNOT BE IMPEDED FOR INTENDED USE CAUTION LASER RADIATION WHEN OPEN DO NOT STARE INTO BEAM IMPORTANT SAFETY INSTRUCTIONS 1 Read these instructions 2 Keep these instructions 3 Heed all warnings 4 Follow all instructions 5 Do not use this apparatus near water 6 Clean only with dry cloth 7 Do not block any ventilation ...

Page 3: ... radio or TV interference caused by unauthorized modifications to this equipment Such modifications could void the user authority to operate the equipment This device complies with Part 15 of the FCC Rules Operation is subject to the condition that this device does not cause harmful interference REGION CODE SETTING Region coding All DVD discs are coded by the sales territory Please note the player...

Page 4: ...POWER ON OFF SWITCH 28 DC IN 9V 12V SOCKET 29 DISC COVER 30 USB PORT 31 SD MMC CARD SLOT 32 SPEAKERS 1 SCREEN ON OFF BRI COL button 2 TITLE button 3 PREVIOUS F BWD button 4 NEXT F FWD button 5 NAVIGATION buttons 6 NUMERIC buttons 7 ANGLE button 8 VOLUME button 9 ON STANDBY button 10 SETUP button 11 MENU button 12 DISPLAY button 13 STOP USB SD MMC CARD button 14 OK PLAY PAUSE button 15 SUBTITLE but...

Page 5: ...djust the volume to a comfortable level using the Volume keys CAUTION Listening at high power for a long moment could damage users ears A V cable AUDIO R AUDIO L VIDEO IN S VIDEO YUV INPUT AV AUDIO VIDEO INPUT TV SET OPERATIONS PREPARATION Power on the TV set and select video input mode Power on the audio system which is connected to the player 1 Press POWER switch to turn on the player 2 3 Place ...

Page 6: ...ay the program menu 2 Select location s to be memorized via navigation buttons and then enter desired Titles Chapters numbers via numeric buttons Note Inputting leading zero is not necessary If the chapter title track number is behind the cardinal 10 press the unit digit key first and then another unit digit Some figure inputs may be useless because it s greater figure than total title chapter tra...

Page 7: ...LT it is used to select the TV scan mode please set as per your TV set Options Normal Pan scan mode normal Letter box mode 16 9 wide screen mode input password to unlock the system The steps are as follows 1 4 1 Enter SYSTEM SETUP select the PASSWORD item by scrolling the down navigation button and then press the right navigation button to select the input box 1 4 2 Input user s password 0000 to u...

Page 8: ...heck that the signal transmission is directed at the remote control sensor on the DVD player Remove the obstacle between the remote controller and remote control sensor Check that the A V cables are securely connected Check that the disc is a DVD region number 1 or all DVD RW or AUDIO CD Do not use a disc that has scratches or dirt Check that the label side of the disc is facing up The pick up len...

Page 9: ...warranties described herein shall be the sole and exclusive warranties granted by Haier and shall be the sole and exclusive remedy available to the purchaser Correction of defects in the manner and for the period of time described herein shall constitute complete fulfillment of all abilities and Responsibility of Haier to the purchaser with respect to the product and shall constitute full satisfac...

Page 10: ...Haier PDVD9 PART NO 804 01 Printed in China ...

Reviews: