background image

P.15

<                                                >

Balance

Auto Volume

Sound Mode Standard

SOUND

NOTE:

1).Tint is available in  NTSC system only.
2).There are four colors temperature modes 
can be selected medium, warm, cool,user
3).Screen  is available in PC mode only which 
can adjust Horizontal position, vertical 
position, size and phase.

3.SOUND MENU

The third item of the MENU is the SOUND 
MENU.
You can adjust the sound effect here  such as 
treble, bass, balance etc.
Press         to move, press OK to adjust.

Note: 

Auto volume: only available when the input 
signal volume is too large or distortion.

Color Temperature

Aspect Ratio

Noise Reduction
Screen

Picture Mode Standard

<                                                >

PICTURE

Favourite

Press        to choose the program , press FAV 
button , it will show      on the right side of the 
program.Choose the FAV program , press 
FAV button again , you can cancel the FAV,     
the will disappear .

Once your favorite group is created, you can 
press the FAV key to quickly access your favorite 
channel.

The second item of the MENU is PICTURE MENU.
You can adjust picture effect here, such as 
contrast, brightness, etc.
Press OK to move, press OK to adjust.
      

2. PICTURE MENU


5). CI information: (optional)

This menu can display the CI card' s information.

MENU

Picture Mode           Standard

Contrast 82

Brightness 50

Color 50

Sharpness 50

Tint 50

Color Temperature      Medium

Red 40

Green 31

Blue 50

MENU

        Rename:

Only can rename ATV programs .
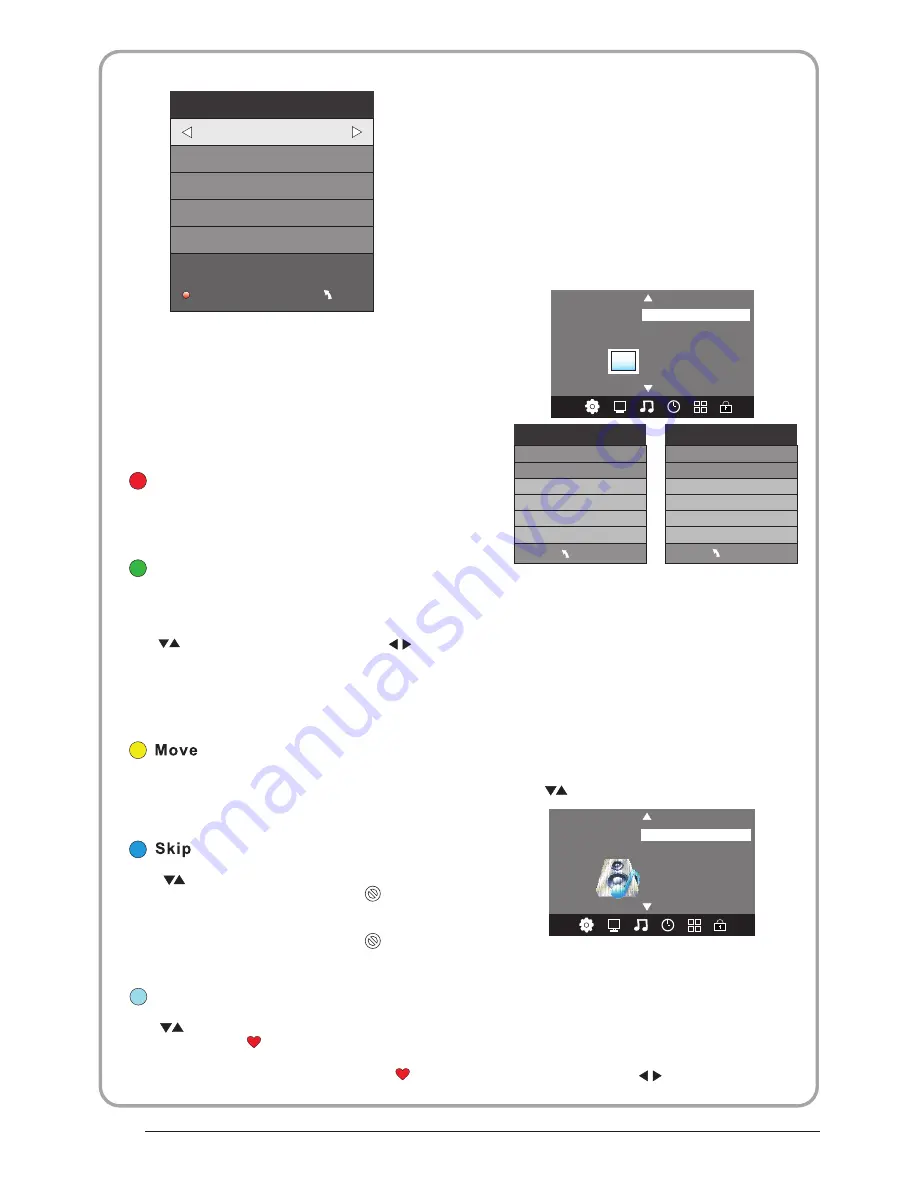
Move the cursor to the program, press teletext 
green button to rename the program.
Press       to choose the character.  Press        to 
move the cursor .
Press MENU button  to exit edit  , Press  EXIT to 
exit  the menu.
Note: ATV programs name only can be 5 character, 
DTV programs name can  be 25  character.

Use the Arrow Buttons to select the channel you 
wish to move. Then press the Yellow Button to 
select Move function. Once active, enter the 
number button and  then press OK to confirm. 

Press        to choose the program , press teletext 
blue button to skip this program, The        will 
show on the right side of the program .
Choose  the skipped program, press  blue button 
again , you can  cancel the skip ,The        will 
disappear . 

 NOTE:

Press  teletext red  button to storage to channels 
after manual tuning .

4). 

Program  edit:


You can Delete ,Rename ,Move, Skip , FAV any 
programs.

          Delete 

Press  teletext red button , the  program in cursor
will delete.

4.TIME MENU

The forth item of the menu is the TIME MENU 
You can adjust the clock, power on/off time, 
sleep time etc Press        to move, press OK to 
adjust 

ATV Manual Tuning

Storage To 1

System BG

Current CH 1

Search

Fine-Tune

Frequency  255.25  MHz

Save                                                MENU

_

+

Summary of Contents for LET26C430

Page 1: ...LED LCD TV RECEIVER USER MANUAL Please read this manual carefully before using your television and keep this manual in a good place for future reference MODEL LET26C430 LET32C430 ...

Page 2: ...Rear AV connections ...

Page 3: ...set up and begin using your TV 32 HD Ready LED LCD TV Remote control AAA ba x2 Instruction Manual Quick start guide ttery Scart cable x1 Adaptor 26 Full HD 1080P Digital LED LCD TV Remote control AAA ba x2 Instruction Manual Quick start guide ttery Scart cable x1 Adaptor ...

Page 4: ...ammable materials near the unit To prevent fire do not place the unit near a damp wall To prevent electric shock ensure that any external antenna connected to the set is clear of contact with any power lines Do not plug unplug the unit while your hands are wet This may cause an electric shock Please ensure a solid connection with the AC wall socket in order to avoid shock and potential fire To pre...

Page 5: ... trap the power supply cord under the television receiver Caution Never stand on lean on or suddenly push the television or its stand You should pay special attention to children Serious injury may result if it should fall Caution Do not place your television on an unstable cart stand shelf or table Serious injury to an individual and damage to the television may result if it should fall Caution W...

Page 6: ...5W Signal Input Analog RGB PC x1 High Definition Multimedia Interface HDMI x2 Video Input x1 CVBS Input x1 YPb Prx1 Horizontal definition TV line CompositeVideo input 350 YPbPr 400 26 55 W Main parameter Main features Used as Television display terminal PC display High luminance wide viewing Angle 3 HDMI interface and SCART Interface 4 NICAM 5 Time shift PC Audiox1 USB x 1 CI x 1 Tuner x 1 100 240...

Page 7: ...PRESET MODE PC 2 1 3 640 480 800 600 1024 768 60 60 60 31 47 37 88 RESOLUTION V Freq Hz H Freq KHz P 06 02 Introduction 5 1280x1024 60 48 36 63 98 4 1360x768 60 47 7 6 1920x1080 60 66 64 Only for 26 ...

Page 8: ...ind the parts Open the box and find the following parts Stand x1 pc Screws x 4 pcs Packing Stand Packing TV Screws Stand 1 Insert the stand support pillar into the stand as the arrow indicated direction and then fastened with three screws 2 Insert the stand Ass y into back cover as the arrow indicated direction and then fastened with one screw 1 2Place the stand on the TV ...

Page 9: ...Wall Mounting Holes Spacing and Location 1 Use the screwdriver to remove screws from the screw location 1 2 Remove the base stand from the Main body 4 Wall mount M4 Screws WALL MOUNTING INSTALLATION GUIDELINES 200 00 100 00 ...

Page 10: ...ndby mode it can Turn on theTV STANDBY 2 VOL VOL Adjust sound level In MENU adjust the item that you Selected 5 3 1 2 SOURCE MENU CH CH VOL VOL STANDBY 1 AV 2 input 3 YPbPr input 4 input 5 input input 7 SCART input 8 PC AUDIO input 9 L R AUDIO Intput 10 11 Input 12 input AC Power Source HDMI2 6 input HDMI1 USB COMMON INTERFACE CI VGA INPUT ANT Intput HDMI1 USB PC AUDIO VGA ANT SCART COMMON INTERFA...

Page 11: ...P 10 02 Introduction ...

Page 12: ...t your Common Interface service provider to get more information about the modules and subscription Please noted that CA modules and smart cards are neither supplied nor optional accessories from us COMMON INTERFACE ATV Manual Tuning Programme Edit Signal Information CHANNEL Auto Tuning DTV Manual Tuning Software Update USB Software Update OAD Off CI Information P 11 ...

Page 13: ...xit TELETEXT 24 INFO T 25 SUBTITLE T For direct access to channels et timer to turn off the TV o display information about the program being viewed and what s on next in DTV mode o access your favourite channels list in TV or DTV mode o return to the previous menu or exit menu sed to switch between digital TV channels and radio stations o display information about the channel being viewed or furth...

Page 14: ...ication appears top left To freeze the page To display or hide the concealed information games solutions The user can set four favorite pages to be directly linked to the four color keys While list mode is activated it is not possibility to use TOP or FLOF navigation with the colorkeys The favorite page numbers should be stored and restored to from nonvolatile memory for each channel by the system...

Page 15: ...tuning the channel will skip to the first DTV channel 2 DTV Manual tuning You can select a DTV channel then find the program in this channel Pls press to select the channel then press OK to search the programs NOTE Bad Normal Good means signal intensity Switzerland NewZealand Norway Poland Portugal Slovenia Spain Sweden Country OK Rumania Russian Serbia Morocco Tunis Algeria UK Dansk Deutsch Hrvat...

Page 16: ... card s information MENU Picture Mode Standard Contrast 82 Brightness 50 Color 50 Sharpness 50 Tint 50 Color Temperature Medium Red 40 Green 31 Blue 50 MENU Rename Only can rename ATV programs Move the cursor to the program press teletext green button to rename the program Press to choose the character Press to move the cursor Press MENU button to exit edit Press EXIT to exit the menu Note ATV pro...

Page 17: ...up USB disk for PVR 04 Operation NOTE Within 15 minutes there is no signal the TV will auto sleep if Auto Sleep is set ON The clock time can get from the DTV system auto Off Time On Time Sleep Timer Auto Sleep Time Zone Clock TIME 7 EPG Menu Electronic Program Guide The EPG menu is used to look at what is being broadcasted on DTV or Radio channel in the day To access the EPG menu press the EPG bot...

Page 18: ...ange into Success Note please check the term speed If it is HD support that means the speed of USB device is available for time shift and record If not please format the device to make sure the device available The default Free Record Limit is 6 hour if the space on the disk is big enough If the space is not big enough the record time should be shorter depends on the room on the device During the ...

Page 19: ...me shift size Time Shift Size Time Shift Disk Size 512 MB SB 14 Mins HD 4 Mins Do not unplug USB device Formatting please wait Format disk As playing the DTV source choose the channel and click record the record frame will pop up Click record again the record frame will disappear and the REC icon still on the left top It will disappear until you click stop In USB the record program will be saved i...

Page 20: ... power or remove the USB device during formatting During formatting a speed test will be done on the USB device If it fails it means the USB device may not support the Time Shift function Record a paused DTV program to USB storage device 1 While in the DTV input source insert USB storage device to the USB port on the side of your TV 2 Press PAUSE 33 to start Time Shift function The TV program paus...

Page 21: ...d does not meet the minimum requirements 3 Do Not remove USB disk or switch off the power during Time Shift operations It will abort once the signal is lost 4 Do Not remove the signal source during Time Shift operations 5 Do Not quickly and repeatedly change operations between PLAY PAUSE FWD REV 6 Video may become pixelated when Video bit rate is too low 7 Not all USB devices are compatible The US...

Page 22: ...eview frame will pop up Press the button to play the media file in full screen When the media file photo music Movie or text type is playing press the OK or Info button can display the control bar Press to select the function icon press OK button to confirm the function Press or EXIT button to exit the control bar NOTE You can adjust the audio track or program in the Info menu while Playing the vi...

Page 23: ...nections are not correct No picture Mute Power cord is not inserted Power switch is not opened Contrast and brightness volume setup Press standby key on the remote control for inspecting No colour Normal audio Colour control Picture breaking up Normal audio or weak retune channel No colour Noise TVsystem Normal audio antenna position direction or connection Trouble shooting Trouble phenomenon Symp...

Page 24: ...re Accessory The part specifications of this TV set provided here are for reference only Difierences may occur as product technology is updated Design and specifications are subject to change without notice HDMI 480i p 576i p 720p 1080i 1080p User manual Remote control Battery x2 Quick start guide 15 C 45 C Storage humidity 5 90 Power requirements AC 100 240V 50 60Hz P 23 Power consumption PAL B G...

Page 25: ......

Reviews: