TV OPERATION
-21-
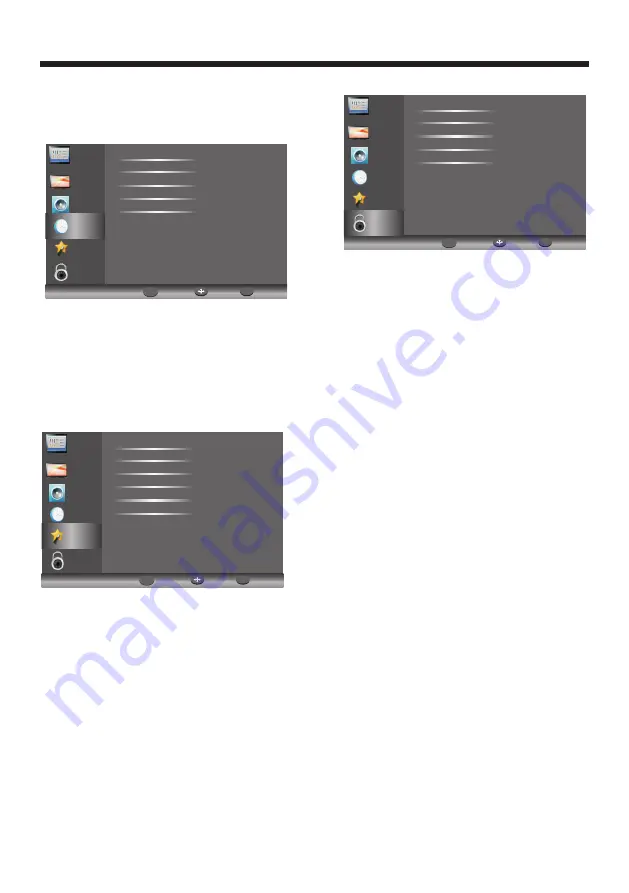
4.TIME MENU
The fourth item of the menu is the TIME MENU.
You can adjust the
and Time Zone.
Press
▼ ▲
to move, press OK to adjust.
sleep timer
NOTE:
The clock time is automatically set by the Digital TV
transmissions.
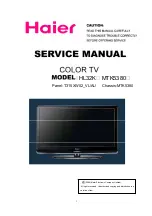
5.OPTION MENU
To enter the Option Menu, press MENU button and
then press
▼
or
▲
buttons to select the Option Menu.
Once in Option Menu, press
◀
or
▶
buttons to select
the settings you wish to adjust. Press MENU button
to return to the Main Menu.
Restore Factory Default:
If you wish to reset your TV, please select the Restore
Factory Default option, this will clear all settings.
6.LOCK MENU
To enter the LOCK Menu, press MENU button and
then
to select the LOCK Menu.
Please set a new password so it is easy to remember.
Follow the on screen steps to set your new password.
press
▼
or
▲
buttons
Once the Parental Guidance mode is turned on, you
can set viewing restrictions during
reception
only.
DTV
7. Program Guide
CHANNEL
PICTURE
OPTION
LOCK
Clock
Sleep Timer
Time Zone
Back
Move
OK
OK
MENU
SOUND
TIME
CHANNEL
PICTURE
LOCK
OSD Language
Audio Languages
PVR File System
Restore Factory Default
HDMI CEC
Caption
Back
Move
OK
OK
MENU
SOUND
TIME
OPTION
CHANNEL
PICTURE
Lock System
Set Password
Block Program
Parental Guidance
Back
Move
OK
OK
MENU
SOUND
TIME
OPTION
LOCK
The EPG Menu is used to look at what is being
broadcast by DTV stations. After you turn the TV on
and select the DTV input, your TV will commence
receiving EPG data progressively over a period of
time (typically up to half an hour, depending on the
number of stations being received). Press the
button to access the EPG Menu. You will receive
detailed program information on the channel you are
currently watching as well as programs in the near
future. Press the
cursor to move to the top of the
EPG screen to the Programme Guide tab, then press
the
cursor to select either Time or Channel listings.
In the Time mode, move the highlighted tab down to
the date line using the cursor keys, then press the
cursor keys to select the desired reception date. Use
the
down cursor to move thru the available
programs for the selected date and time.
In the Channel mode, use the cursor keys to select
the desired DTV channel, then scroll thru the
available programs into the near future. If a DTV
channel shows “No information”, it means that the
EPG has not yet loaded the data for that channel. You
can speed up this process, (just for this channel), by
using the
cursor keys to select the channel in the
EPG list, then press OK. The TV will change to the
newly selected channel, and start loading the EPG
data. Once the selected program is chosen you can
select to tag it for Reminder activity using the Blue
button on the Remote Control, and then view the
planned activity in the Schedule List.
GUIDE
▲
▶
▼
◀▶
▼▲