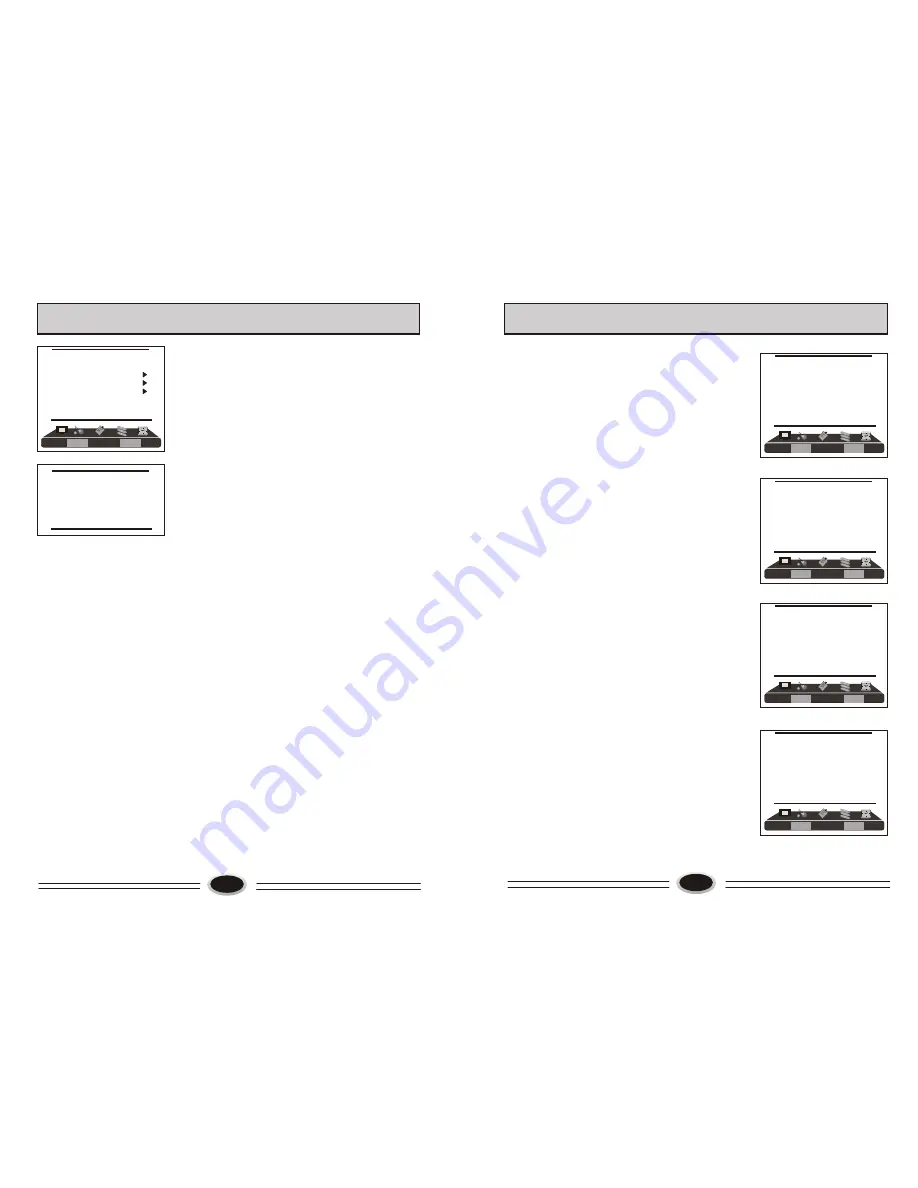
background image

18

SLEEP TIMER
1.Press MENU button to make the main menu display.
2.Press VOL+/- button to select TIMER menu, press 
   CH- button to enter.
3.Press CH+/- button to select SLEEP TIMER item.
4.Press VOL+/- button to select the sleep timer you
   need. You can select OFF, 15,30, ......, 240. After 
   setting, press MENU button to save and exit, the 
   TV will start counting.
Note: You can press SLEEP button on the remote 
controller to set the sleep timer you need.

CLOCK
1.Press MENU button to make the main menu display.
2.Press VOL+/- button to select TIMER menu, press 
   CH- button to enter.
3.Press CH+/- button to select CLOCK item, press 
   VOL+/- button to enter setting. Press VOL+/- button
   to select hour or minute position, press CH+/- button
   to adjust the value. After setting, press MENU button
   to save and exit.

TIME OFF
1.Press MENU button to make the main menu display.
2.Press VOL+/- button to select TIMER menu, press 
   CH- button to enter.
3.Press CH+/- button to select TIME OFF item, press 
   VOL+/- button to enter setting. Press VOL+/- button
   to select hour or minute position, press CH+/- button
   to adjust the value. After setting, press MENU button
   to save and exit. When the time off is coming, the TV
   set will enter standby status.

BOOK TIME
1.Press MENU button to make the main menu display.
2.Press VOL+/- button to select TIMER menu, press 
   CH- button to enter.
3.Press CH+/- button to select BOOK TIME  item, press 
   VOL+/- button to enter setting. Press VOL+/- button
   to select hour or minute position, press CH+/- button
   to adjust the value. After setting, press MENU button
   to save and exit. 
Note: Functions only work when clock is set.

TIME SETTING 

17

FUNCTION SETTING 

4.Press CH+/- button to select different item, press 
   VOL+/- button to adjust. 
AAA: using this function can improve the 
brightness, contrast and arrangement of image.
There are ON, SPLIT, MOVE and ZOOM four
modes.
CTI: opening this function can restrain the 
different color from crossing and interfering, in 
order to improve the quality of picture.
LTI: opening this function can dynamically optimize 
the brightness of image, in order to improve the 
quality of picture.
DLC: opening this function can adjust the sight depth 
of image according to the image content dynamically
optimize.
SKIN: opening this function can optimize the skin of 
character in the image, in order to make the image
more natural.
DNR: use digital mode to restrain the image noise, in 
order to reduce the interference. There are OFF, 
WEAK, MEDIUM and STRONG four modes.

AAA


ON

CTI


ON

LTI


ON

DLC


ON

SKIN


ON

DNR


MEDIUM

LANGUAGE           ENGLISH
BLUE SCREEN                OFF
OSD SETTING
IMAGE POSITION         
ADVANCE

PICTURE

TIMER

FUNCTION TUNER

SOUND

SLEEP TIMER                  OFF
CLOCK                          - - : - - 
TIME OFF                      - - : - -
BOOK TIME                  - - : - -
BOOK CHAN.                   OFF

PICTURE

FUNCTION

TIMER

SOUND

TUNER

SLEEP TIMER                  OFF
CLOCK                          - - : - - 
TIME OFF                      - - : - -
BOOK TIME                  - - : - -
BOOK CHAN.                   OFF

PICTURE

FUNCTION

TIMER

SOUND

TUNER

SLEEP TIMER                  OFF
CLOCK                          - - : - - 
TIME OFF                      - - : - -
BOOK TIME                  - - : - -
BOOK CHAN.                   OFF

PICTURE

FUNCTION

TIMER

SOUND

TUNER

SLEEP TIMER                  OFF
CLOCK                          - - : - - 
TIME OFF                      - - : - -
BOOK TIME                  - - : - -
BOOK CHAN.                   OFF

PICTURE

FUNCTION

TIMER

SOUND

TUNER

Summary of Contents for L26A10A

Page 1: ...L26A10A L32A10A L37A10A L40A10A L42A10A L26A L32 L37 L40A L42A LCD COLOR TELEVISION OPERATING INSTRUCTIONS Wide view angle display high contrast AAA HDMI 01 009050 ...

Page 2: ... SERVICEABLE PARTS INSIDE FOR ANY PROBLEM REFER SERVICING TO QUALIFIED SERVICE PERSONNEL THERE IS A LIGHTNING ARROW SYMBOL IN THE TRIANGLE THIS SYMBOL INDICATES HIGH VOLTAGE IS PRESENT INSIDE IT IS DANGEROUS TO MAKE ANY KIND OF CONTACT WITH ANY INSIDE PART OF THIS PRODUCT THERE IS A EXCLAMATION MARK IN THE TRIANGLE THIS SYMBOL ALERTS YOU THAT IMPORTANT LITERATURE CONCERNING OPERATION AND MAINTENAN...

Page 3: ......

Page 4: ...d if the product is without base 3 Mount the airproof board 4 Take out the switching support from the accessory bag and use four M5 16 screws included in the Base Switching support Switching support Airproof board L26A10A L32A10A L37A10A L42A10A L40A10A accessory bag to fix the switching support on the back of complete set 5 The remaining four M5 16 screws in the accessory bag are used to mount th...

Page 5: ...es REMOTE CONTROL PANEL 1 2 3 4 7 8 9 11 12 13 14 15 16 17 18 20 21 23 22 24 10 25 19 5 6 11 Power button Mute button TV AV switch button Display button Dynamic AAA button The function is not available The function is not available The function is not available One digit selection button Program recall button Child lock button Picture mode selection button Sound mode selection button Program up do...

Page 6: ... is in standby status pressing power button can cancel the standby status then enter the power on status The power on channel number will display on the screen and it will disappear without operation in 5 seconds 2 Pressing power button again the TV set will enter standby status Standby set connecting the power supply wire the TV set will enter standby status TV PROGRAM SELECTION AND VOLUME ADJUST...

Page 7: ...ing auto search to search the program when you use this TV set for the first time 1 Press MENU button to make the main menu display 2 Press VOL button to select TUNER menu press CH button to enter 3 Press CH button to select AUTO SCAN 4 Press VOL button to start searching press MENU button to stop auto scan during searching Note The order of the auto scan is due to the frequency of the program gen...

Page 8: ...tion you need insert Press VOL button to insert the selected channel in this position during operating press green button to cancel insert 3 For example insert the channel 5 before channel 2 you can first press CH button to select channel5 then press VOL button to drag channel 5 then press CH button to select channel 2 press VOL button to insert this position and save the program in channel 5 is b...

Page 9: ...SOUND menu press CH button to enter 3 Press CH button to select SOUND item 4 Press VOL button to select STANDARD NEWS USER or MUSIC Note You can also press S STD button on the remote control to select the sound modes BALANCE 1 Press MENU button to make the main menu display 2 Press VOL button to select SOUND menu press CH button to enter 3 Press CH button to select BALANCE item 4 Press VOL button ...

Page 10: ...nter setting Press VOL button to select hour or minute position press CH button to adjust the value After setting press MENU button to save and exit Note Functions only work when clock is set TIME SETTING 17 FUNCTION SETTING 4 Press CH button to select different item press VOL button to adjust AAA using this function can improve the brightness contrast and arrangement of image There are ON SPLIT M...

Page 11: ...button to set the maximum volume the limited range is 10 100 9 Press CH button to select PW CHANNEL item press VOL button to set channel number this channel is the pw channel number if select OFF it will turn off the pw channel lock function 10 BUS item is not available After setting the locked item it will enter the locked item for example the video1 doesn t display the image it will display LOCK...

Page 12: ...TERNAL AUDIO AND VIDEO EQUIPMENT CONNECTION DVD HDMI 22 VIDEO IN AUDIO IN L R S VIDEO IN DVD VIDEO IN 21 HDMI The HDMI logo and High Definition Multimedia Interface is a trademark or registered trademark of HDMI Licensing This TV can receive the High Definition Multimedia Interface HDMI This TV supports HDCP High bandwidth Digital Contents Protection Protocol for 720x480p 1280x720p and 1920x1080i ...

Page 13: ...ded here are for reference only Differences may occur as product technology is updated See rating plate 23 USING YOUR TV AS A COMPUTER DISPLAY VGA AUDIO IN VGA VGA input 1 Connect the VGA output port in the computer to the VGA port in the TV set 2 Connect the audio cable in computer to VGA AUDIO IN port in TV set 3 Press TV AV button to select VGA mode 4 Turning on the computer the screen image of...

Page 14: ...tor Vehicle Fluorescence lamp etc Volume Sound mute The power plug isn t plugged in AC outlet The main power isn t turned on The setting up of contrast brightness and volume Adjust color control Adjust channel again The following problems are not always caused by hardware failure Please use the follow troubleshooting guide before you call for service Picture with Snow No Color No Picture Normal Di...

Reviews: