


Operation
EN-17
Haier LED HDTV
Press the
H
EXIT
button to close the menu and return
to normal viewing.
Channel Strength
: Display the signal strength of the
selected digital channel.
Audio only
: You can disable the video by turning audio
only On or Off.
Note: After the TV is turned off and then turned back
on "audio only " mode will be OFF.
Settings Menu
Parental Control can be used to block specific channels
based on ratings.
Press the
A
MENU
button and then use the
3
/
4
buttons until the following menu appears on the
screen.
Pr
B
ess the
6
/ENTER
button to enter the Settings
menu and then use the
5
/
6
buttons to select
the desired option.
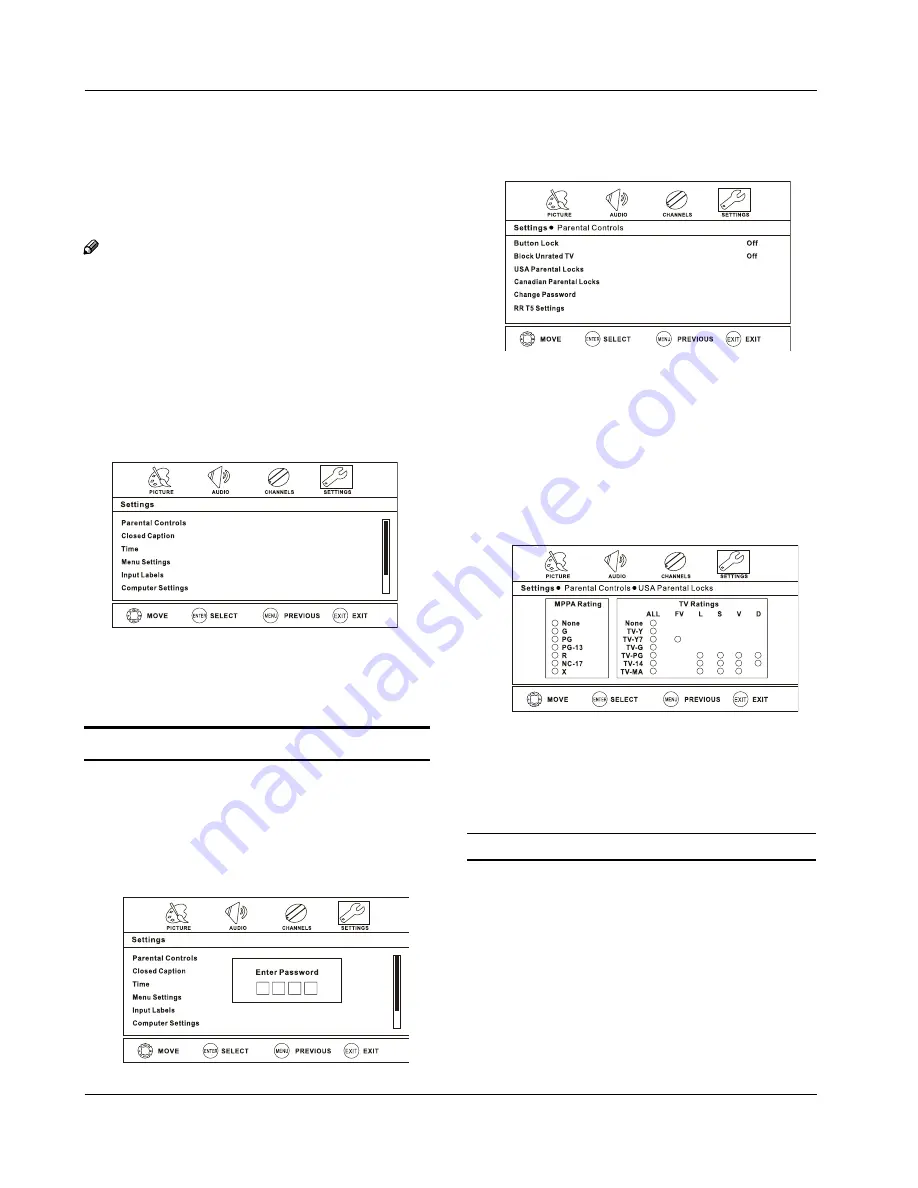
Parental Controls
Press the
A
MENU
button and then use the
3
/
4
buttons to select the
SETTINGS
menu.
Use the
B
5
/
6
buttons and then press the
4
/
ENTER
button. The following menu will appear on
the screen.
Use the number buttons to input the password (the
C
initial password is 0000). The following menu will be
displayed:
Button Lock
: Lock or unlock the front buttons on the TV.
Block Unrated TV
: Block TV programs that do not
have a rating.
USA Parental Locks
:
Press the
A
4
/ENTER
button to enter the submenu
as shown below:
Use the
B
5
/
6
buttons to select the item you want
to block. Then press the
ENTER
button to confirm
(block) and press again to unblock it.
Ratings for Television programs:
Parental Guide Technology:
The "P.L. Technology" allows you to use U.S. and
Canadian Movies and TV PROGRAMS Guide ratings to
block certain types of TV programs and movies.
To clearly understand TV program rating codes, read
the following information:


