


9
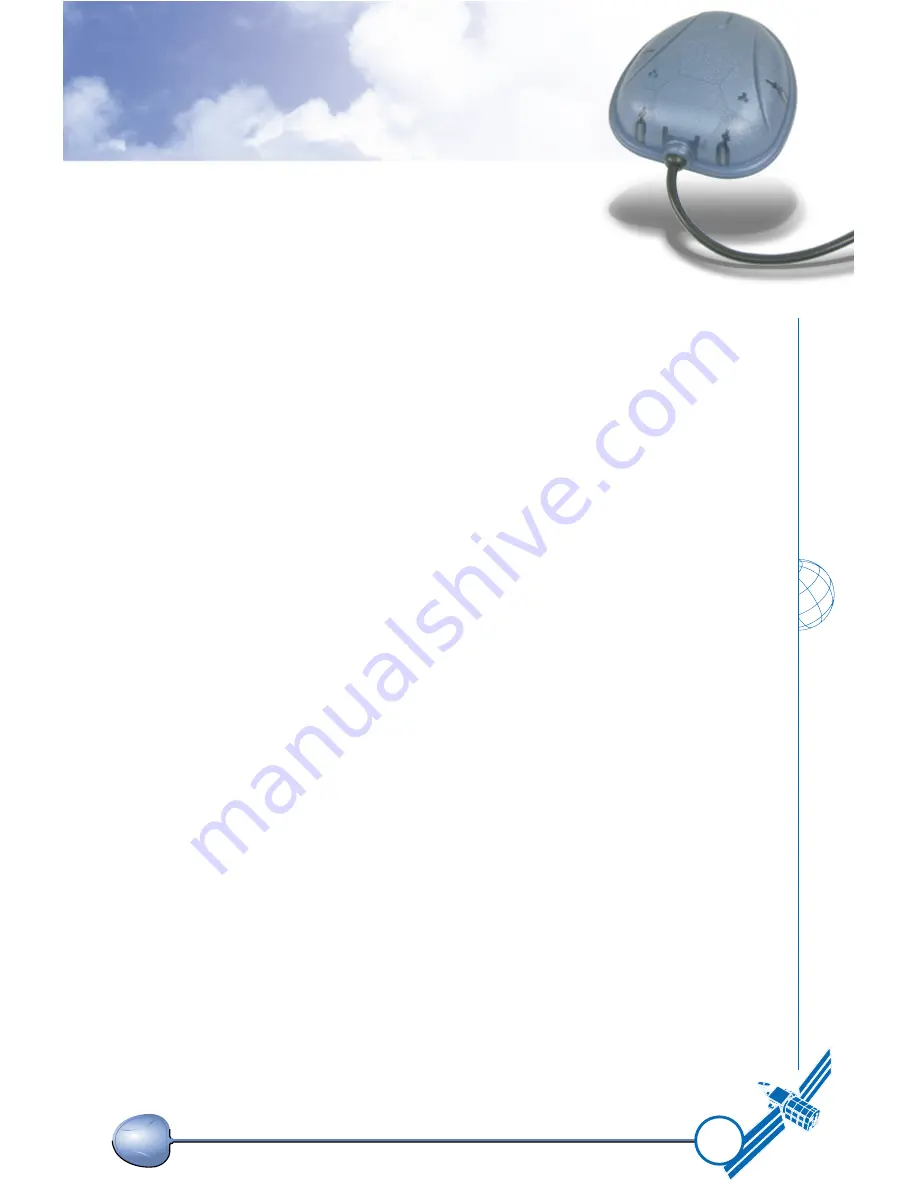
As soon as GPS signal is acquired and tracked,
the HI-204
III
-USB will transmit valid navigation information
through its serial interface. The navigation data contains
following information:
•
Receiver position in latitude, longitude, and altitude
•
Receiver velocity
•
Time
•
DOP error-magnification factor
•
GPS signal tracking status
The HI-204
III
-USB
will perform 3D navigation when four or
more satellites are tracked. When three or fewer satellites
are tracked, altitude-hold is enabled using the last
computed altitude and 2D navigation mode is entered.
With signal blockage or rising and setting of the satellites,
where a change in satellite constellation used for position fix
occurred, large position error may result. The HI-204
III
-USB
incorporates a proprietary algorithm to compensate the
effect of satellite constellation change, and maintains an
accurate smooth estimate of the receiver position, velocity,
and heading.
Summary of Contents for HI-204III
Page 1: ...HI 204III USB Ultra High Sensitive USB GPS Receiver...
Page 3: ...1 HI 204III USB WATERPROOF Ultra High Sensitive USB GPS Receiver...
Page 7: ...5 For notebook PC use HI 204III USB connect with a LaptopPC USB port USB port...
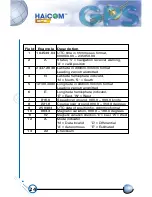
Page 13: ...11 2 2 LED INDICATOR LED flashing 0 25Hz LED flashing 1Hz Signal Searching Position Fixed...
Page 30: ...28 USB Driver Setup Guide HI 204III USB USB GPS Receiver...
Page 33: ...31 Figure 3 Screen of GPS USB Driver Win 98 and Win ME Group...
Page 35: ...33 Step 1 Click the Next button Figure 4 Win 98 Automatic Installation Driver Screen...
Page 38: ...36 Step 4 Click the Next button Figure 7 Win 98 Automatic Installation Driver Screen...
Page 39: ...37 Step 5 Click the Finish button Figure 8 Win 98 Automatic Installation Driver Screen...
Page 41: ...39 Step 2 Double click the Control Panel icon Figure 10 My Computer Screen...
Page 42: ...40 Step 3 Double click the System icon Figure 11 Control Panel Screen...
Page 43: ...41 Step 4 Press Device Manager button Figure 12 System Properties Screen...
Page 45: ...43 Step 6 Browse COM3 properties Figure 14 System Properties Screen...
Page 51: ...49 Step 2 Select Hardware Figure 23 System Properties Screen...
Page 52: ...50 Step 3 Select Device Manager Figure 24 System Properties Screen...
Page 53: ...51 Step 4 Select Ports COM LPT Figure 25 Device Manager Screen...
Page 54: ...52 Step 5 Select COM4 Figure 26 Device Manager Screen...
Page 55: ...53 Step 6 Select Driver Figure 27 USB to Serial Bridge Screen...
Page 56: ...54 Step 7 Browse COM4 properties Figure 28 USB to Serial Bridge Properties Screen...
Page 64: ...WATERPROOF USB GPS Receiver...


