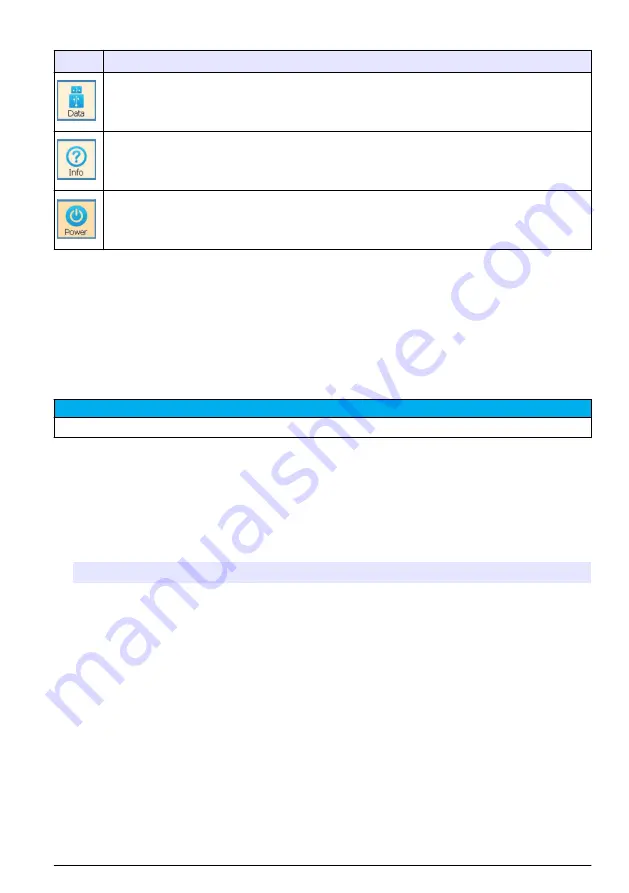
Table 7 Navigation bar description (continued)
Icon
Description
Use a USB flash drive to export and import data. Refer to
on page 19.
Shows system information, the message log and the support contact.
Sets the display to off or restarts the controller.
Note: When one of the options of the navigation bar is selected, the power button changes to the home button. Select
home to go back to the main menu.
Startup
Supply power
Connect the AC power plug to an electrical outlet to supply power to the instrument. If hard-wired
with conduit, use the switch at the local disconnect to supply power. For DC-powered instruments,
use the switch at the local disconnect to supply power.
Connect a sensor
N O T I C E
Never connect the sensor to the controller when the controller is energized or damage to the sensor can occur.
1.
Set the controller to off.
2.
Connect the sensor cable to one of the sensor connectors. Refer to
on page 9.
3.
Set the controller to on.
4.
Push
Sensor
in the navigation bar.
5.
Select the applicable COM button for the sensor connector.
6.
Select
Protocol
. Then select
Modbus
and enter the settings that follow.
Option
Setting
Protocol
Modbus
Hardware mode
RS-485
Baud rate
9600
Flow control
None
Parity
None
Data bits
8
Stop bits
1
7.
Identify if the connected sensor shows with a blue label under the COM window. If the sensor is
not seen, push
Scan for sensors
and do steps
8.
Select a parameter to configure the offset, scaling and warning thresholds.
Note: The parameters that a connected sensor can measure show with a read label near the sensor label.
English
17


