background image


WWW.GVISION-USA.COM 

20532 Crescent Bay Dr. #104, Lake Forest CA 92630  /  Tel. 949-586-3338  /  Fax. 949-272-4594  /  Email. [email protected] 

15


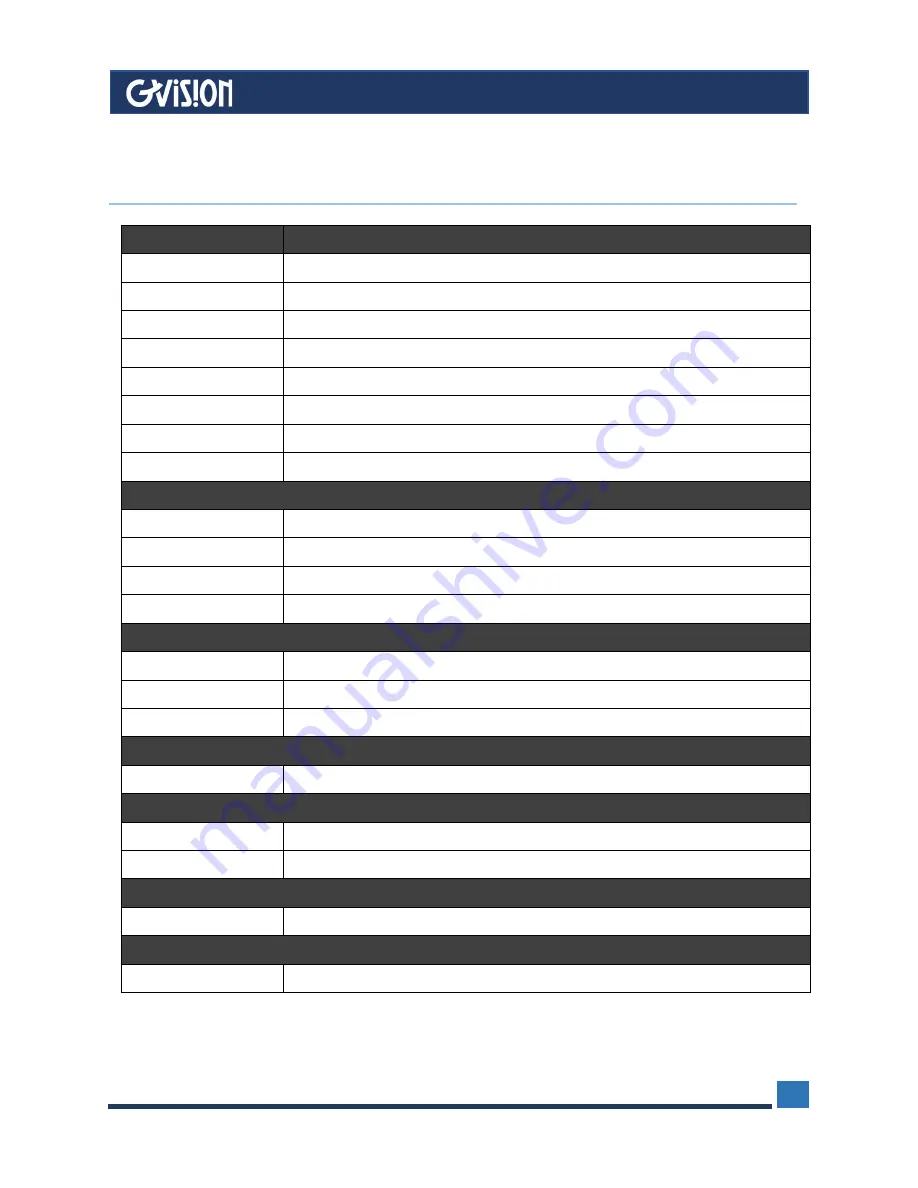
MODEL


PVM10ZJ-OC4-4


Screen Size 

10.1


Resolution 

1280 x 800 

Refresh 

60Hz 

Brightness (MAX) 

300cd/m² 

Response Time (Typical) 

15ms 

Aspect Ratio 

16:10 

Contrast Ratio 

1000:1 

Display Color 

16.7M (8-bit) 

INTERFACE


CVBS Out


HDMI In 

SD Slot 

RJ45 (PoE) 

IP CAMREA


Sensor 

1/3" Sony CMOS 

Resolution 

1080P@25fps 

Lens 

3.6mm Fixed lens 

CABINET 

Color/Material 

Black/Metal 

POWER


Consumption 

18W / Or POE:IEEE 802.3at Less than 18W 

Electrical Rating 

DC24V (AC 100~240V 50/60Hz) 

TEMPERATURE


Operating 

0~50°C 

VESA™


Mount Size 

75 x75mm 

Specifications subject to change without any notice


11


Specifications


Summary of Contents for PVM10ZJ-OC4-4

Page 1: ...PVM10ZJ OC4 4 USER S MANUAL IP PUBLIC VIEW MONITOR GVISION USA INC 30398 Esperanza Rancho Santa Margarita CA 92688 949 586 3338 info gvision usa com WWW GVISION USA COM ...

Page 2: ...ature concerning the operation and maintenance of this unit has been included Therefore it should be read carefully in order to avoid any problems CAUTION Please use the power cord provided with this display in accordance with the table below If a power cord is not supplied with this equipment please contact GVISION For all other cases please use the power cord with the plug style that matches the...

Page 3: ...cking can cause suffocation Keep it out of the reach of children Concerning the Power Cord Can differ by country Check the specification page of this owner s manual to be certain concerning current requirements Do not connect too many devices to the same AC power outlet as this could result in fire or electric shock Do not overload wall outlets Overloaded wall outlets loose or damaged wall outlets...

Page 4: ... gvision usa com 4 Table of Contents 1 Accessories 5 2 Installation 5 3 Control Functions 6 4 Remote Control 7 5 Input Source 8 6 OSD Setup Under AV HDMI Input Mode 9 7 Setup Under SD USB Input Mode 14 8 Care Cleaning 14 9 Mounting Monitor on Wall 14 10 Camera Management 14 11 Specifications 15 12 Dimensions 16 ...

Page 5: ...face of the built in IP camera and Power Over Ethernet Camera Out Built in camera output via CVBS Recording Card The build in recording care you need to insert a TF card firstly and set the recording activity in the IP camera setting OSD DC Power input DC12V make sure your input is not over DC12 4V PACKAGE OF CONTENTS LCD Monitor x1 Remote Control x1 User s Manual x1 Power Adapter x1 CP for IP Cam...

Page 6: ...button on the remote control and adjust menu controls 1 POWER ON OFF the LCD monitor 2 Press SOURCE button to accesses the available video input signal menu press button select press SOURCE to enter the video mode 3 Press MENU button then press button move highlight icon left right 4 Press SOURCE button to enter the sub menu then press button correspondingly to change the setting 5 When the settin...

Page 7: ...ect Down Volume Down Select Left Volume Up Select Right Info Display information Motion Motion detection switch Exit Exit the Monitor OSD Source Source selection menu Unavailable DVR Special Controls Media Controls Select Up Rewind Select Down Forward Select Left Fast Rewind Speed Up Select Right Fast Forward Speed Down MENU OSD Volume Down Select Left OK Confirm Selection Volume Up Select Right E...

Page 8: ...n any way It should also be kept dry and away from all heat sources 2 Battery replacement is necessary when the remote controller acts inconsistently or stops operating the LCD display Choose the input source If you hope to show the video from the external input source Before chose the right source in OSD you need to connect the devices otherwise when you select the source the none or no signal wi...

Page 9: ...it Color Temperature Press OK button to Change the color intensity of the temperature Selected Medium Warm Cool or User you could change RGB Finally press Menu button to exit Aspect Ratio Press OK button to select picture scales then press the or button to select 4 3 or Full Finally press Menu button to exit Noise Reduction Press the or button to select five kinds of settings Low Middle High Off a...

Page 10: ...t to the left and right 50 to 50 The intermediate value is 0 when indication value of balance increases toward 50 sound of the right and left speaker becomes stronger and weaker respectively when indication value of balance decrease toward 50 sound of the right and left speaker becomes weaker and stronger Press OK button then press the or button to adjust sound of the right and left Finally press ...

Page 11: ...s Press or button to set OSD position on the screen OSD Timeout Press or button to set the time that OSD disappear from the screen OSD Transparency Press or button to set the OSD transparency Low Middle or High Restore Factory Press button to Restore factory menu Mirror H V Press or button to select On or Off Then the picture could flip horizontally or Vertically Backlight Press or button to set b...

Page 12: ...l 949 586 3338 Fax 949 272 4594 Email info gvision usa com 12 ADVANCE H V Start Press or button to set the over scan In this part Finally press Menu button to exit H V Size Press or button to set the size of horizontal Vertical over scan Finally press Menu button to exit ...

Page 13: ...e camera Motion Time When you select the motion you could set the motion time Then press menu to exit Motion time is the staying camera time with camera channel after motion disappear Switch Timer When you select the switch mode you could set the switch timer There are three input sources you could set the time for each source from 0 to 30 second Finally press Menu button to exit Special Control P...

Page 14: ... do not spray liquid directly on the screen or allow liquid to run down the screen and inside the Monitor Also never place drinks or vases with water on top of the monitor This could increase the risk of fire or shock hazard or damage to the monitor 9 Mounting Monitor to Wall CAUTION The wall mount must bear a minimum of five times The monitor s net weight without causing damage To mount your MONIT...

Page 15: ... Aspect Ratio 16 10 Contrast Ratio 1000 1 Display Color 16 7M 8 bit INTERFACE CVBS Out 1 HDMI In 1 SD Slot 1 RJ45 PoE 1 IP CAMREA Sensor 1 3 Sony CMOS Resolution 1080P 25fps Lens 3 6mm Fixed lens CABINET Color Material Black Metal POWER Consumption 18W Or POE IEEE 802 3at Less than 18W Electrical Rating DC24V AC 100 240V 50 60Hz TEMPERATURE Operating 0 50 C VESA Mount Size 75 x75mm Specifications ...

Page 16: ...WWW GVISION USA COM 20532 Crescent Bay Dr 104 Lake Forest CA 92630 Tel 949 586 3338 Fax 949 272 4594 Email info gvision usa com 16 13 Dimensions ...

Reviews: