Mobile NVRs M1184 / M1284 Quick Start Guide
41
Auto-add a Camera
5. Click the
Vendor
drop box. From the drop-downs,
select the manufacturer's name of the camera
you want to add. Then click the
Search
button to
continue.
6. Enter the username and the password to add the
camera.
The system then auto-scans for all the IP cameras
of the selected manufacturer(s) in the network.
When the scan is through, it shows a list of the
discovered.
7. Select the camera(s) to add. Then click the
Import
button.
The system then proceeds to import the selected
camera(s). When the importation is through, a
Configuration Page
opens.
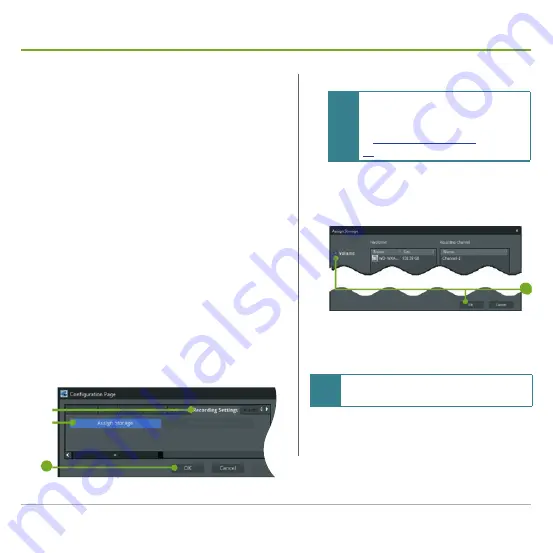
8. To enable the camera to record videos, click the
Recording Settings
tab on the
Configuration
Page
.
➑
➒
11
9. Click the
Assign Storage
button.
Note
The
Assign Storage
button won't be
available unless one or more storage
volumes are created as described
on page
10. From the
Assign Storage
window that
opens, select which volume to save the
recorded videos. Then click the
OK
button.
10
11. Click the
OK
button to finish and quit the
setting.
Note
To set up the schedule recording, see the
user’s manual for details.


