7.2.
Image Setting
Note:
This menu is only available in VGA mode.
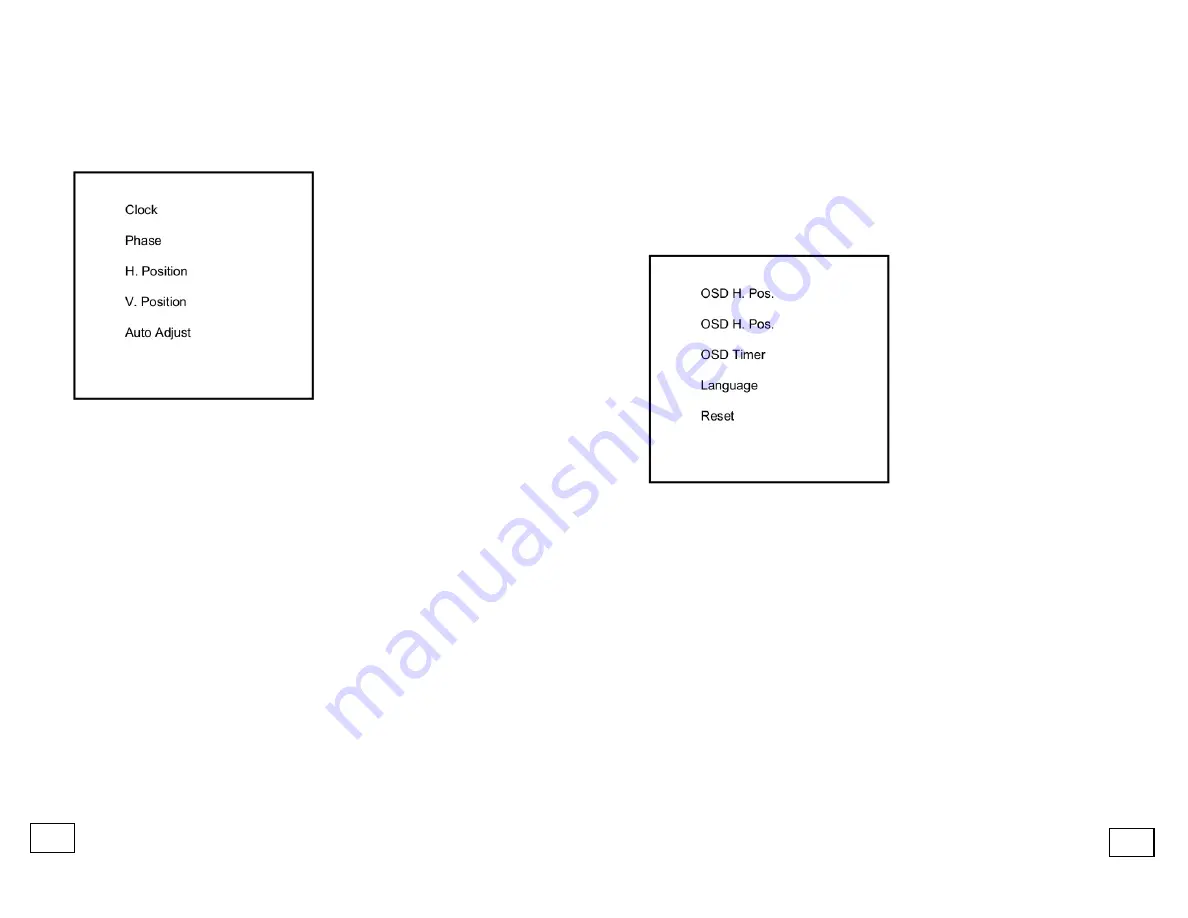
Clock:
Manually adjust the clock synchronisation (0-100). (If the
clock setting of your image is not fine-tuned, you may observe
periodic vertical bars of video noise on your image. These bars of
noise usually disappear when an
Auto Adjust
setting is performed.
If the bars of noise are still present, use this setting to manually
remove them.) Adjust this setting so that either the vertical bars of
noise are replaced by an even amount of noise across the whole
screen, or the noise disappears completely.
If you perform an
Auto Adjust
setting, the monitor will try to find
the best
Clock/Phase
setting. If you are not satisfied with the
automatic adjustment, fine-tune the clock manually as described
above.
Phase:
If the phase of your monitor is not fine-tuned, you may
observe that the image is unstable in the horizontal axis. Use this
setting to manually correct it (0-63).
H. Position:
Sets the horizontal position of the OSD menu (0-100).
V. Position:
Sets the vertical position of the OSD menu (0-100).
Auto Adjust:
Performs an automatic configuration of Phase, Clock,
and the vertical and horizontal position.
7.3.
OSD Menu
OSD H. Pos.:
Sets the horizontal position of the OSD menu (0-200).
OSD V. Pos.:
Sets the vertical position of the OSD menu (0-200).
OSD Timer:
Sets the time after which the OSD menu will
automatically switch off and the screen will return to normal view
mode (3-30).
Language:
Here you can select your preferred language for the OSD
Menu.
Reset:
Restores all factory default settings.
7.4.
Signal Source
In this sub-menu, you can switch between the signal sources.
9
10


