background image

1

Continuing dictation

Move the slide switch [14] on the dictation microphone [1] to 

position 

g

 and continue dictating into the microphone [9].

Playing back dictation

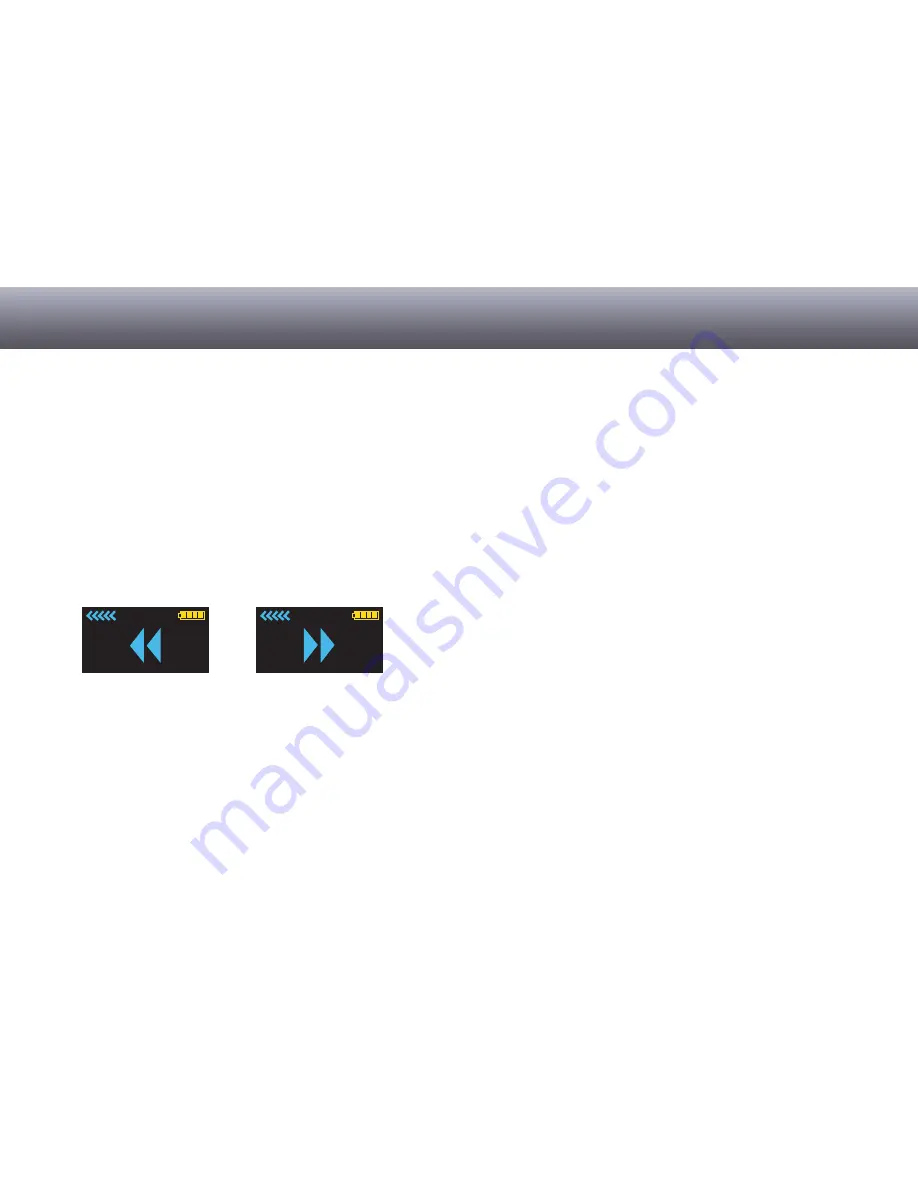
Move the slide switch [14] on the dictation microphone [1] to 

position 

i

 (rewind) or press fast forward 

h

 [16] to move to the 

desired location in the recording.
During fast forward/rewind, the according symbols appear on 

the display [17].


Move slide switch to 

f

 position.

The dictation is played back at the current position.

Overwrite dictation

Move the slide switch [14] on the dictation microphone [1] to 

position 

i

 (rewind) or press fast forward 

h

 [16] to move to the 

position in the dictation to overwrite.

Move slide switch to 

e

 position.

Move the slide switch to position 

g

 and dictate the changes.

The recording indicator [18] will be lit red. The dictation will be 

overwritten as of the previously selected position.

Adding to dictation

Move the slide switch [14] on the dictation microphone [1] to 

position 

e

.

Press fast forward 

h

 [16] and locate the end of the dictation.

Move the slide switch to position 

g

 and dictate the additions 

into the microphone [9]. 
The dictation addition will be at the end.

Inserting recording

Additional recordings can be inserted into an existing dictation 

without overwriting the old dictation.

Move the slide switch [14] on the dictation microphone [1] to 

position 

i

 (rewind) or press fast forward 

h

 [16] to move to the 

position in the dictation where text is to be inserted.


Operation

Summary of Contents for Digta CordEx

Page 1: ...CordEx Operating manual English...

Page 2: ...ears of in house experience The manufacturer assumes no liability for damages due to Failure to comply with the instructions in this operating manual Improper use misuse Willful operation by non autho...

Page 3: ...Fig 1 Controls and connections of dictation microphone and docking station 1 8 7 5 6 4 19 18 17 15 14 12 22 23 11 21 13 16 9 10 20 3 2...

Page 4: ...rding next work section func tion depends on software settings 11 F1 button Configurable function button 1 No Designation Description 12 F2 button Configurable function button 2 13 F3 button Configura...

Page 5: ...Continuing dictation 17 Playing back dictation 17 Overwrite dictation 17 Adding to dictation 17 Inserting recording 17 Finishing dictation 18 Switching off dictation microphone 18 Extended operation 1...

Page 6: ...d will result in death or serious injury WARNING WARNING indicates a hazardous situation which if not avoid ed could result in death or serious injury CAUTION CAUTION used with the safety alert symbol...

Page 7: ...opped have it checked by an authorized dealer to ensure that it functions correctly and safely Disregarding these precautions means risking a fatal elec tric shock WARNING Danger of fire explosion and...

Page 8: ...hinner gasoline or the like Disregarding these precautions means risking fire explosion or overheating Rechargeable batteries WARNING Danger of explosion and burns Do not throw rechargeable batteries...

Page 9: ...le CAUTION Stumbling hazard Ensure that the power supply is always in a safe position and that neither the power supply nor any cables connect ed to the docking station constitute obstacles Disregardi...

Page 10: ...Clean the device only on the outside with a dry soft cloth Do not use chemical cleaning agents Disregarding these instructions can cause the device to be damaged Disposal Rechargeable batteries are n...

Page 11: ...is encouraged to try to correct the interference by one or more of the following measures Reorient or relocate the receiving antenna Increase the separation between the equipment and receiver Connect...

Page 12: ...e which are not recommended and approved by Grundig automatically void any warranty claims towards Grundig Start up System requirements DigtaSoft DigtaSoft Pro as of V4 2 0 by Grundig Business Systems...

Page 13: ...pur pose plug USB cable as seen from the back into right jack of docking station and the other end into USB connection of the PC The green LED 3 on docking station blinks as soon as dock ing station...

Page 14: ...micro phone directly to PC Push battery into receiver on back of dictation microphone in direction of arrow until it snaps into place Place dictation microphone 1 into docking station 2 The orange LE...

Page 15: ...ical to set the display language Additional configuration options via system menu are described in section Settings in system menu Briefly press On Off button 8 on dictation microphone 1 until the tex...

Page 16: ...ch to position g and dictate into the micro phone 9 The recording symbol appears on display and recording indi cator illuminates permanently red d If you leave the reception area of the docking statio...

Page 17: ...in the dictation to overwrite Move slide switch to e position Move the slide switch to position g and dictate the changes The recording indicator 18 will be lit red The dictation will be overwritten a...

Page 18: ...Depending on applied dictation software it is possible to insert additional information text info into dictations For additional information see operating instructions of dictation software Finishing...

Page 19: ...is 1 minute If the wireless connection is interrupted for a longer period recording will stop signaled by two brief sounds As soon as the dictation microphone is in the reception area of the docking...

Page 20: ...ery Pull USB adapter 7 in direction of the arrow from docking sta tion 2 NOTICE Lift the cover plate of the adapter careful ly using the point of a ballpoint pen or screwdriver Using other tools may d...

Page 21: ...anded by means of a replacement battery without causing longer pauses by battery charging times A replacement battery is available as accessory and not included in the scope of delivery Switch off dic...

Page 22: ...ther after several minutes Setting up function buttons Function buttons F1 to F3 11 13 can be assigned with spe cial functions Set up is performed via software AdapterServer Depending on applied dicta...

Page 23: ...briefly d Depending on applied dictation software function of the foot control can vary Right pedal e STOP f PLAY To start pause recording and playback press the pedal briefly Connecting barcode RFID...

Page 24: ...at different docking stations Presetting Switch on dictation microphone 1 In system menu set option Station allocation to Dynamic pair see section Settings in system menu d The setting Dynamic pair i...

Page 25: ...ion allocation to Static pair see section Settings in system menu The dictation microphone is now permanently linked to the docking station and connects with it every time it is switched on d The sett...

Page 26: ...ate is now complete and dictation microphone is ready Settings in system menu The dictation microphone features a system menu for internal settings Accessing system menu Briefly press On Off button 8...

Page 27: ...ee section Operating several dictation micro phones docking stations Changing settings Move selection marker from one menu item to the next via the yellow button up 15 and F3 button down 13 on dicta t...

Page 28: ...nterrupted Check the power cable to ensure that it is properly inserted and is not damaged See the section Connecting docking station Device does not respond to input commands Wireless connection to d...

Page 29: ...ower supply Rechargeable lithium polymer battery 950 mA 3 7 V Operating time approx 8 h recording time Size H x W x D 8 35 in x 1 57 in x 0 79 in 212 mm x 40 mm x 20 mm Weight 0 31 lb 140 g Docking st...

Page 30: ...30...

Page 31: ...31...

Page 32: ...32...

Page 33: ......

Page 34: ...Grundig Business Systems GmbH Weiherstra e 10 D 95448 Bayreuth Germany info grundig gbs com www grundig gbs com 37335 941 0700 08 2008...

Reviews: