Grizzly T28523 Owner'S Manual Download Page 4

-2-

Model T28523 (Mfd. Since 05/19)

We stand behind our machines! If you have ques-
tions or need help, contact us with the information 
below. Before contacting, make sure you get the 

serial number  and  manufacture date  from  the 
machine ID label. This will help us help you faster.

Grizzly Technical Support

1815 W. Battlefield

Springfield, MO  65807
Phone: (570) 546-9663

Email: [email protected]

We want your feedback on this manual. What did 
you  like  about  it?  Where  could  it  be  improved? 
Please take a few minutes to give us feedback.

Grizzly Documentation Manager

P.O. Box 2069

Bellingham, WA  98227-2069

Email: [email protected]

Contact Info

We  are  proud  to  provide  a  high-quality  owner’s 
manual with your new machine!

We made every effort to be exact with the instruc-
tions,  specifications,  drawings,  and  photographs 
in this manual. Sometimes we make mistakes, but 
our policy of continuous improvement also means 
that 

sometimes the machine you receive is 

slightly different than shown in the manual.

If you find this to be the case, and the difference 
between  the  manual  and  machine  leaves  you 
confused  or  unsure  about  something,  check  our 
website for an updated version. We post current 
manuals and manual updates for free on our web-
site at 

www.grizzly.com.

Alternatively, you can call our Technical Support 
for help. Before calling, make sure you write down 
the 

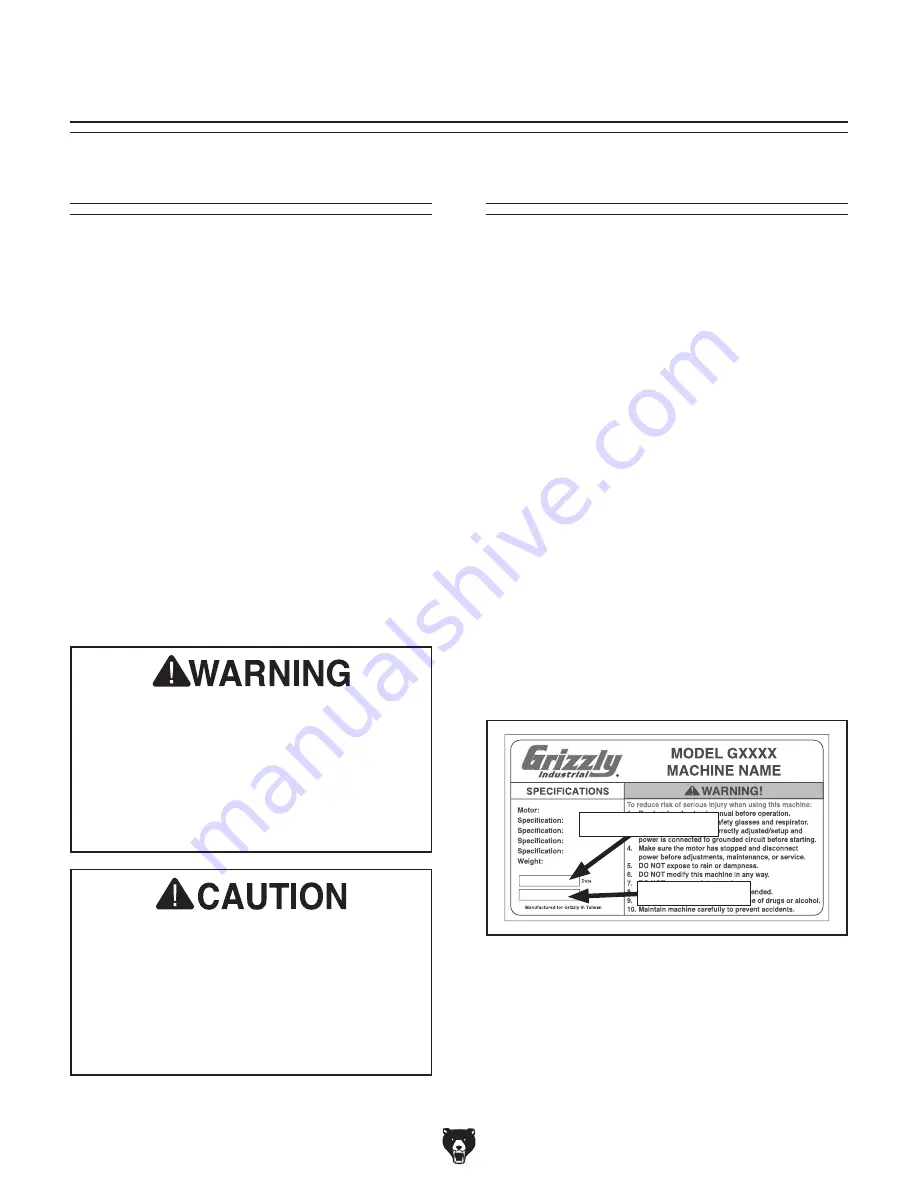
Manufacture Date and Serial Number from 

the machine ID label (see below). This information 
is required for us to provide proper tech support, 
and it helps us determine if updated documenta-
tion is available for your machine.

Manufacture Date

Serial Number

Manual Accuracy

INTRODUCTION

No list of safety guidelines can be com-

plete. Every shop environment is different. 

Always consider safety first, as it applies 

to your individual working conditions. Use 

this and other machinery with caution and 

respect. Failure to do so could result in 

serious personal injury, damage to equip-

ment, or poor work results.

Like all machinery there is potential danger 

when operating this machine. Accidents 

are frequently caused by lack of familiarity 

or failure to pay attention. Use this machine 

with respect and caution to decrease the 

risk of operator injury. If normal safety pre-

cautions are overlooked or ignored, seri-

ous personal injury may occur.

Summary of Contents for T28523

Page 1: ...NUAL For models manufactured since 05 19 COPYRIGHT MAY 2019 BY GRIZZLY INDUSTRIAL INC WARNING NO PORTION OF THIS MANUAL MAY BE REPRODUCED IN ANY SHAPE OR FORM WITHOUT THE WRITTEN APPROVAL OF GRIZZLY I...

Page 2: ...g grinding tool integrity and the usage of personal protective equipment The manufacturer will not be held liable for injury or property damage from negligence improper training machine modifications...

Page 3: ...h Mounting 13 Assembly 14 Test Run 16 SECTION 4 OPERATIONS 17 Operation Overview 17 Workpiece Inspection 18 Wheel Selection 18 Wheel Care 19 Wheel Inspection 19 Wheel Dressing 20 Wheel Removal Install...

Page 4: ...between the manual and machine leaves you confused or unsure about something check our website for an updated version We post current manuals and manual updates for free on our web site at www grizzly...

Page 5: ...ry read this entire manual BEFORE using machine Become familiar with the names and locations of the features shown below to better understand the instructions in this manual Tool Rest Right Tool Rest...

Page 6: ...contains sparks during grinding B Spark Deflector 1 of 2 Reduces amount of sparks spraying back towards the operator C Safety Shield Acts as a protective barrier against sparks during grinding operati...

Page 7: ...Height 17 x 15 x 12 in Electrical Power Requirement 120V Single Phase 60 Hz Full Load Current Rating 3A Minimum Circuit Size 15A Connection Type Cord Plug Power Cord Included Yes Power Cord Length 6...

Page 8: ...d proof DANGEROUS ENVIRONMENTS Do not use machinery in areas that are wet cluttered or have poor lighting Operating machinery in these areas greatly increases the risk of accidents and injury MENTAL A...

Page 9: ...moving parts or flying debris Make sure they are properly installed undamaged and working correctly BEFORE operating machine FORCING MACHINERY Do not force machine It will do the job safer and better...

Page 10: ...immediately SPARK DEFLECTOR GAP Keep gap between end of spark deflector and grinding wheel between 1 8 and 1 4 If the gap is larger exces sive sparks and abrasives can be expelled toward the operator...

Page 11: ...ndersized circuit To reduce the risk of these hazards avoid over loading the machine during operation and make sure it is connected to a power supply circuit that meets the specified circuit requireme...

Page 12: ...ord size gets longer and the gauge size gets smaller higher gauge numbers indicate smaller sizes Any extension cord used with this machine must be in good condition and contain a ground wire and match...

Page 13: ...mage If items are damaged please call us immediately at 570 546 9663 IMPORTANT Save all packaging materials until you are completely satisfied with the machine and have resolved any issues between Gri...

Page 14: ...sake of expediency replacements can be obtained at your local hardware store Box 1 Figure 5 Qty A Grinder Not Shown 1 B Spark Deflectors 2 C Safety Shields w Fasteners 2 D Safety Shield Bracket Right...

Page 15: ...hop Below is the minimum amount of space needed for the machine Placement Location Bench Mounting Figure 9 Direct Mount setup Machine Base Workbench Lag Screw Flat Washer Another option is a direct mo...

Page 16: ...acket attached to grinder To assemble grinder 1 Attach spark deflectors to grinder with 4 M5 8 x 10 Phillips head screws with washers see Figure 10 2 Loosen hex bolts attached to underside of safety s...

Page 17: ...ears adjust the spark deflector closer to the grinding wheel to main tain a gap of 1 8 1 4 see Figure 16 If the gap reaches 1 4 and no additional adjustments can be made replace the grinding wheel Spa...

Page 18: ...rious injury or death can result from using this machine BEFORE understanding its controls and related safety information DO NOT operate or allow others to operate machine until the information is und...

Page 19: ...grinder Operation Overview The purpose of this overview is to provide the nov ice machine operator with a basic understanding of how the machine is used during operation so the machine controls compo...

Page 20: ...Should it break the broken piece may dig into the wheel and cause kickback or severe injury Workpiece Inspection Wheel Selection The Model T28523 only accepts Type 1 wheels with a 5 8 bore Aluminum o...

Page 21: ...forming a ring test STOP Rated 3500 RPM Make sure your grinder is not faster than the rated RPM of this wheel WARNING Grinding can be dangerous Visually inspect this wheel for cracks nicks chips Type...

Page 22: ...wheel edge back to a square form Refer to the instructions that accompany your dressing accessory for complete details on how to properly dress the wheel Always adjust tool rest and spark deflector a...

Page 23: ...now be used If wheel appears to wobble grinder vibrates excessively or any other unsafe condition appears with new wheel stop grinder and refer to Troubleshooting on Page 25 Figure 21 Assembly order...

Page 24: ...r wheels and discs are hardened steel Cast iron handle provides stabilizing mass for better control Figure 23 Rotary type dressing tools Figure 78 Assortment of basic eye protection Basic Eye Protecti...

Page 25: ...instructions that accompany your dressing accessory for complete details on how to properly dress a wheel Wheel Dressing Grinding wheels can be easily damaged so it is important to store them properly...

Page 26: ...tor bearings at fault 5 Motor shaft bent 1 Inspect replace damaged parts tighten if loose 2 Tighten mounting hardware 3 Dress replace grinding wheel 4 Test by rotating shaft rotational grinding loose...

Page 27: ...t at the time of printing but may not match your machine If you find this to be the case use the wiring diagram inside the motor junction box CAPACITORS INVERTERS Some capacitors and power inverters s...

Page 28: ...Base Electrical Access Panel Run Capacitor 20uF 300VAC Bk Bk The motor wiring shown here is current at the time of printing but it may not match your machine Always use the wiring diagram inside the...

Page 29: ...use damaged grinding wheel Inspect and test to ensure wheel is free from cracks and defects 8 Securely mount machine to stable workbench or stand before starting 9 Disconnect power before changing gr...

Page 30: ...RING 6024ZZ 12 PT28523012 SAFETY SHIELD CLAMPING PLATE 43 PT28523043 ROTOR 13 PT28523013 SHIELD BRACKET CLAMP 44 PT28523044 STRAIN RELIEF PLATE 14 PT28523014 SAFETY SHIELD W MAGNIFIER LEFT 45 PT285230...

Page 31: ...for incidental contingent special or consequential damages arising from the use of our products The manufacturers reserve the right to change specifications at any time because they constantly strive...

Page 32: ......

Reviews: