-16-
Model G9983 (Mfg. Since 8/09)
Most of your new wide-belt sander has been
assembled at the factory, but some setup is
required after delivery. We have organized the
setup process into steps. please make sure the
sander is placed in its final position in your shop
and follow along in the order presented in this
section.
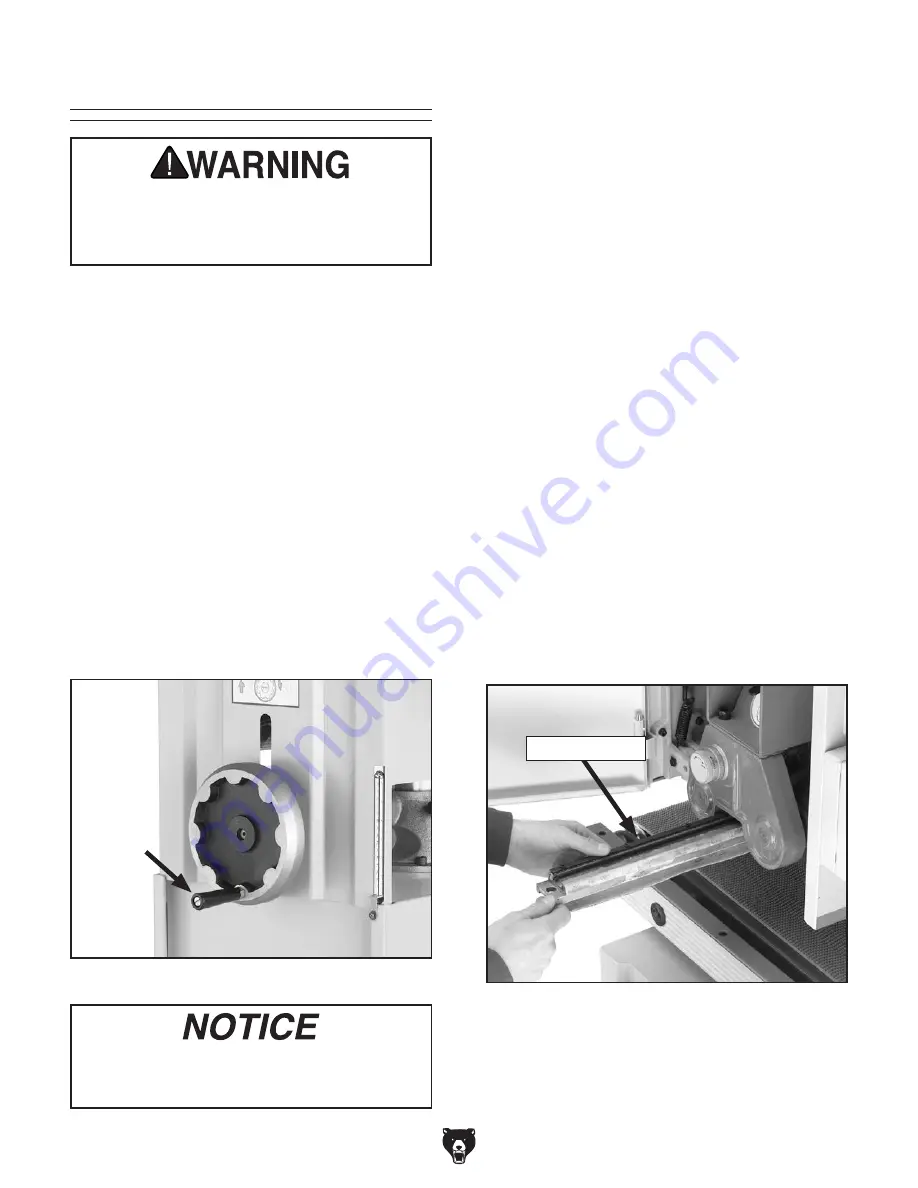
installing handwheel handle
1. thread the handle into the handwheel as
shown in
figure 9.
2. after handle is completely threaded down,
tighten the jam nut so the handle will not
come loose. Make sure to leave the plastic
sleeve loose enough to rotate when you
crank the handwheel.
figure 9. install handle onto handwheel.
installing platen
the housing for the platen can be accessed by
opening the door on the left-hand side of the
machine.
a graphite sheet is mounted on the platen. before
installing, make sure that the graphite sheet is
mounted on the left-hand side of the platen, as it
will be inserted. Figure 8 shows the platen being
installed correctly.
the direction of the graphite sheet is important
because it must wrap around the platen in the
same direction as the sanding belt rotates. if not,
the sanding belt will unwrap the graphite sheet,
exposing the sanding belt to the metal body of
the platen.
note: The graphite sheet on the platen is consid-
ered a “consumable” item, similar to the sanding
belts, and normal wear and tear from machine
operation is not covered under warranty.
to insert the platen:
1. line up the platen dovetail with the housing
so it is positioned as described above.
2. slide the platen into the housing as far as it
can go (see
figure 10).
assembly
the waxy grease must be completely
cleaned from the table column for smooth
table height adjustments.
figure 10. install the platen with the graphite
sheet on the left-hand side.
graphite sheet
Serious injury could occur if you connect
the machine to power before completing the
setup process. DO NOT connect to power
until instructed later in this manual.
Summary of Contents for G9983
Page 60: ......


